Anybody put a new apron chain complete with slats on a manure spreader?

Millcreek has sent the part and it will get here Monday. I am replacing the entire apron chain since it is rusted out. I looked at the U-tube tutorial and of course they make it look easy. I cannot find the number of the guy that worked on the spreader last. I probably can find somebody but I want to know if this is something I can do.

This spreader is a 75 cu ft one 30+ years old but otherwise in good shape. I knew the chain would have to be replaced soon because it was really corroded but WHY NOW?

I’m sorry … I cannot help you, but I can sure sympathize. Mine broke one winter and my trusty mechanic fixed it. Good luck!!!

It depends on what tools you have. I bet you can. Manure spreaders are not all that complex and pure mechanically driven machines so there should be nothing insanely complex.

The right tools and physical strength are about all you need.

I have a bunch of tools. All the tools shown on the U-tube tutorial. It is a ground driven spreader and it looks like you just wrap the apron chain over the spreader and put the links on the gear doohickies and somehow connect the chains. I am not mechanically gifted though and I do not have an engineer brain. I wish in High School the girls could have had the option to skip Home-Ec and take Shop. Much more useful for a farm owner. I may try - the neighbors are far enough away that they can’t hear me scream obscenities’.

4 Likes

Yes you can, just take your time being sure you have everything lined up correctly, so both sides will work at the same time.

We have a special tool to work on those chain links, very common in agricultural implements, that holds them for you, making it easier to take chains apart, called a “hand”.
You don’t need it for this one time job, only if you had chains to fix regularly:

https://www.farmandfleet.com/products/061280-gardner-equipment-chain-detacher.html?blaintm_source=google&blaintm_medium=pla&gclid=EAIaIQobChMI5LHhuf7m9QIV4ydMCh3RQwP0EAQYAiABEgK1MPD_BwE

2 Likes

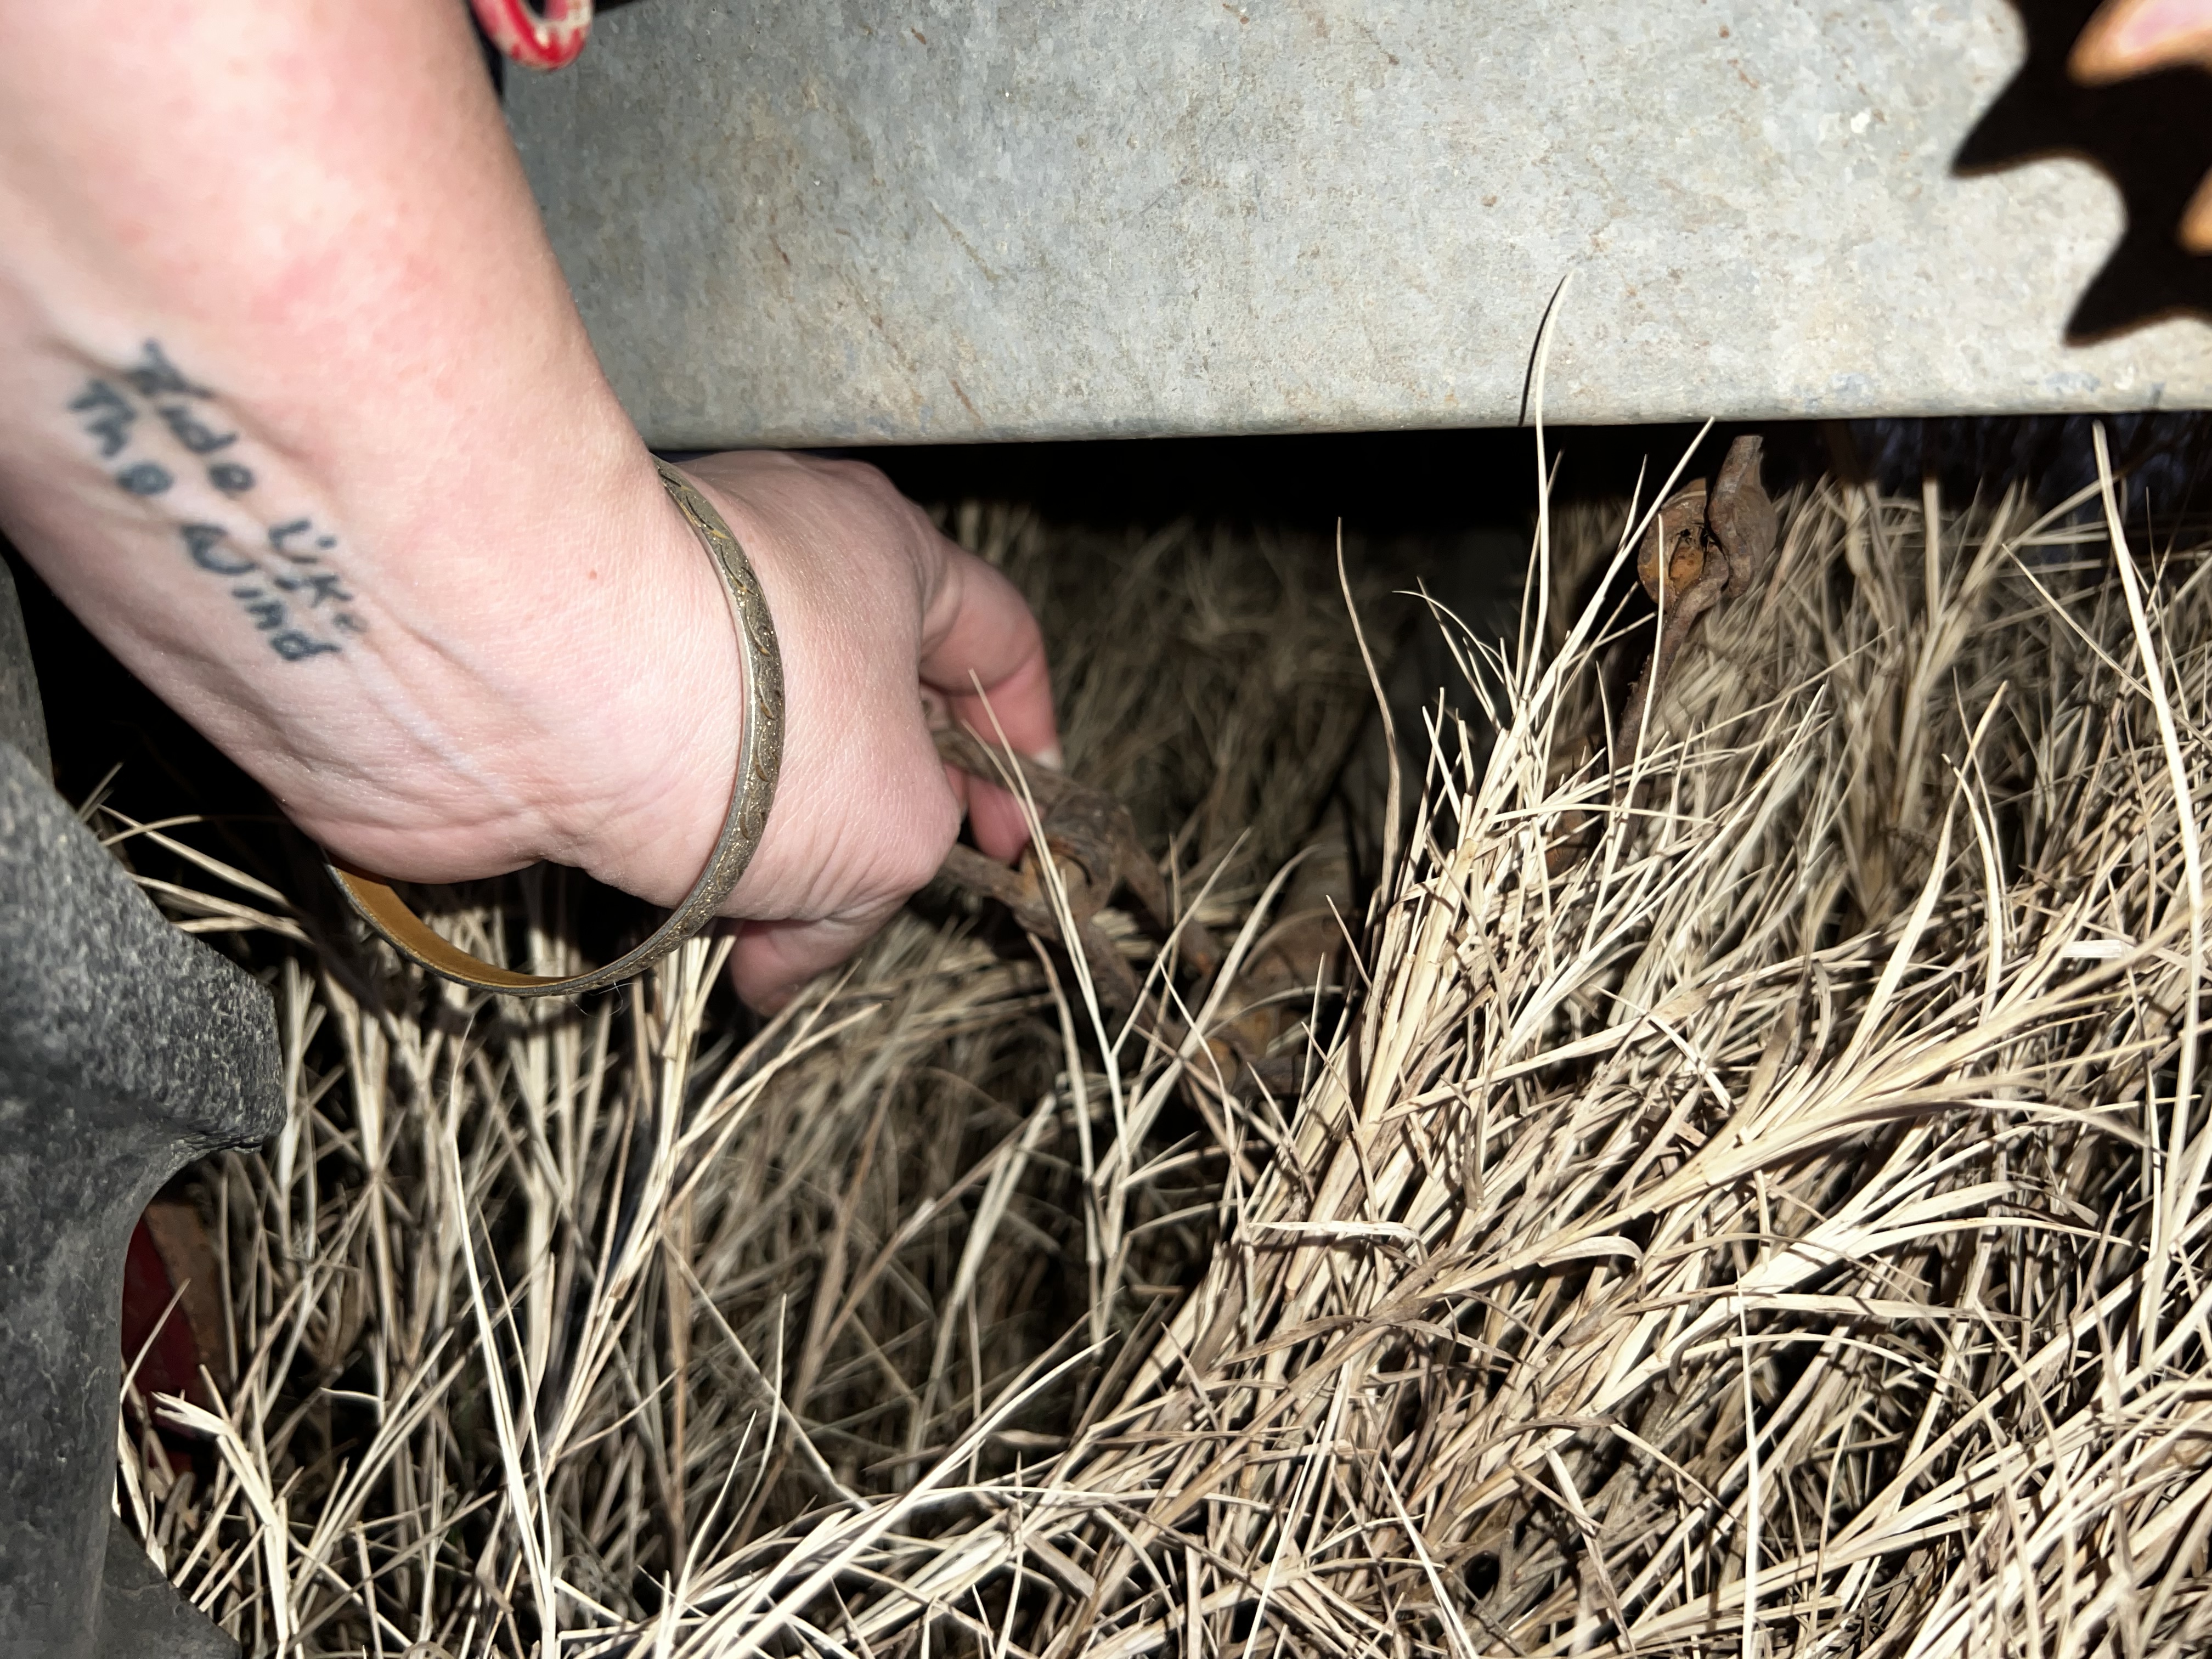
I am sure you can put the chain on by yourself, with some time. Is a come-along part of your tool collection? Husband (not home to ask) has repaired our spreader chain with new link additions, new slats, and the come-along was always part of his tools used. He used it to pull the unconnected parts together, giving him slack to lift and connect the chains without tension on the ends. Same for replacing slats, you put the hooks PAST the bad slat, remove it, then put on new slat. You then connect the slack chain ends, then remove (SLOWLY) the tension on the come-along, watching that chains lay flat as weight is applied. Check, that you got the same number of links between each slat, so gears pull chains evenly in work…

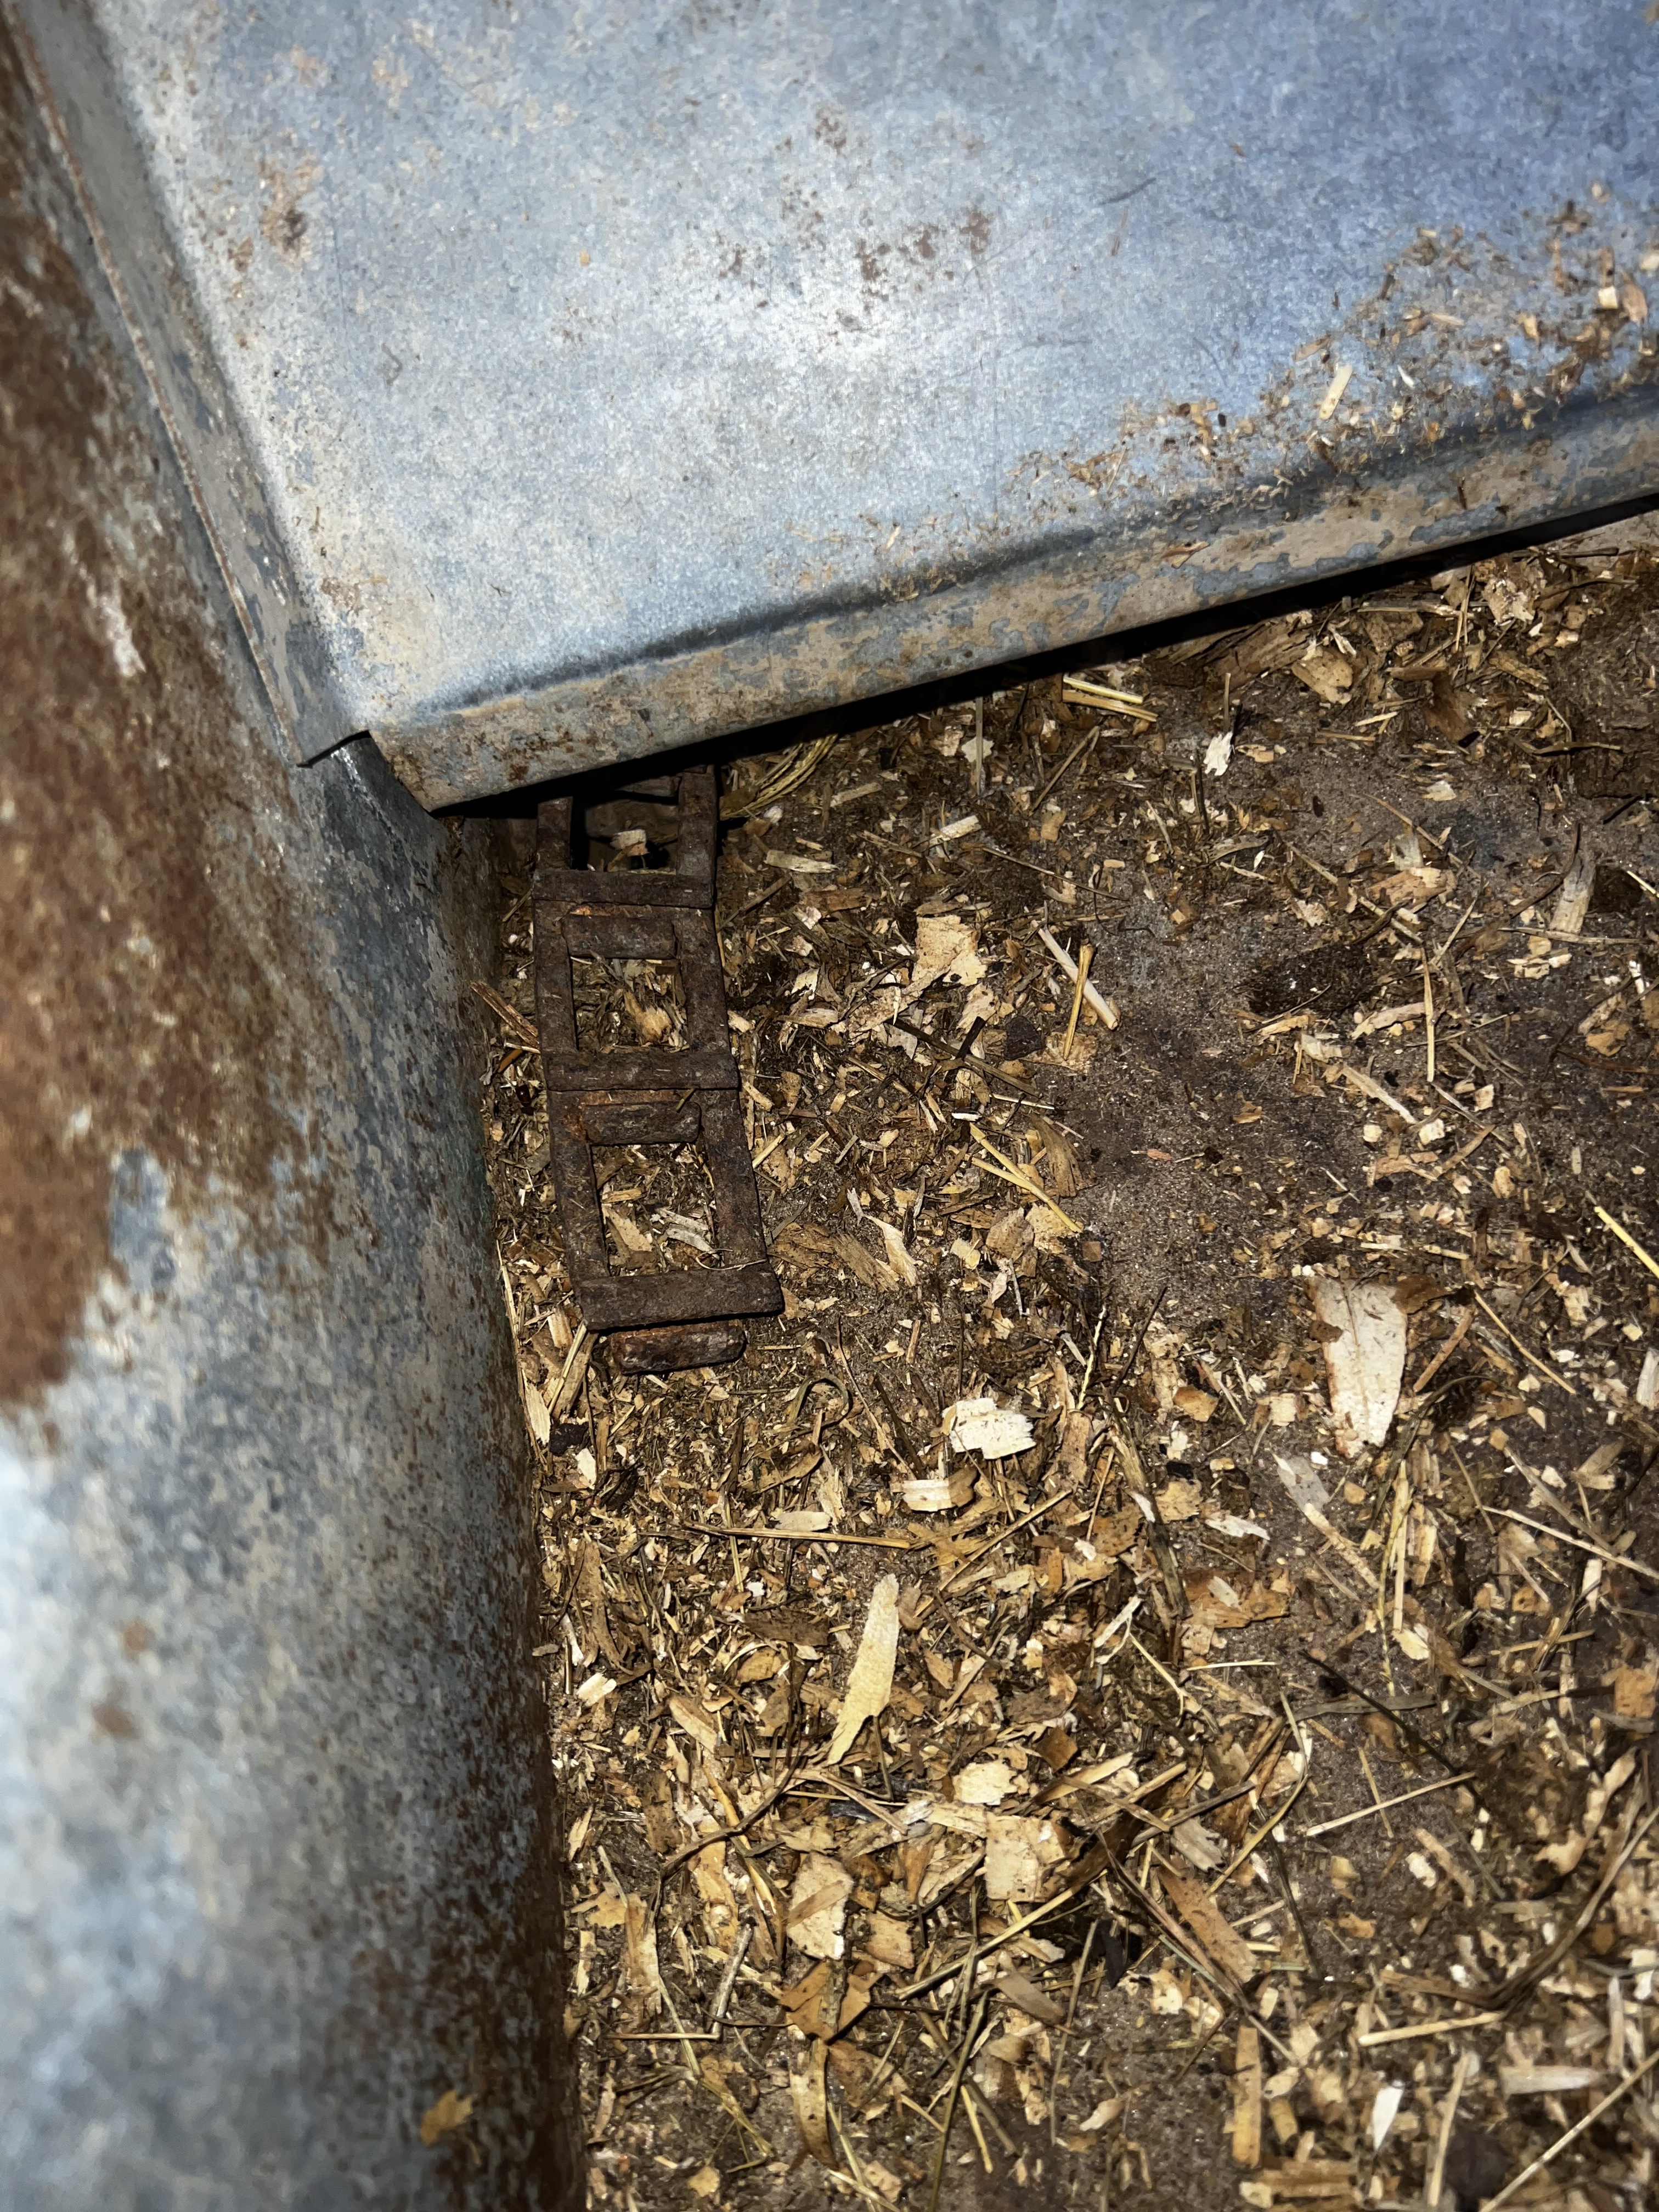
Your chain will sag a bit under the spreader floor, to have room for slack when you need to work on the chain links or slats. Usually the teeth of gears (at both ends of spreader) do turn freely if ground drive is off. This allows chain slack to be taken up or let out when work is complete.

He learned by doing the fixing, I helped, handing him tools, working the come-along as he figured things out. Now he fixes spreader chain by himself. One of my nicest Christmas gifts was a full set of slats/bars he made for our new-but-used, elderly spreader! The old bars were BAD, along with many of the chain links. Sure was nice with the replacements on!

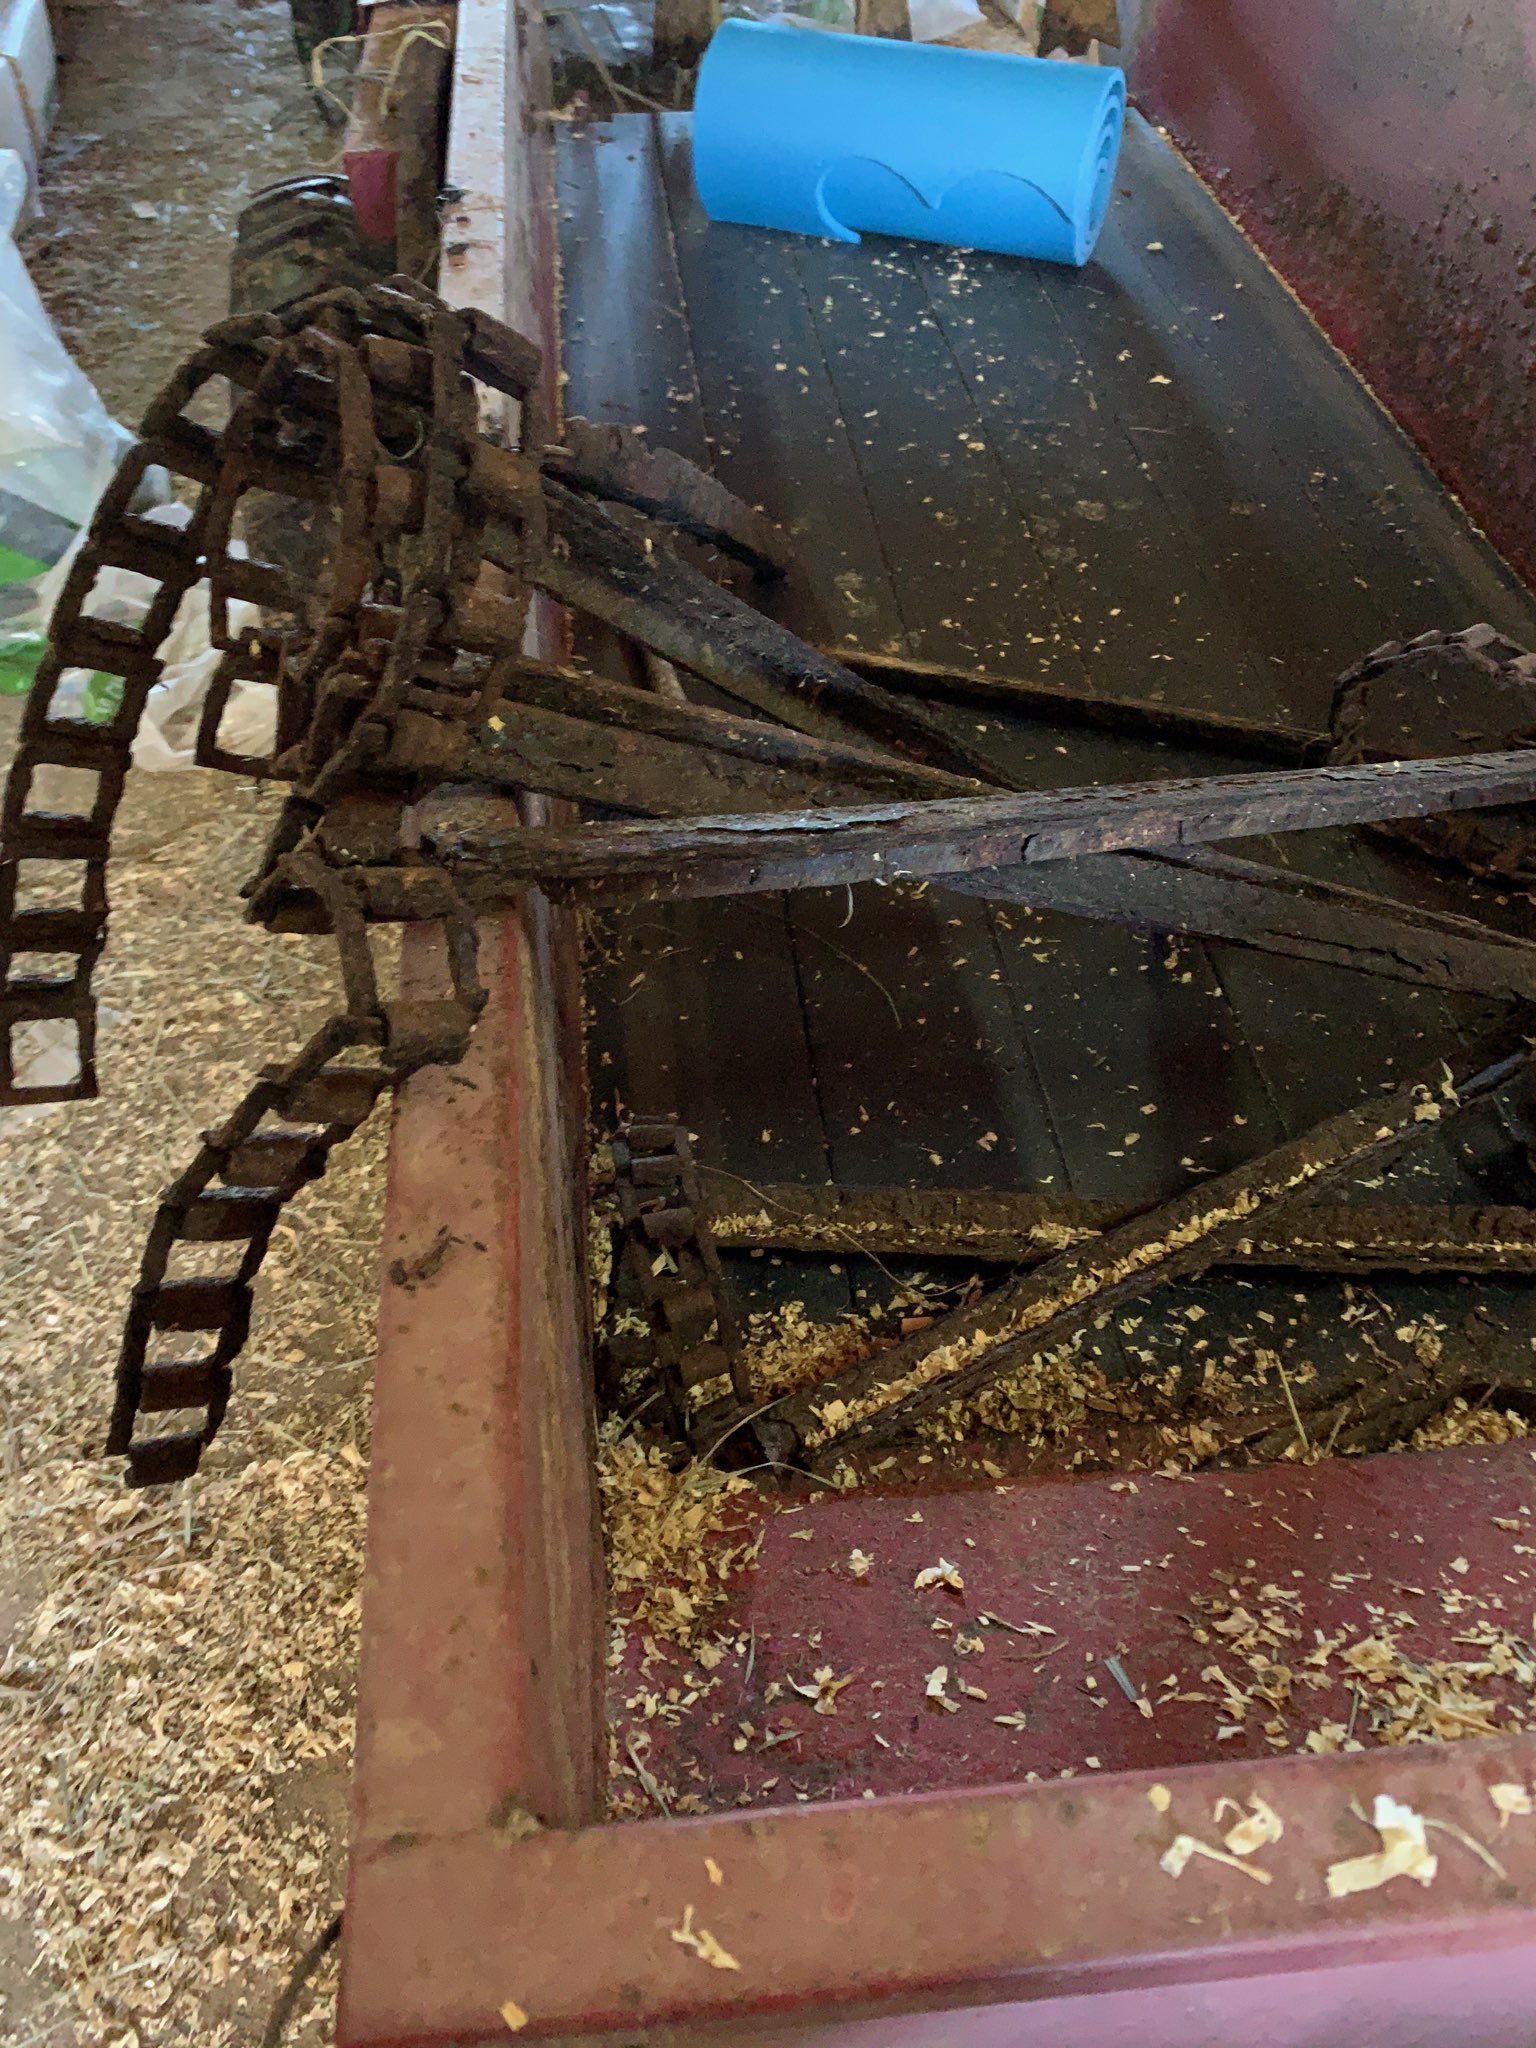
All our spreaders had chains ABOVE the axle as they revolved. So make sure chain and bars are laid out that way before trying to connect the two ends together. Husband had to help a friend that tried to run chain around the axle, could not figure why chain was too short. Friend was really tired after wrestling with repairs all day.

I am sure you CAN get the new one on, get it working properly. If possible have a 2nd person to help hold things, fetch tools, second set of eyes looking at things with you,. It just is easier than being frustrated alone. Allow plenty of time to complete the job, so you don’t feel pressured or hurried, which can lead to mistakes or injuries when tired and rushing. Be Safe!

You guys are all very cool and impressive!

Don’t forget to wind the chain adjustment down to the smallest length before attaching the new one.

Don’t worry if you get it wrong here and there, take it apart again and, now wiser, continue.
Count the links to be sure both sides are the same, if you get one side longer, easy to take one or several links off, line up with the open spot on the other one, the simple side with the round side with the slat, so you can tap it out of there.

The whole is very simple if someone shows you once, easier if you know what to look for, you said you had watched a video, follow it.

You will be proud of yourself when done and can help someone else that may need help. :slightly_smiling_face:

I have a different brand ground-driven spreader of the same size. It has a chain tensioner bolt at the front sprocket on each side. I loosen the chain before removing it and then get everything assembled before re-tensioning. There should be a specification for how much “droop” you should have below the axle. On mine, it’s 4-5 inches.

YOU CAN DO IT!

1 Like

I’ve had the entire apron of my ancient spreader off before, when one rusted link would break and the whole thing would bunch up in to a hellish ball of f***. It’s physically a lot, but mechanically a very simple process as detailed above. Just figure out how the links go on and off and it’s simple. Wear heavy gloves; I took a bunch of large chunks out of my hands trying to unf*** that thing.

Having someone or something to hold the gear in place is helpful so the weight of the apron doesn’t just completely peel out and dump the whole thing on the ground. Getting the sag out from underneath is the biggest challenge and requires the most strength. Obscenities will be had, but it is quite doable.

Too late to say “Don’t take the old chain off”. I was out spreading and it had started to rain and I noticed the spreader had stopped spitting out manure. When I got off the tractor to look the whole chain apparatus had come apart and was hanging under the spreader. I emptied it out by pitchfork and headed to the barn before the monsoon hit and to do so I had to pull what was hanging down into the spreader. So it is too torn apart to really see how it all fits together. UPS delivers tomorrow and I hope it comes with a diagram to look at!

Can I ask where you bought the replacement apron? My brother in law got me a length of replacement chain a while back, and that’s what I used to do some bandaid work on mine. But that shop has closed down. So I could use a new source. I’ll see if I can remember to take some pictures tomorrow of how to undo these links. They’re simple, but if the new ones are painted, you’ll need a hammer and a flat surface (ground works just fine) to get them on/off. Perhaps if you ordered the whole shebang, it’ll all come assembled and all you have to do is attach the ends together.

It is a Millcreek spreader and I ordered what they call the apron from Millcreek’s parts department. This is the third time I have ordered parts from them and the last two times the parts have worked great. From what I can tell this spreader is 30+ years old and I am impressed that new parts work in this spreader. I guess they haven’t changed the design much which is GREAT! If it is a Millcreek and you tell them the model number they have parts. Their website has a parts diagram with parts numbers. If your spreader isn’t a Millcreek I would call the manufacturer.

I am trashing the whole old chains and slats. As you can see they are shot. Hopefully it will be like you say and will be assembled and all I have to do is thread it through the ends, get it on the gears and attach the ends. But nothing is ever that easy for me! Getting what is left of the old apparatus off will be easy - it is very rusted out. I wish I had not had to disassemble it but I needed to get back to the barn before the deluge hit.

I think mine is an International Harvester but would have to look to be sure (might be thinking of my sisters). The links are the same as mine, so that much info will transfer. I wonder if I could give them measurements and match an apron, if I can’t find one from the manufacturer of mine.

I regretted ripping the balled up one off of mine as well, but it had to be done as I was going through and replacing individual broken links. Should have just done a whole new one. Alas, it is still sitting broken and unused :confounded:

You may want to keep a bit of it for parts, if your new one for some reason later breaks a link or slat, you could possibly just add some from the old pieces you have left.

1 Like

Try Messicks for IH parts; https://www.messicks.com/cas/143060
It’s called Case IH now.

Mine just broke as well. I ordered the new apron chain for a cool $305 :sob: and will have my local handyman fix it for me. I feel like what I’ve paid in fixing up this cheap one I bought I could have just bought a new one!

My apron chain cost twice that but this is a big spreader. So far I have spent a whole lot less on this one than a new one this size would cost.

New apparatus delivered Monday night. It weighs 70 pounds - thank heavens for tractor buckets! After a few smashed fingers I got the old broken chain off. Now I have to watch the U-tube video a few more times and while the spreader is clean and chainless - fix a rusty spot in the front.

1 Like