Sorry, this post got long. TL;DR - you want concrete. It’s not hard.
Gravel wouldn’t work-- you’ll dig up gravel with every scoop, getting rocks all through your compost. Whether you spread or use it for gardening, you don’t want any rocks in there.
Even 3/4" thick stall mats will move around and get picked up by the loader, and they’ll actually tear into pieces because your tires are on one end while the loader’s putting a lot of stress on the other end. (Direct experience-- I have them outside under my hay hut, and when I change out the bale, I use the loader to scrape off the waste hay. The mats would move around, and eventually a couple of them broke into pieces) They just won’t be a durable solution.
Concrete isn’t difficult when you don’t need to worry about appearance. This is a one-weekend DIY-able job, totally.
Day 1 - Prep:
-
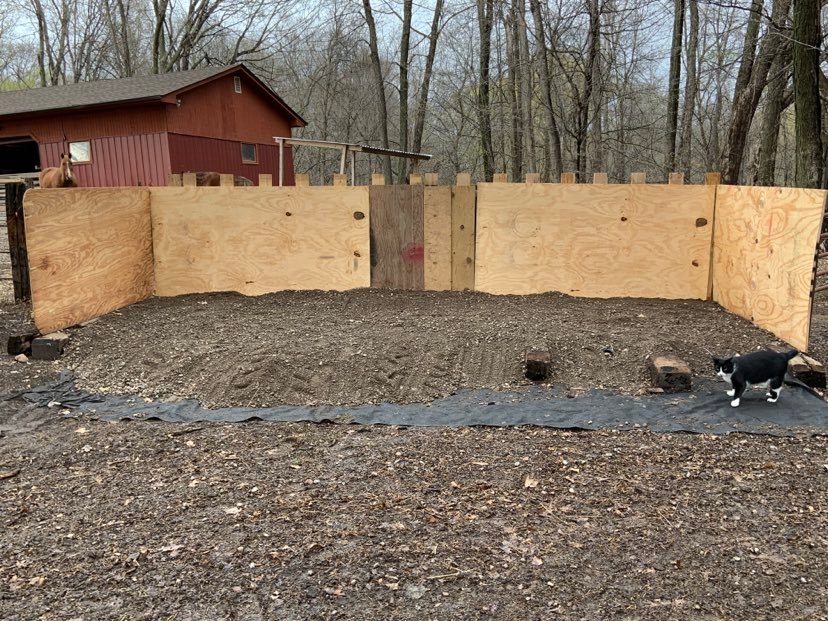
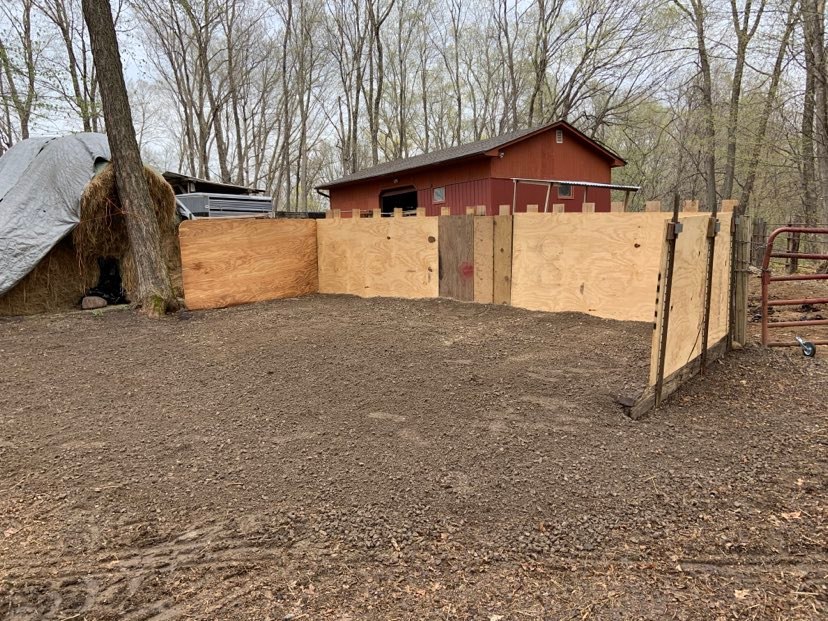
scrape the dirt base relatively flat. On your sidewalls, measure up from ground level 5" at the back, and 6" high at the front. Snap a chalk line between these two marks to mark the wall from front to back. This is so your rainwater/leachate will drain out the back, away from your loader work area.
-
Take some 1x2 furring strips, and nail to the sidewalls so the top of the strip is along your chalk line. This will be the top of your concrete surface, and the guide for your screed board to run along the top of these strips.
-
Put down 2" of gravel, tamp to compress, and use a level on a long board to find/fix any low spots in your pad.
-
Extend your gravel pad 3-4ft in front of the bins, sloped down to make a ramp. Stake 2 2x4s on either side of this ramp to act as sidewalls to hold in the concrete. You need this ramp as a place to get rid of excess concrete.
-
Create a backstop for the back wall of the concrete. Rather than run your concrete all the way to the actual wall, you’re going to leave a few inches gap in the back, so rain can drain into the gravel. Essentially making a miniature french drain. To do this, drive some stakes into your gravel every 2ft or so, about 1" away from the back wall, and set2x6 boards in front of these stakes. This will create about a 3" drainage gap. You’ll pull that backer board out when the concrete’s firm enough to walk on, and fill the gap with gravel.
-
With that 2" gravel pad, your sidewall furring strips should be about 3" above the gravel at the back, and 4" at the front. Precision not critical, the concrete will level things out
Day 2- Concrete. Need three people. The 3rd person can be a teenager, they don’t have a super technical job. Wear crappy tall rubber boots. Have two 10ft 2x4s on hand for screed boards.
-
Slab is too large to mix bags of concrete by hand, you need to get a concrete truck. Even though your depth is slightly less in back, calculate your volume assuming a uniform 4" depth. Whatever’s extra will be poured over your ramp in the front of the bins. There are online calculators to determine how many cubic yards you need, and the concrete dispatcher can help. Tell the dispatcher to be sure the truck has a chute to reach at least 8 feet out behind the mixer.
-
The chute swings side to side to direct the flow where you need it. Working back to front, your helper will swing the chute from side to side across your work area, while you and your partner push the material around, using the boards on the sidewall to guide you on depth. The helper will signal to the driver to move the truck forward a couple feet as you finish each section. The helper also operates a lever to control the flow to match your pace. (That said, you do need to work quickly.)
-
Try to get this first spread relatively level, and better to err on the side of a little too much vs not enough. You can screed off the excess more easily than filling big voids.
-
With whatever’s left over, make your ramp out in front as long/wide as you need until the truck’s empty.
-
With the concrete guy gone, start screeding with 10ft boards from back to front. Wade into the wet concrete and work side by side, sliding your boards along those furring strips on your sidewalls. This is hard work.
-
Try to keep your boards level–if you stay side by side, you will be able to see the other guy’s board is lower or higher than yours. Your helper can be in there with you with a shovel to scoop material into any voids, and screed over it again to smooth. Not a crisis if you have imperfections for this project, so I wouldn’t bother with troweling to create a perfectly smooth surface.
-
After your slab has set for ~ 6hrs, go to Lowes or similar and rent a concrete saw for your expansion joints. You want a small blade, you’re only making a 1" deep cut.
-
Sometime after 6 hours but no more than 18hrs after you’ve poured, when the edge doesn’t crumble if you scrape it, snap a chalk down the middle of the slab lengthwise and crosswise, and cut a 1" joint on that line. It’s no harder than using a circular saw. The expansion joints are critical – concrete will 100% crack badly if you don’t put them in. (The alternative is putting in a mesh of rebar before you pour, which is way more a pain than just renting the saw.)
Here’s a good video of putting in a large slab. Obvs you don’t need as smooth a surface, but it gives you a good sense of what the pouring and smoothing process looks like. Again, you don’t have to do all the troweling and floating.
Be brave, you can do it!


