How to install sliding stall door brackets

Has anyone installed sliding stall doors recently? Specifically this bit…

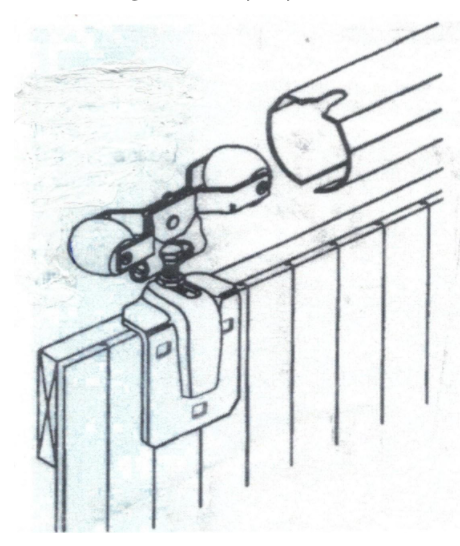
  1. Cut a 1" wide slot, 2 1/4" long in the top rail for the adjusting bolt & nut.

I am having trouble picturing this. If you are “cutting” this then it seems like it would be visible looking at the top board of the door. (And then covered by the bracket.) DH thinks it is a hole drilled down from the top.

Unfortunately I haven’t found any examples of actual sliding stall door installation online. Just a bunch of interior house decor stuff.

I’m guessing most of the trolleys and brackets are similar, but this is from Arc Stalls. I can write to the seller if this isn’t an easy answer.

thirty-two years ago I cut an access hole in the side of the top rail of the Door to adjust the nuts that attached the door to the trolley assembly

went out to get a photo, disregard the multiple years of dust, and out of focus

1 Like

Thanks for the photo!

In this one it seems that the nuts are accessible at the top. The “slot” seems to be for the front-to-back adjustment for how close the door hangs to the wall.

The instructions also first say that the flat vertical part of the bracket goes on the back of the door, then there’s a note that if you want to put it on the front, you’ll have to cut off the bolts that stick out. Photos of installations seem to be half and half on that option.