Unlimited access >

New farm, let's build some stuff

I’m going to use this thread to kind of chronicle what I did/built when I bought a 5 acre parcel that was not set up for horses. It’s going to be a “living” thread where I’ll just update as I go. I won’t include all the house and landscaping upgrades, just the ones that are relevant to horses. Target date for bringing horses home: June/July.

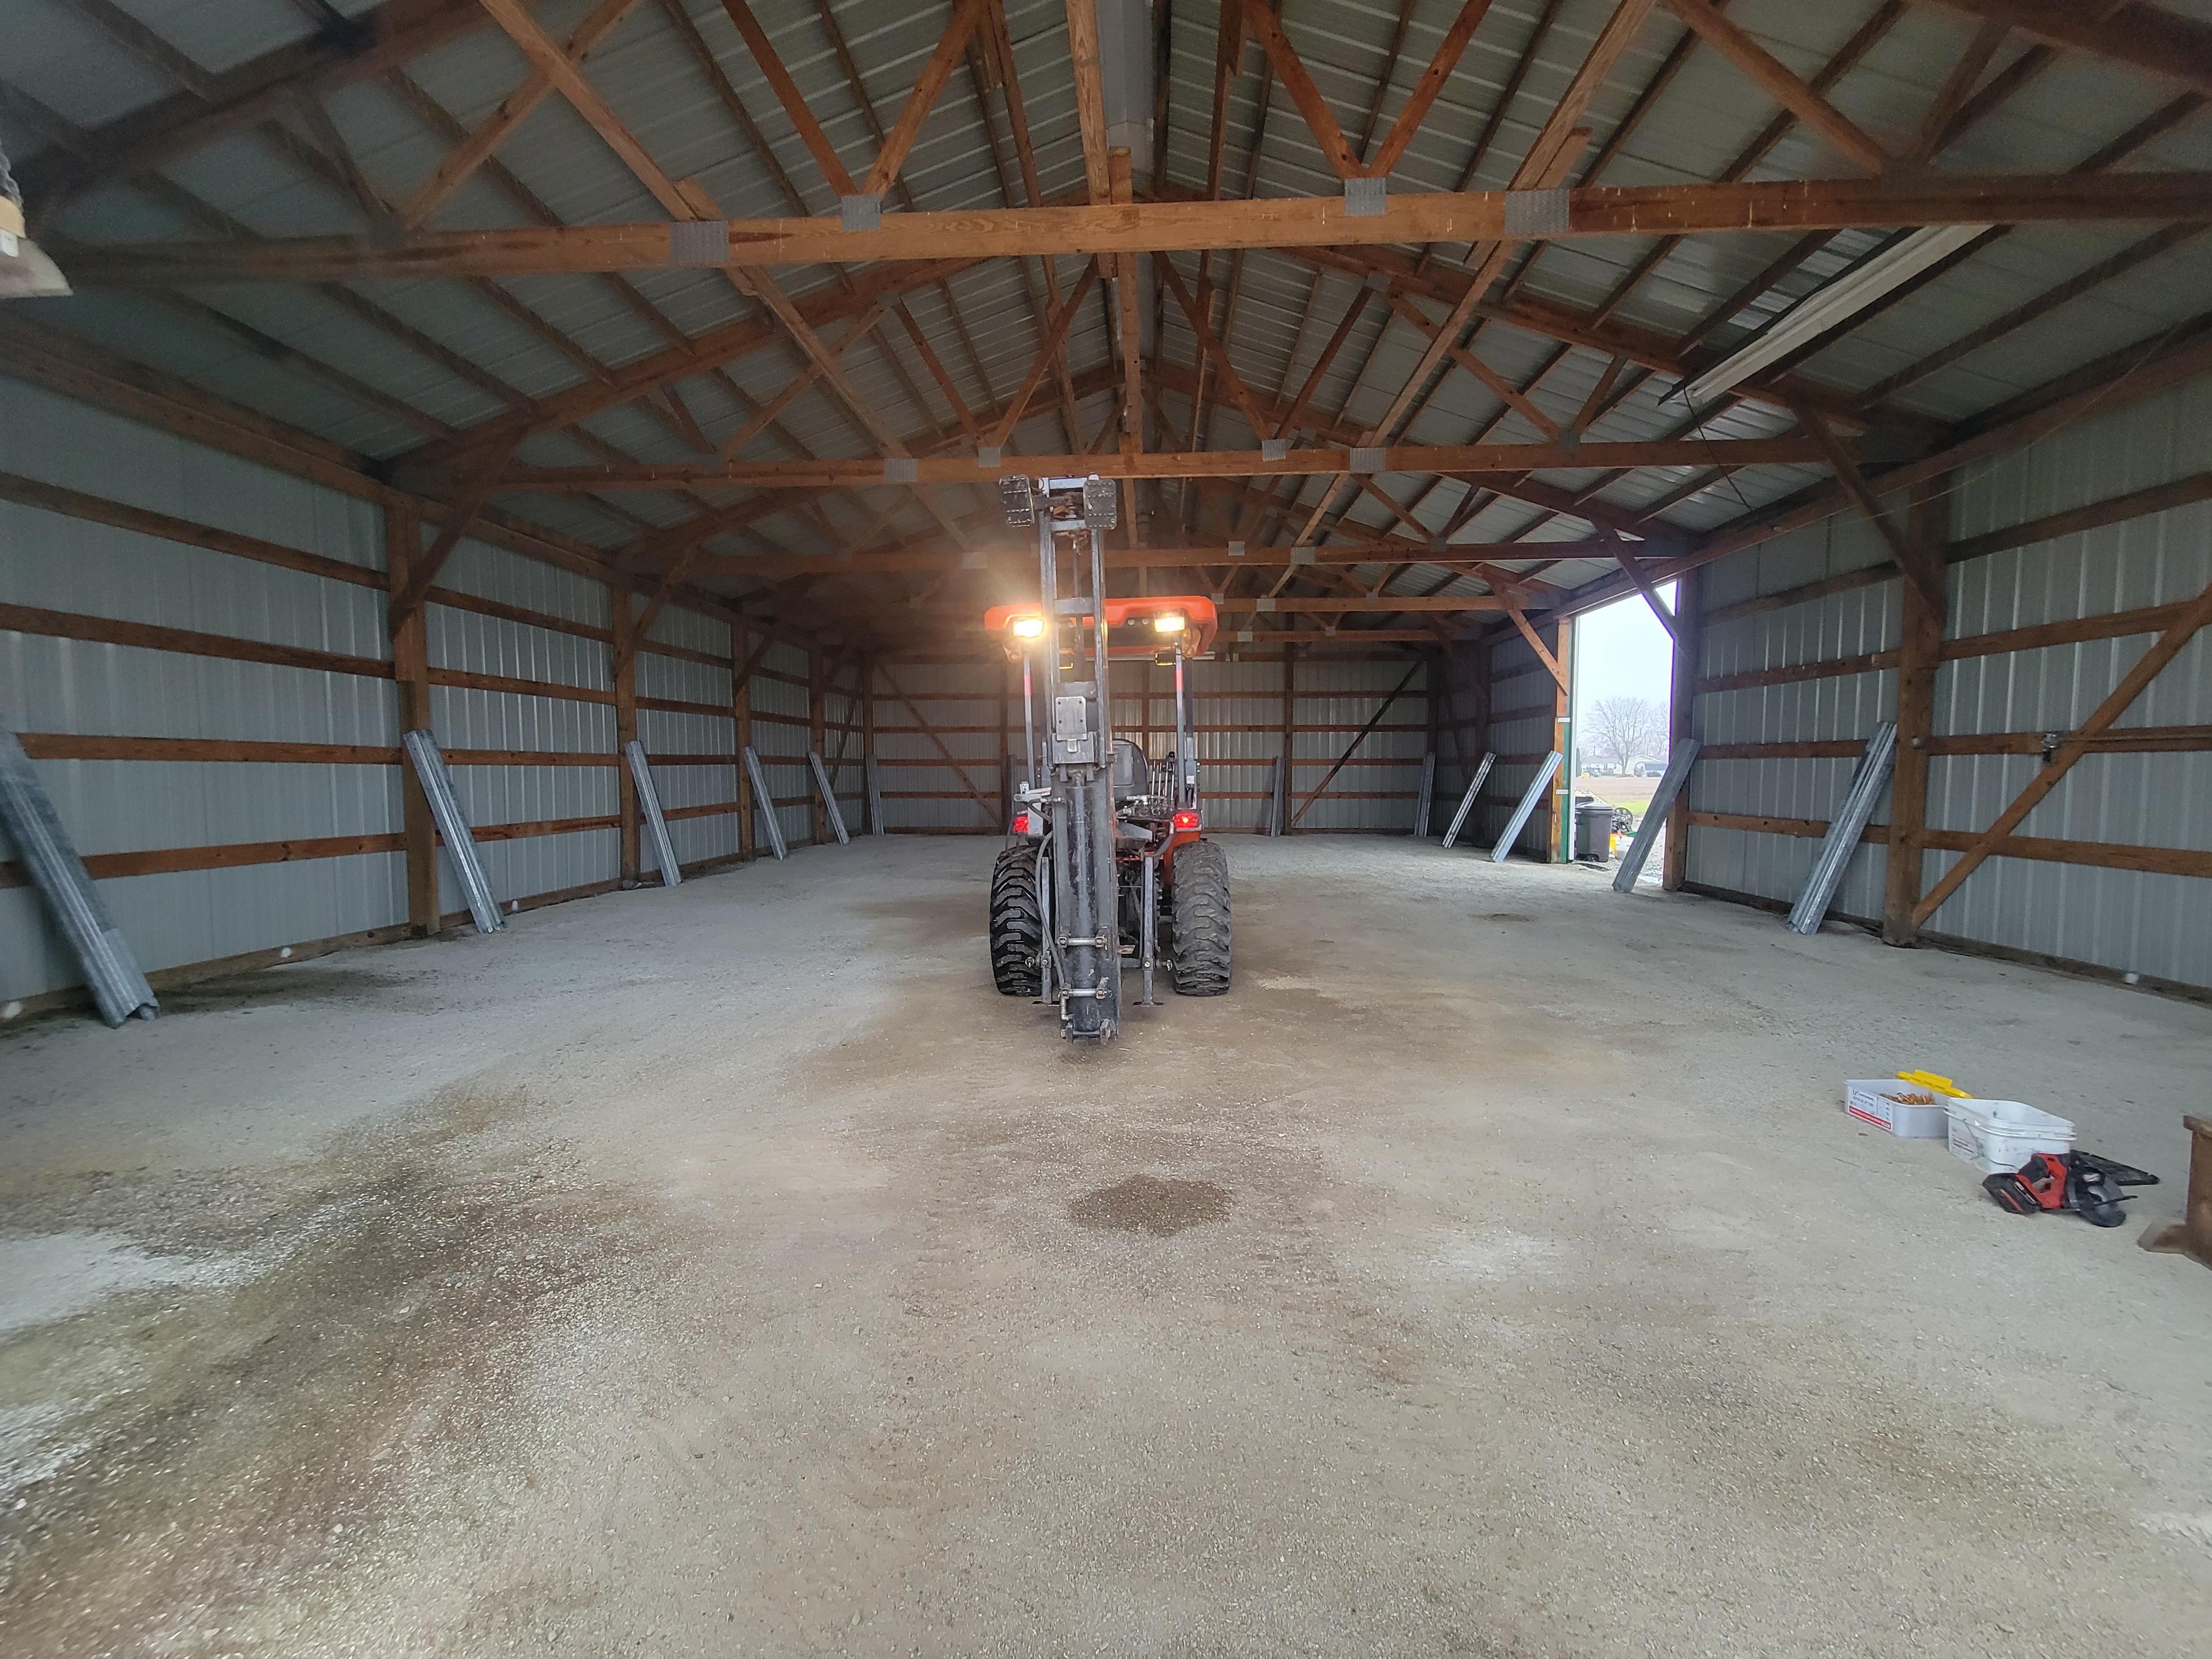
The property has an existing 40x60 pole barn on it. The barn has electric (poorly done, almost zero lighting) but no water. From the side door of the house, it’s 70 feet to the man door of the barn. The barn was built around 1995.

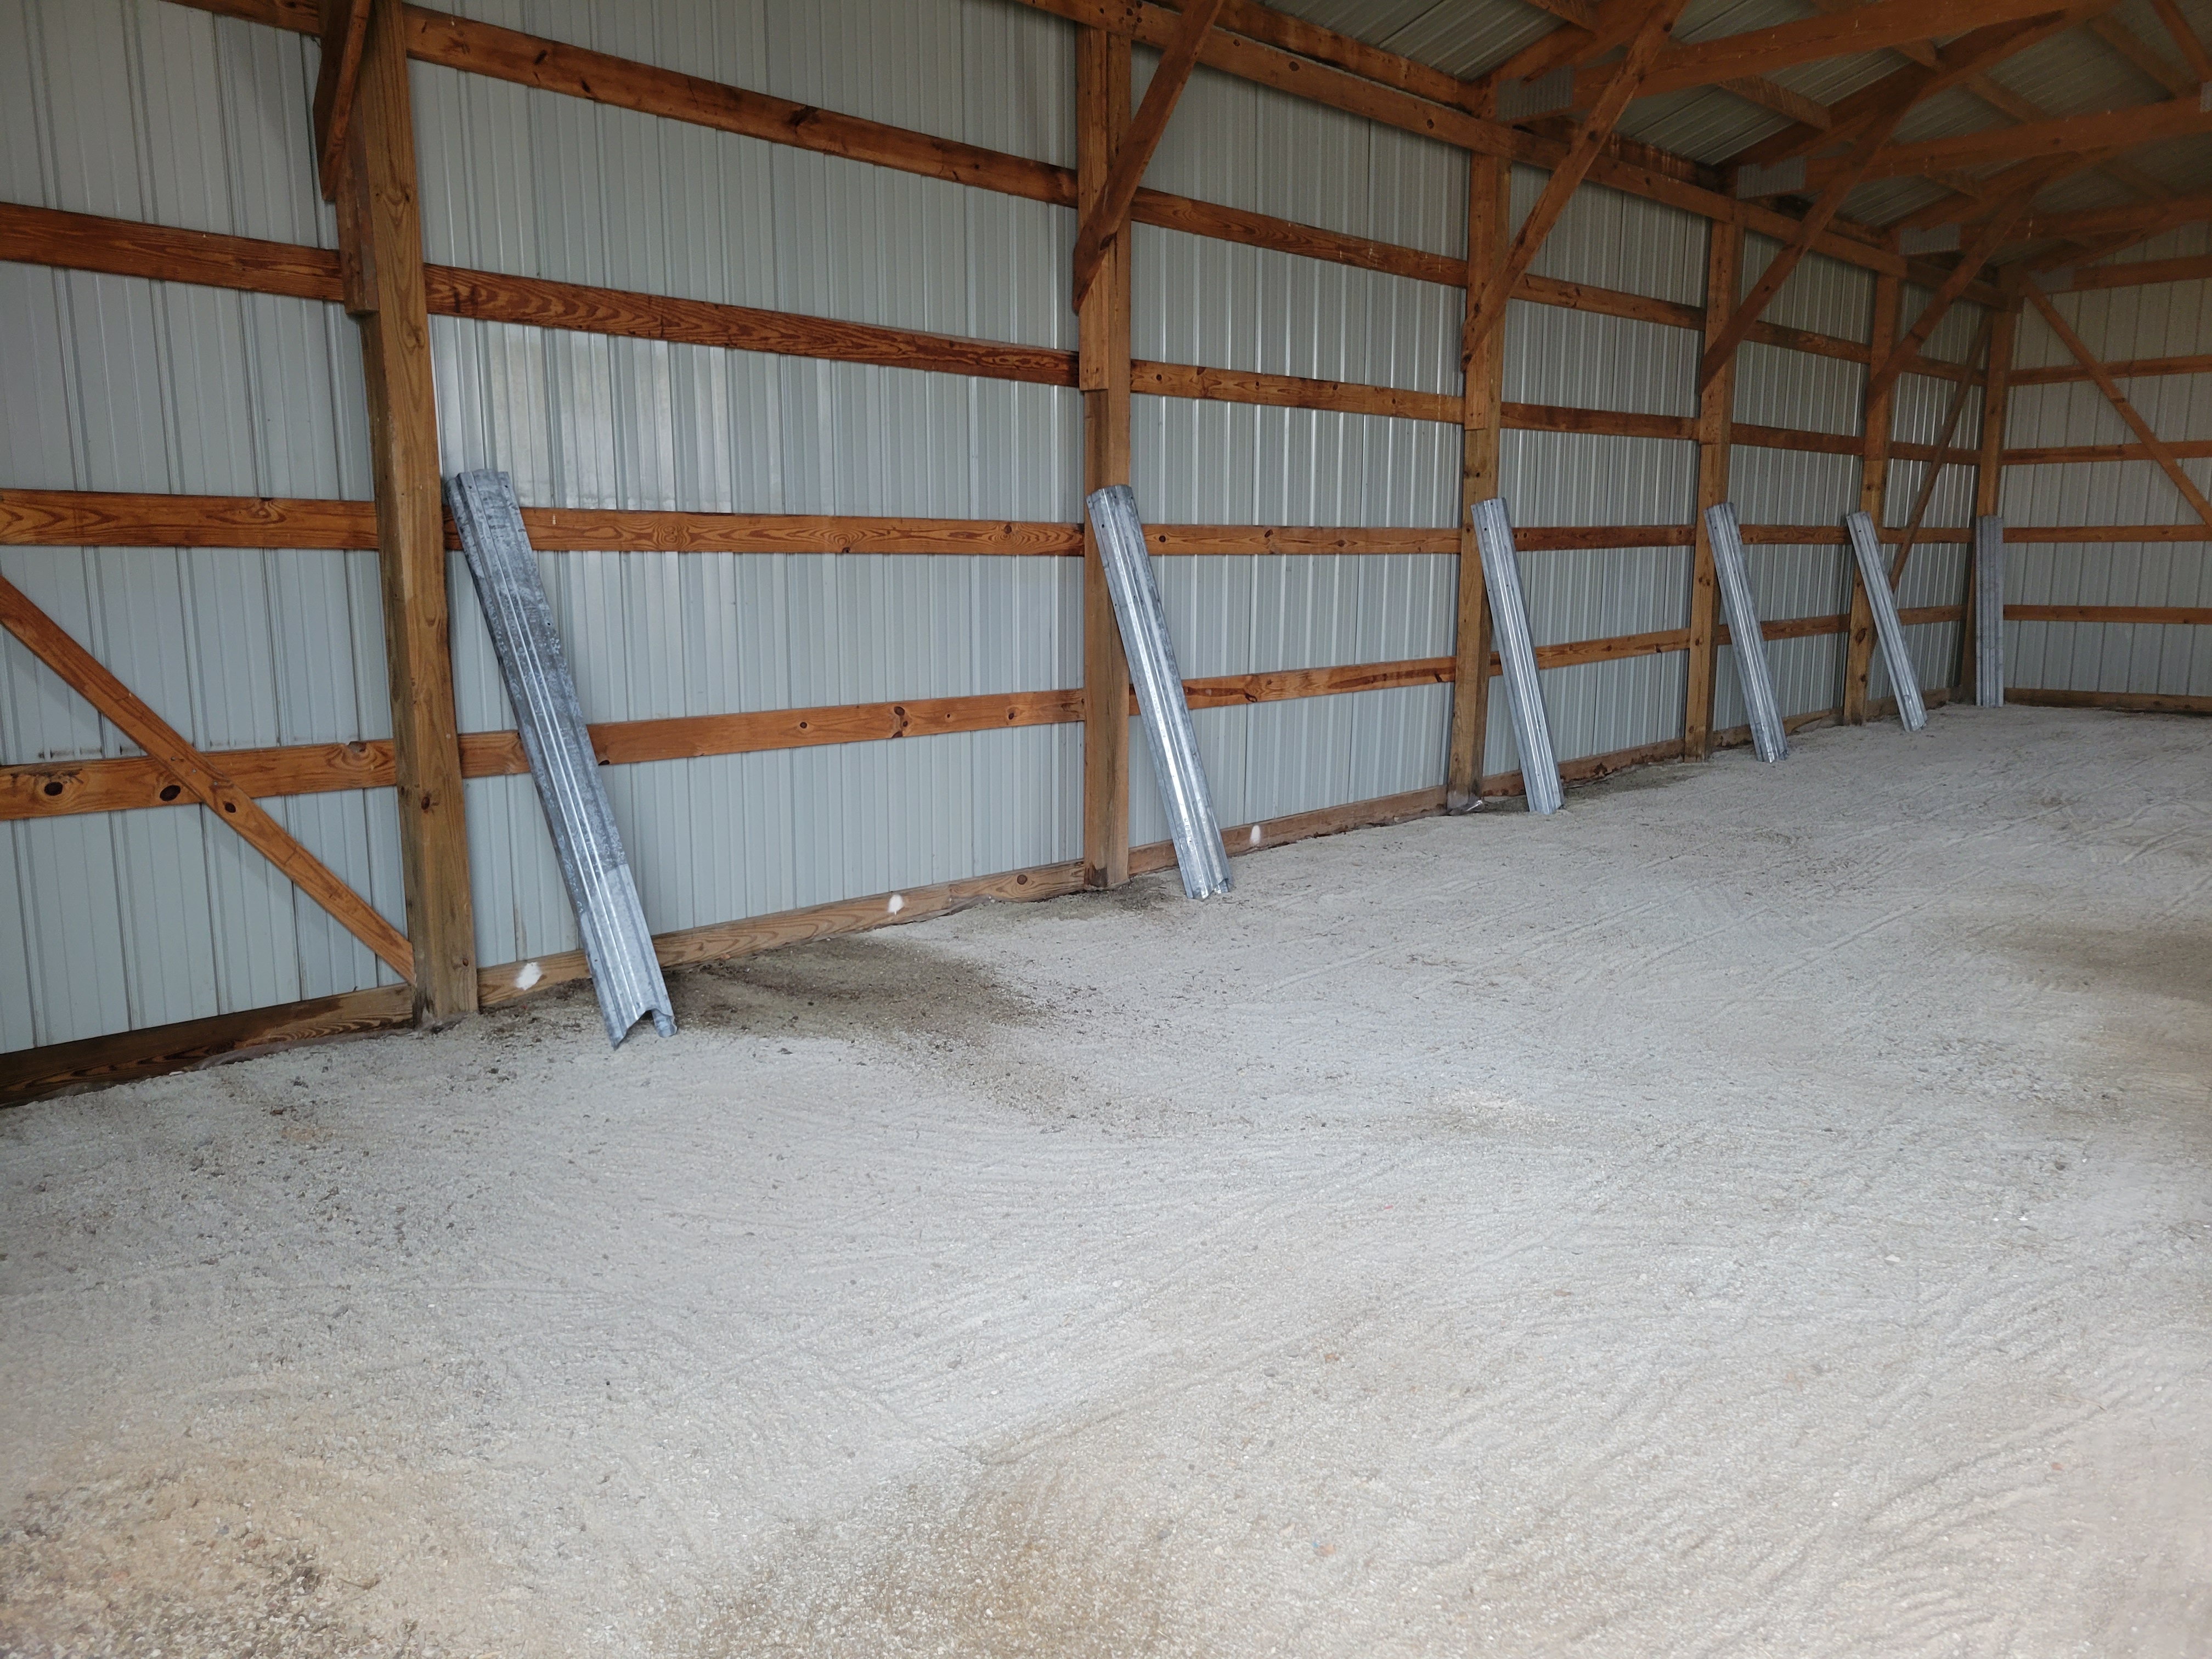
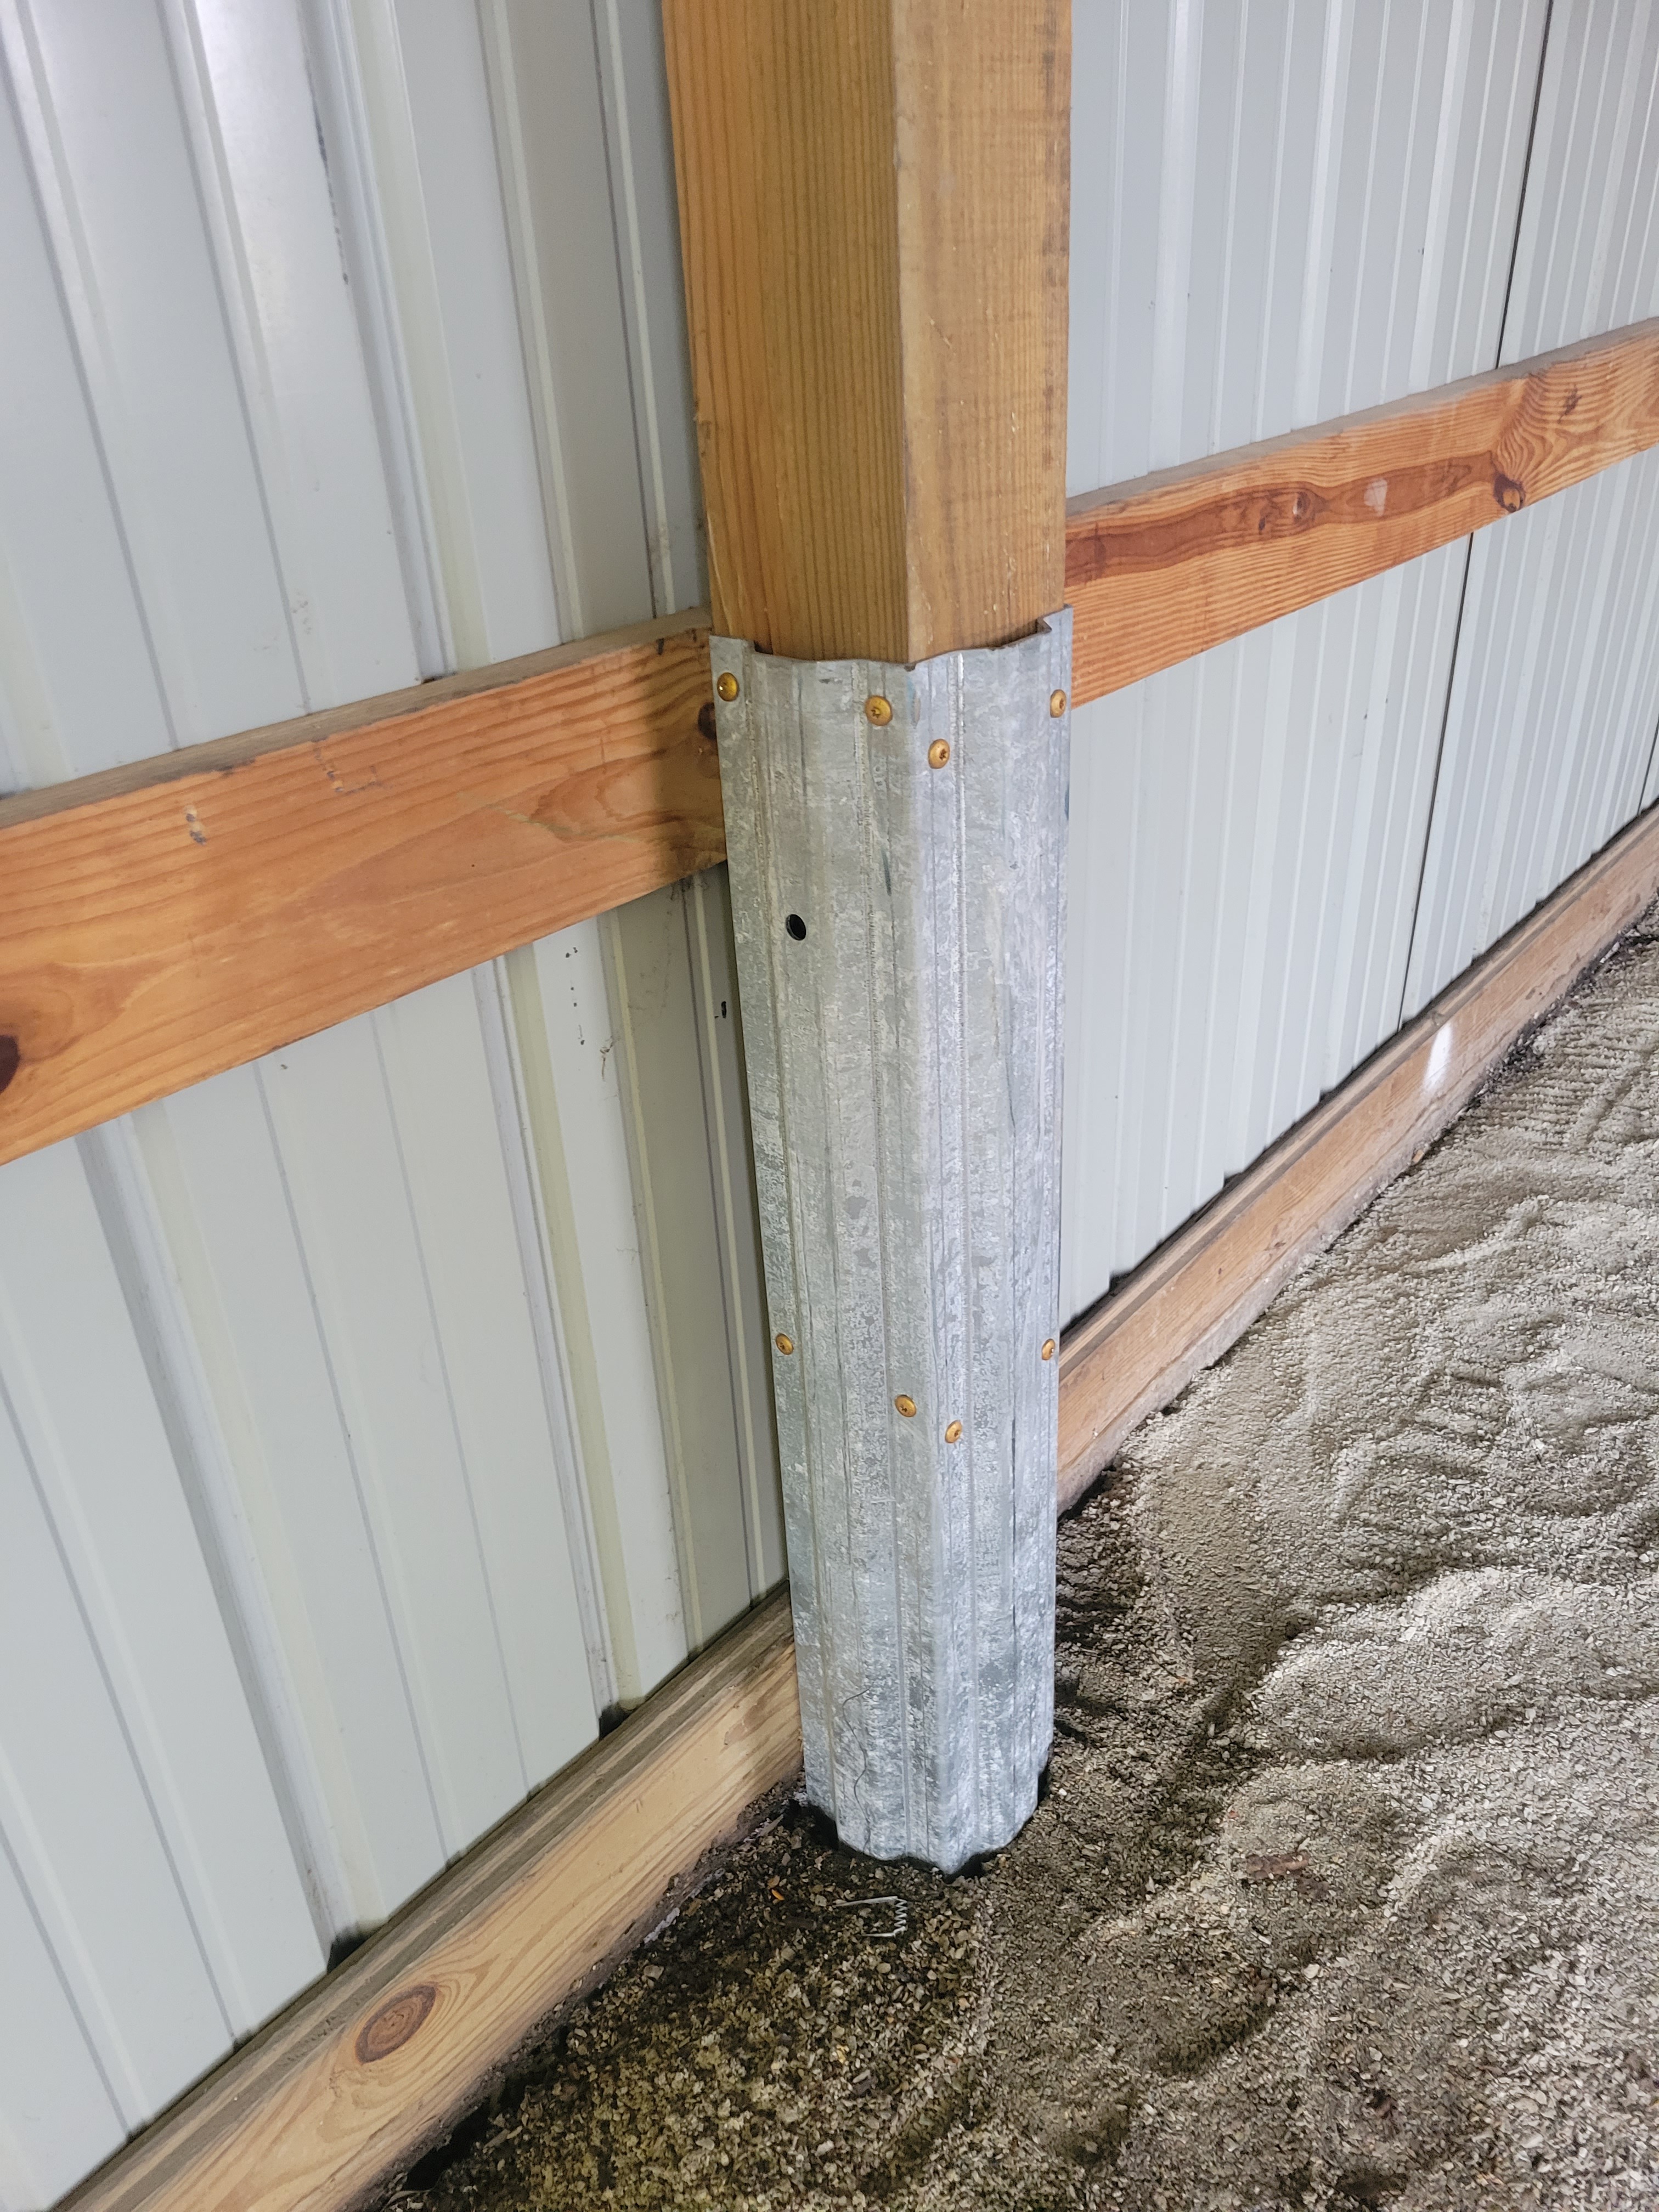
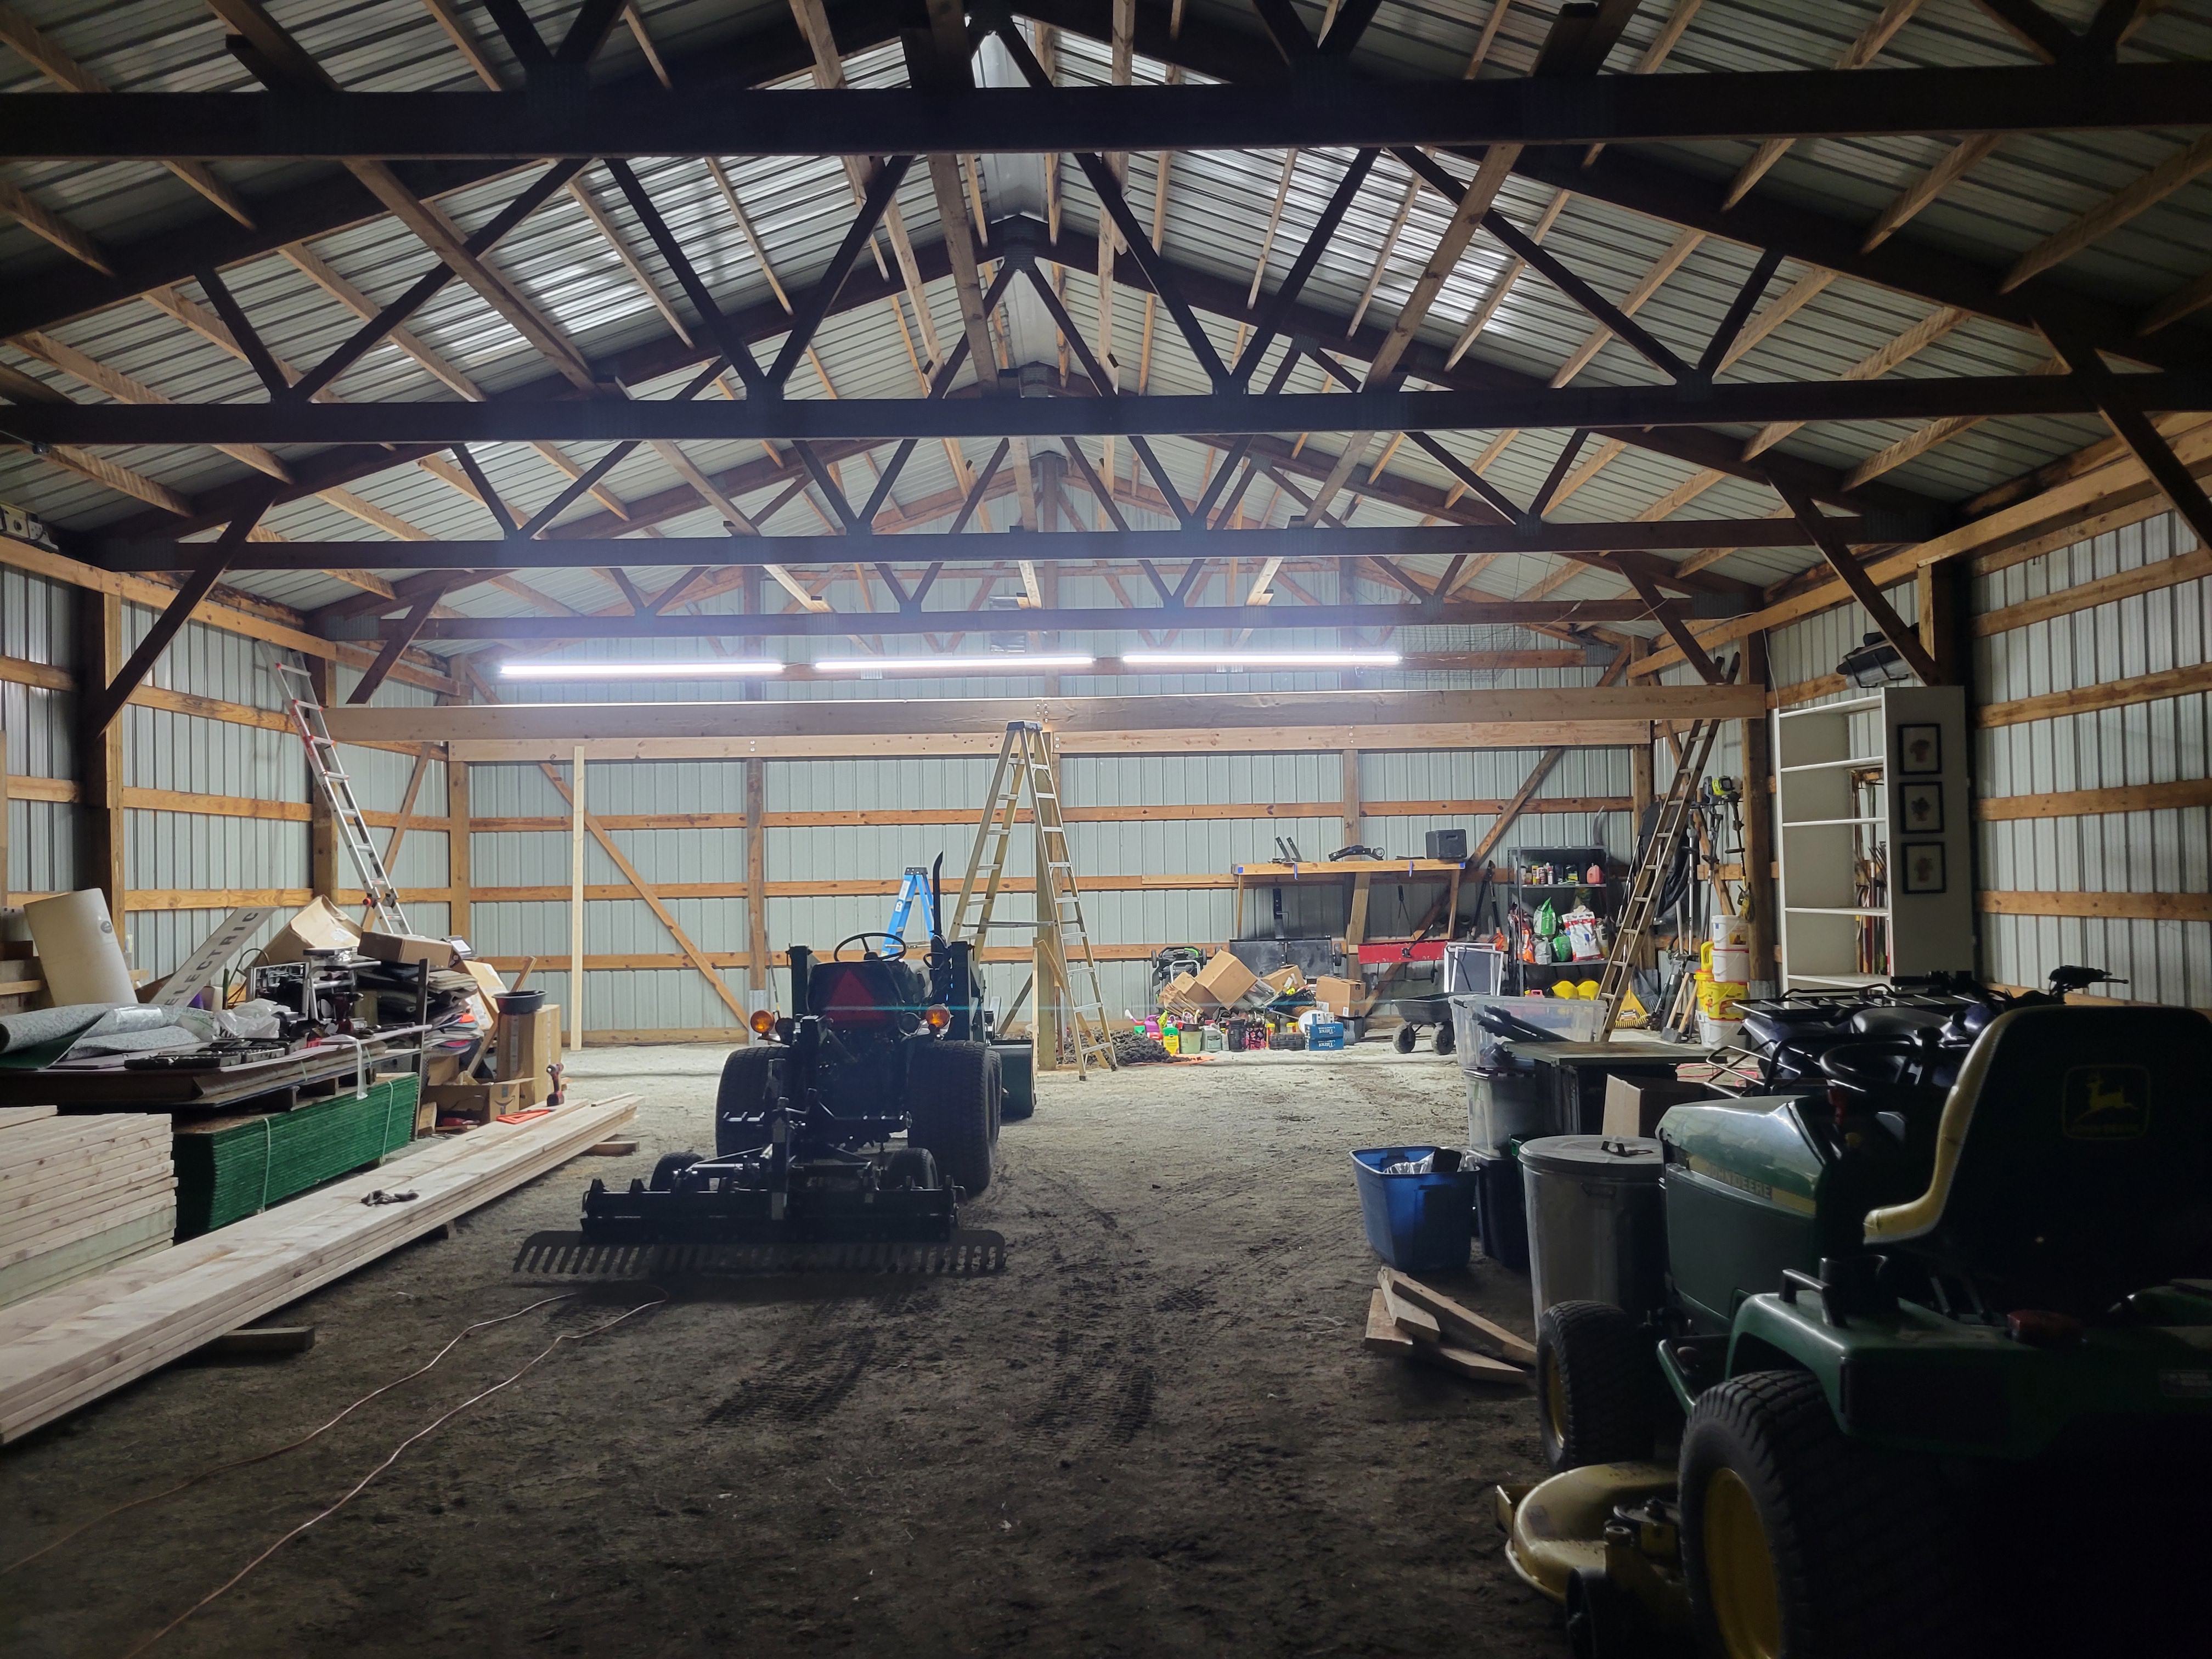
The barn posts were rotting at the surface, so I contracted out a company that installs heavy duty metal sleeves, and pushes them to the footers with a tractor. I emptied the barn, and they had it done in about 3 hours. Really cool process.

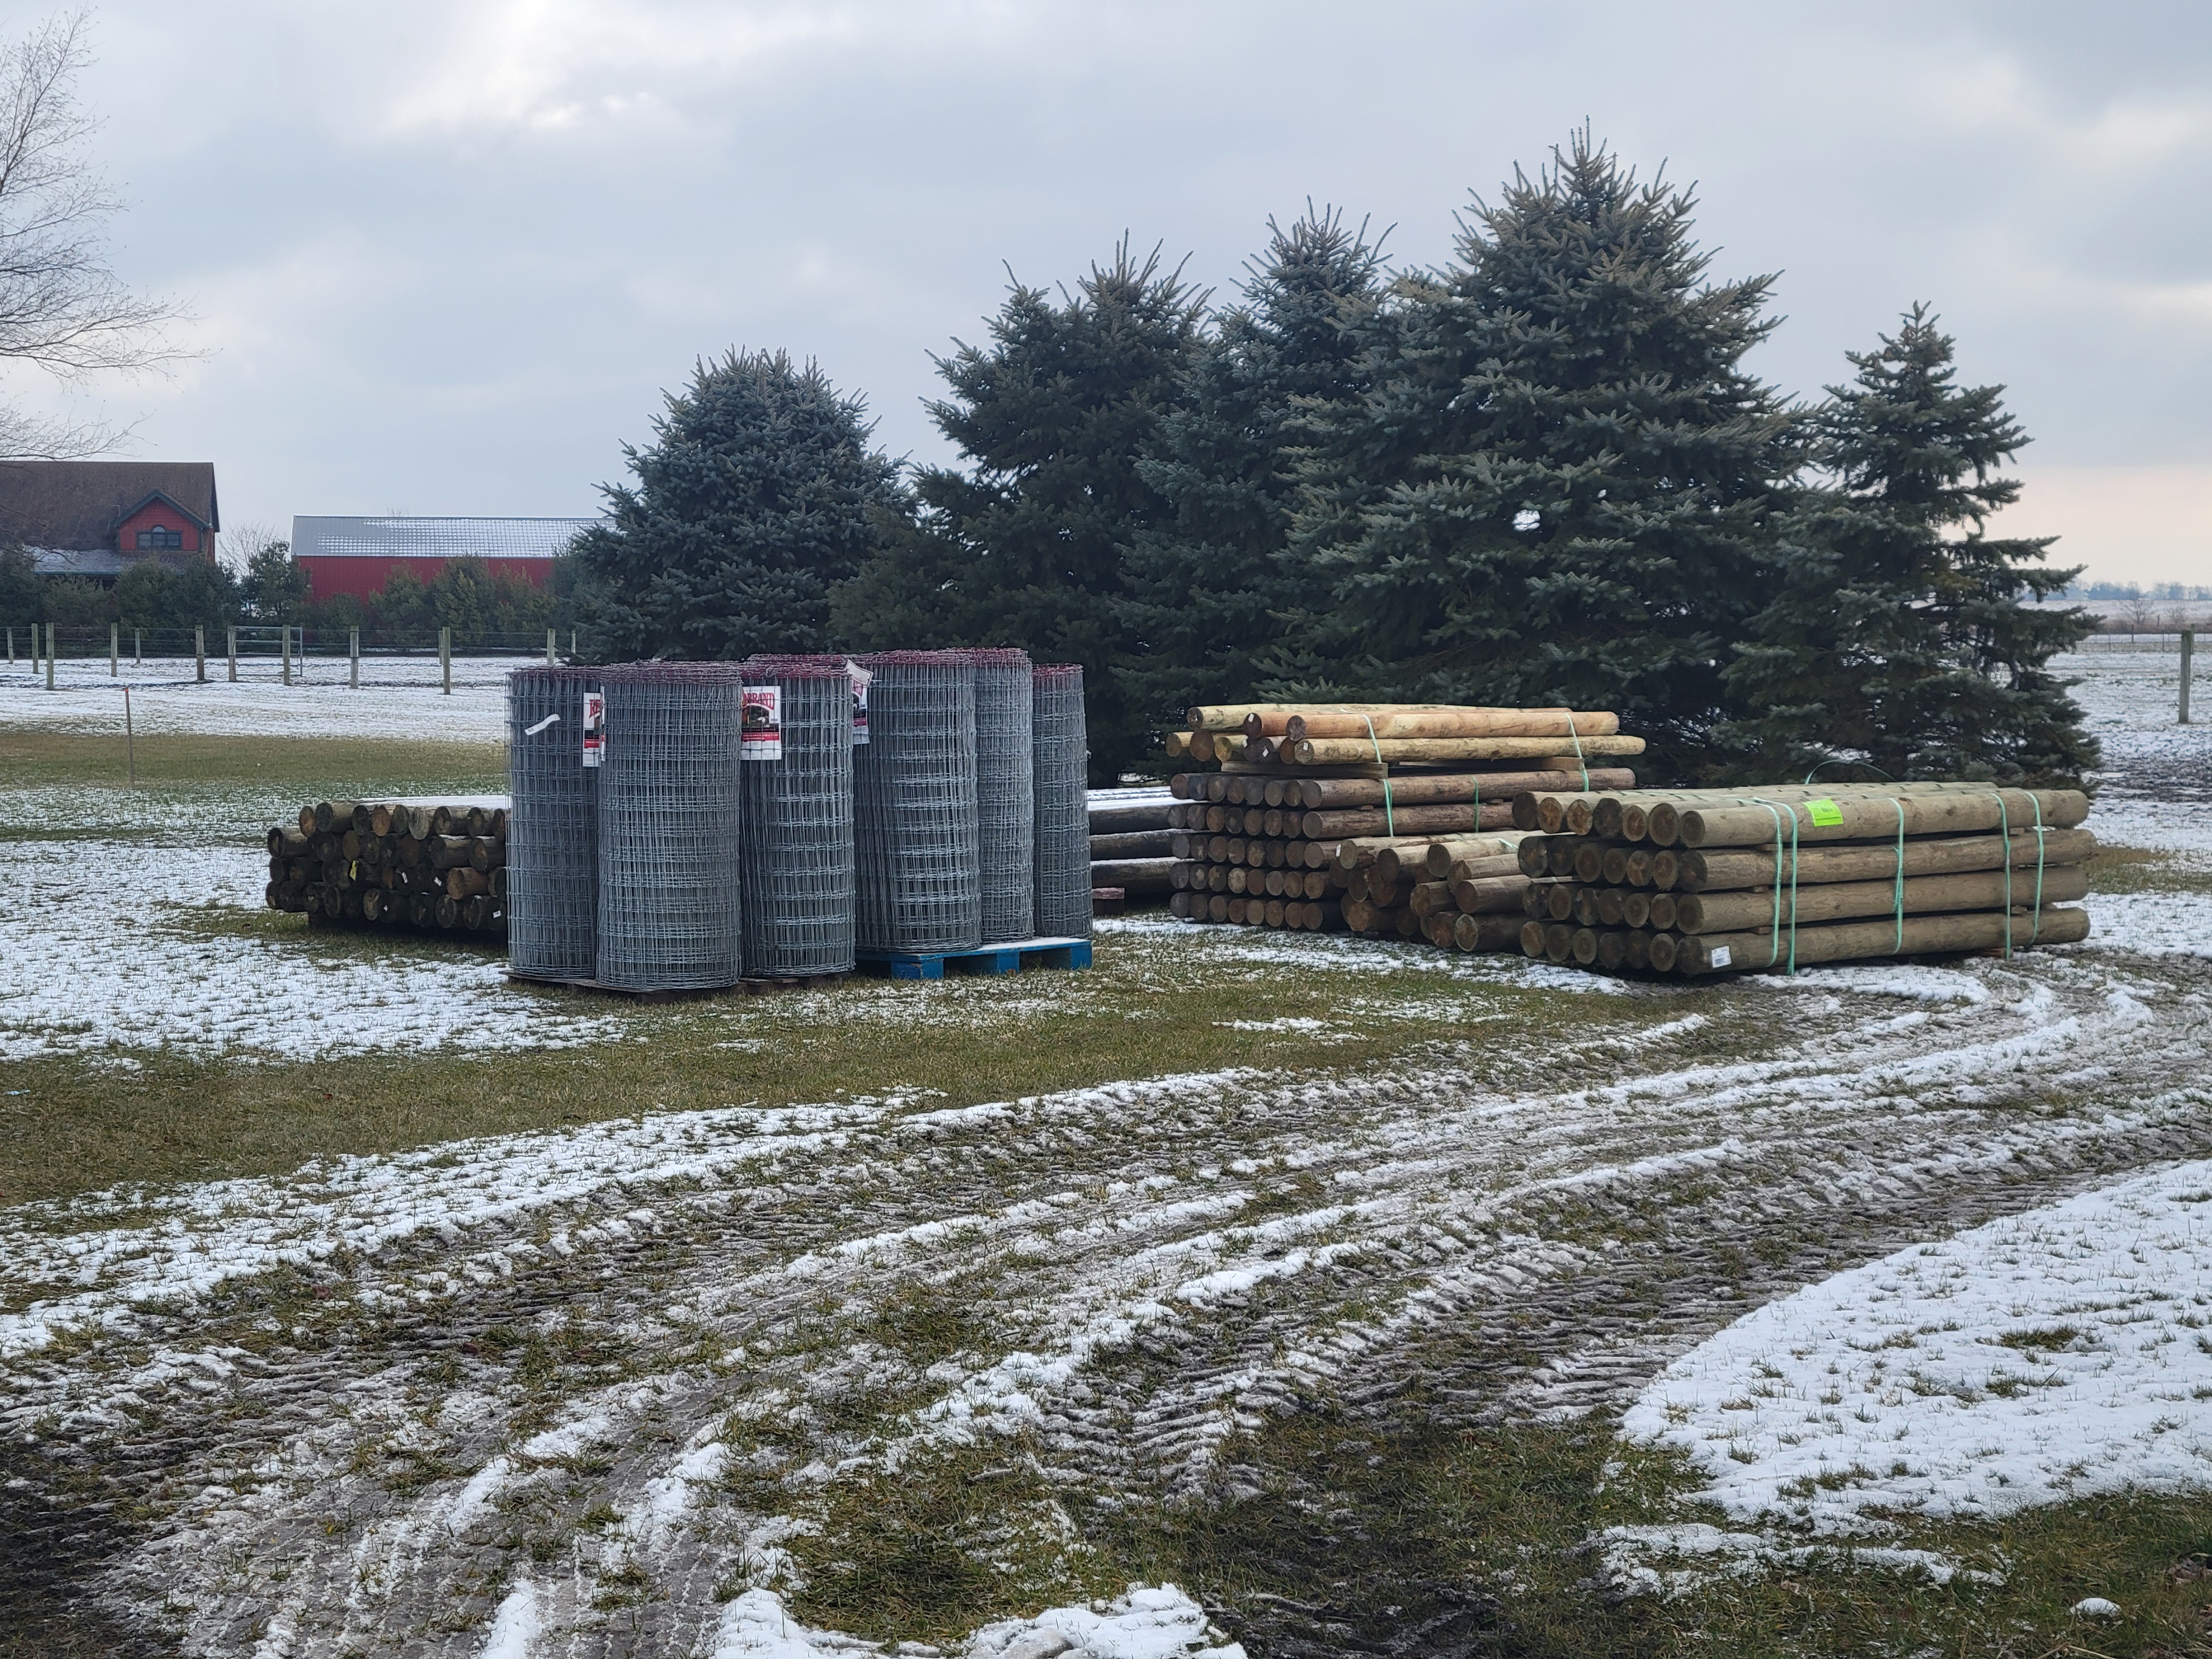
I have my fencing materials on site - I’m putting a 4’ no climb perimeter on a mix of t posts and wood posts. There will be a line of hot tape somewhere at the top, I’m going to try for 5’ but that may look funny, we shall see. I’m torn between renting the post pounder and doing the work myself, and hiring someone to come pound them. We will see what the money situation looks like come March when the weather is better for pounding - that will be the deciding factor. For my H braces, i elected to go with Kencove quick braces that have a screw in bracket - I didn’t want to deal with giant drill bits and pins. I also will use their cables as the brace wire, with a sleeve. I’ll be able to run nearly all of my no climb on interior runs, so the horses won’t be getting into the brace wire. Still, their little choker loop seems safer than tensile wire.

I will be building a 14’ lean to off the east side of the barn. The front 30 feet will be hay storage - I will install a 9x9 overhead door on the front. The back 30’ will be the run ins, which will be able to be converted to stalls. The lumber delivery is due mid February.

What I am building now - a loft for storage of fence parts and things I really don’t want to have to make room for on the ground level, but need on hand because: horses.

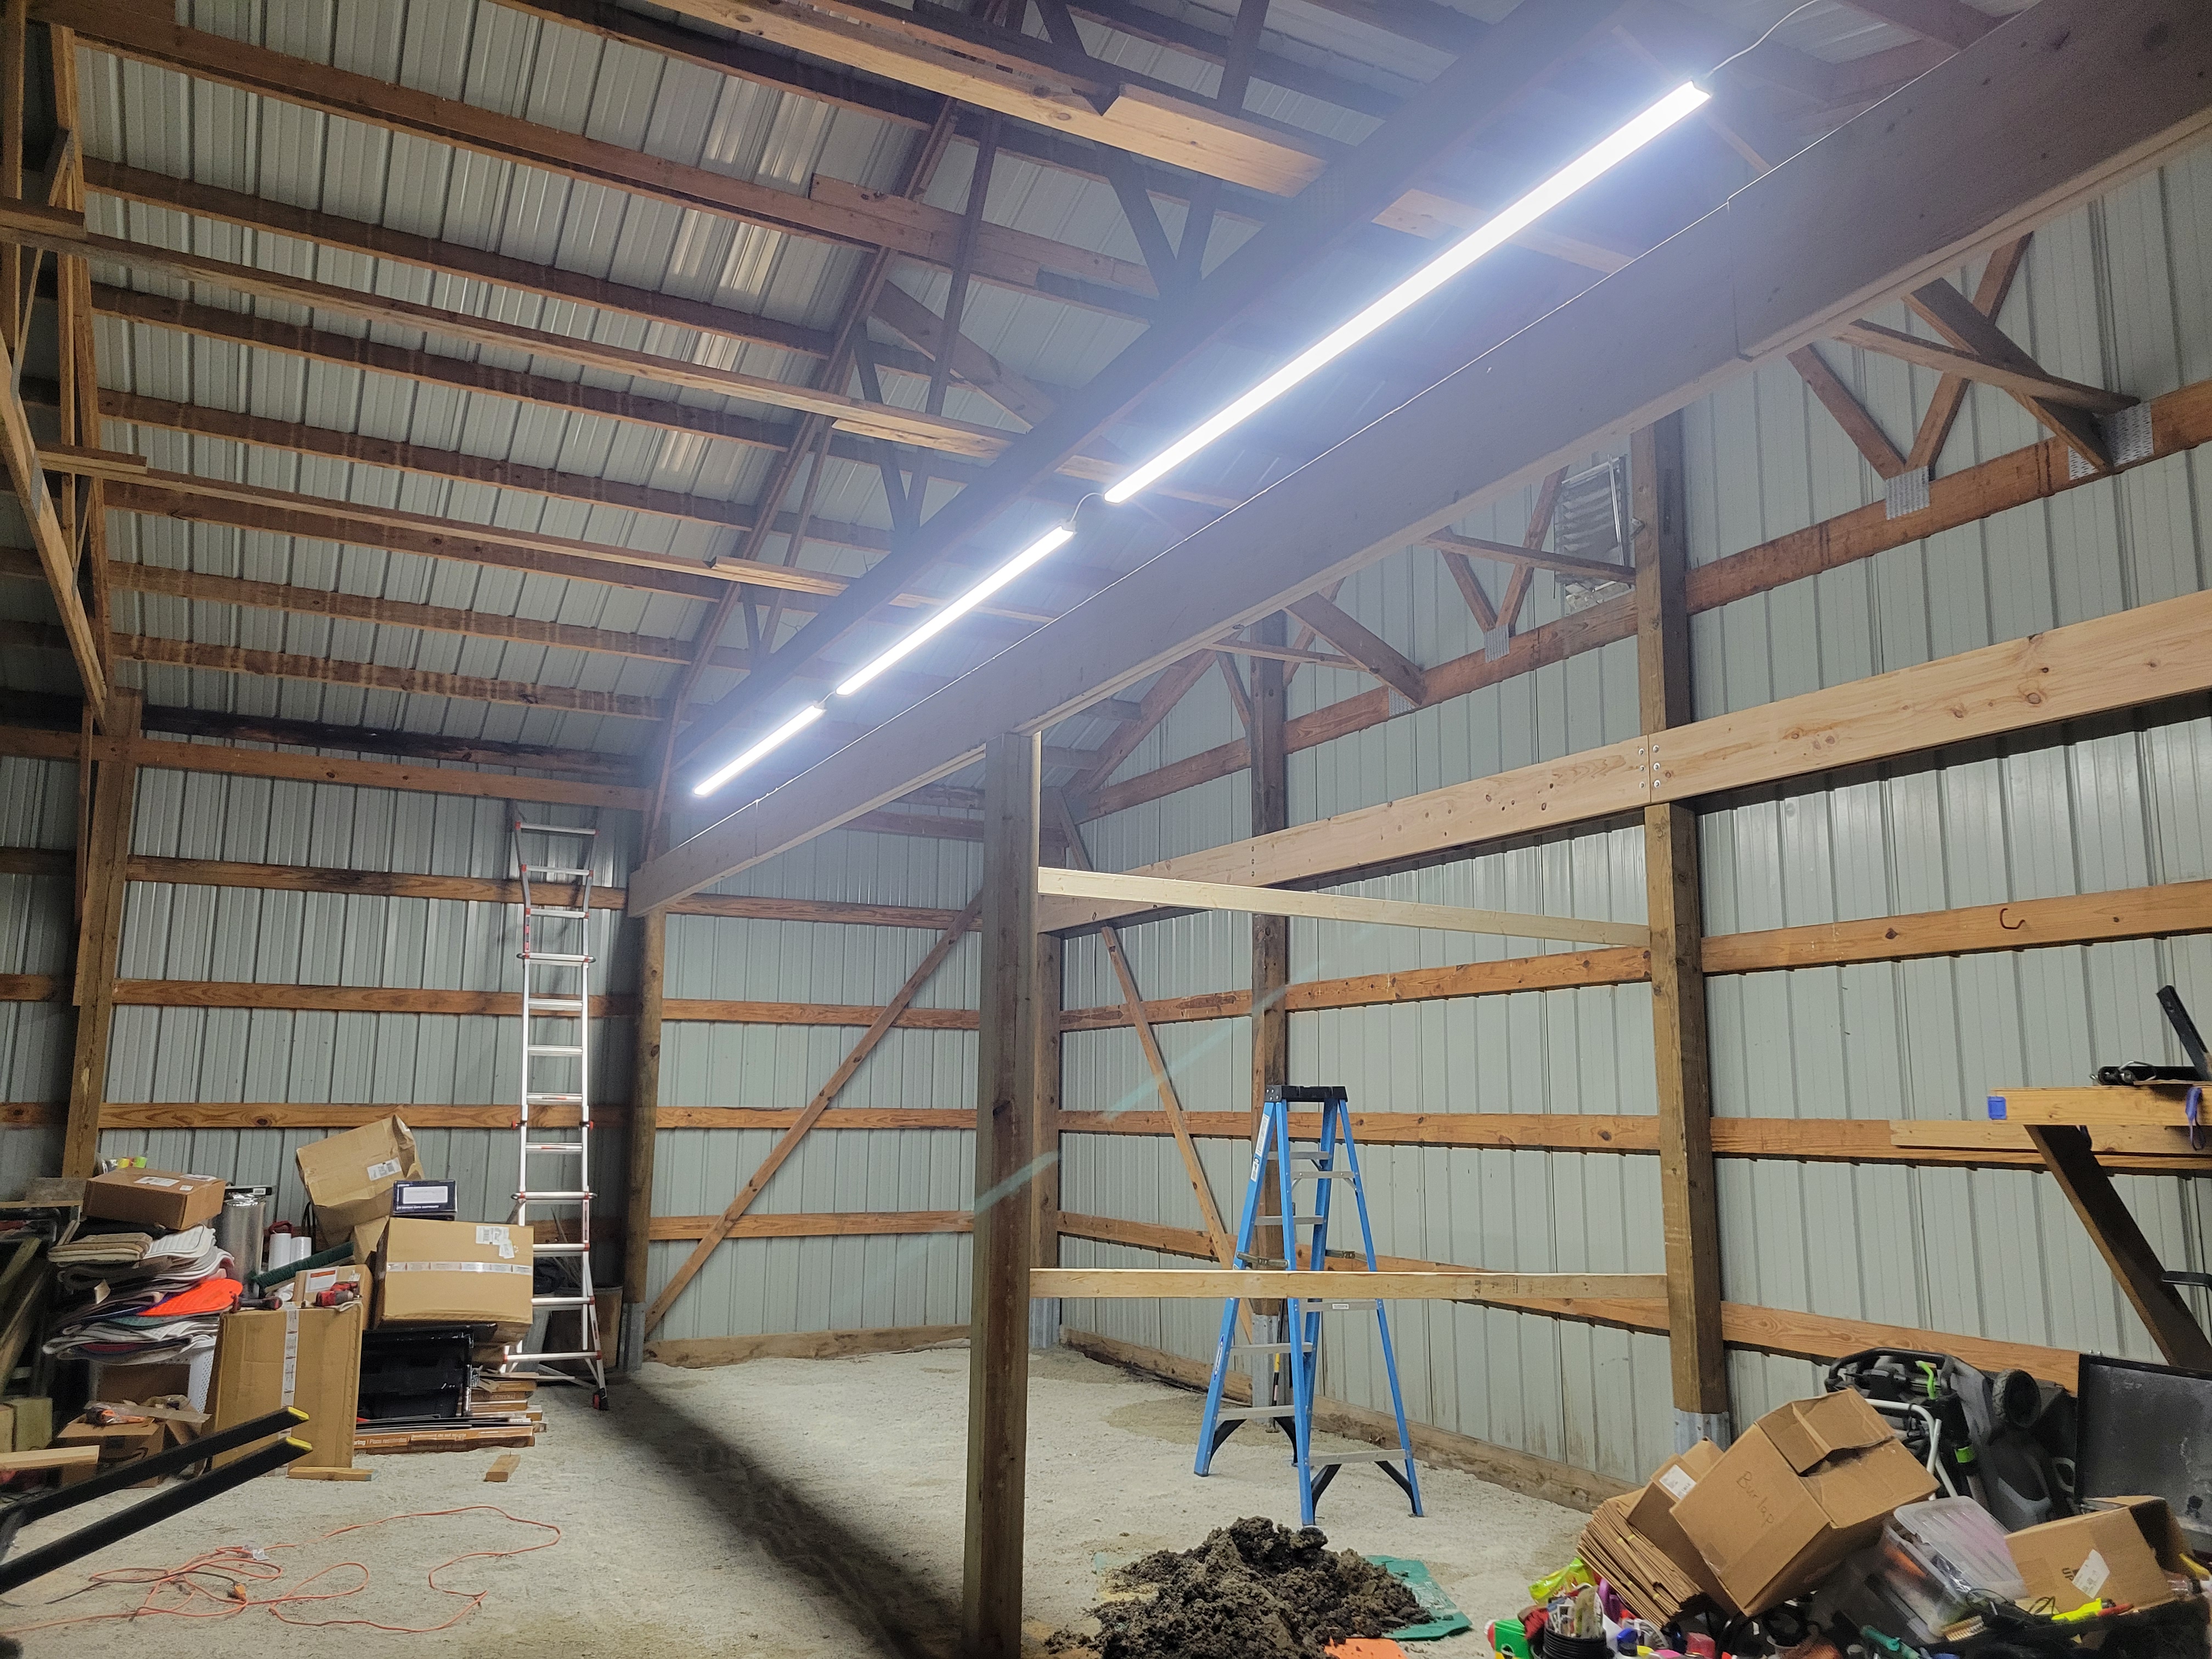
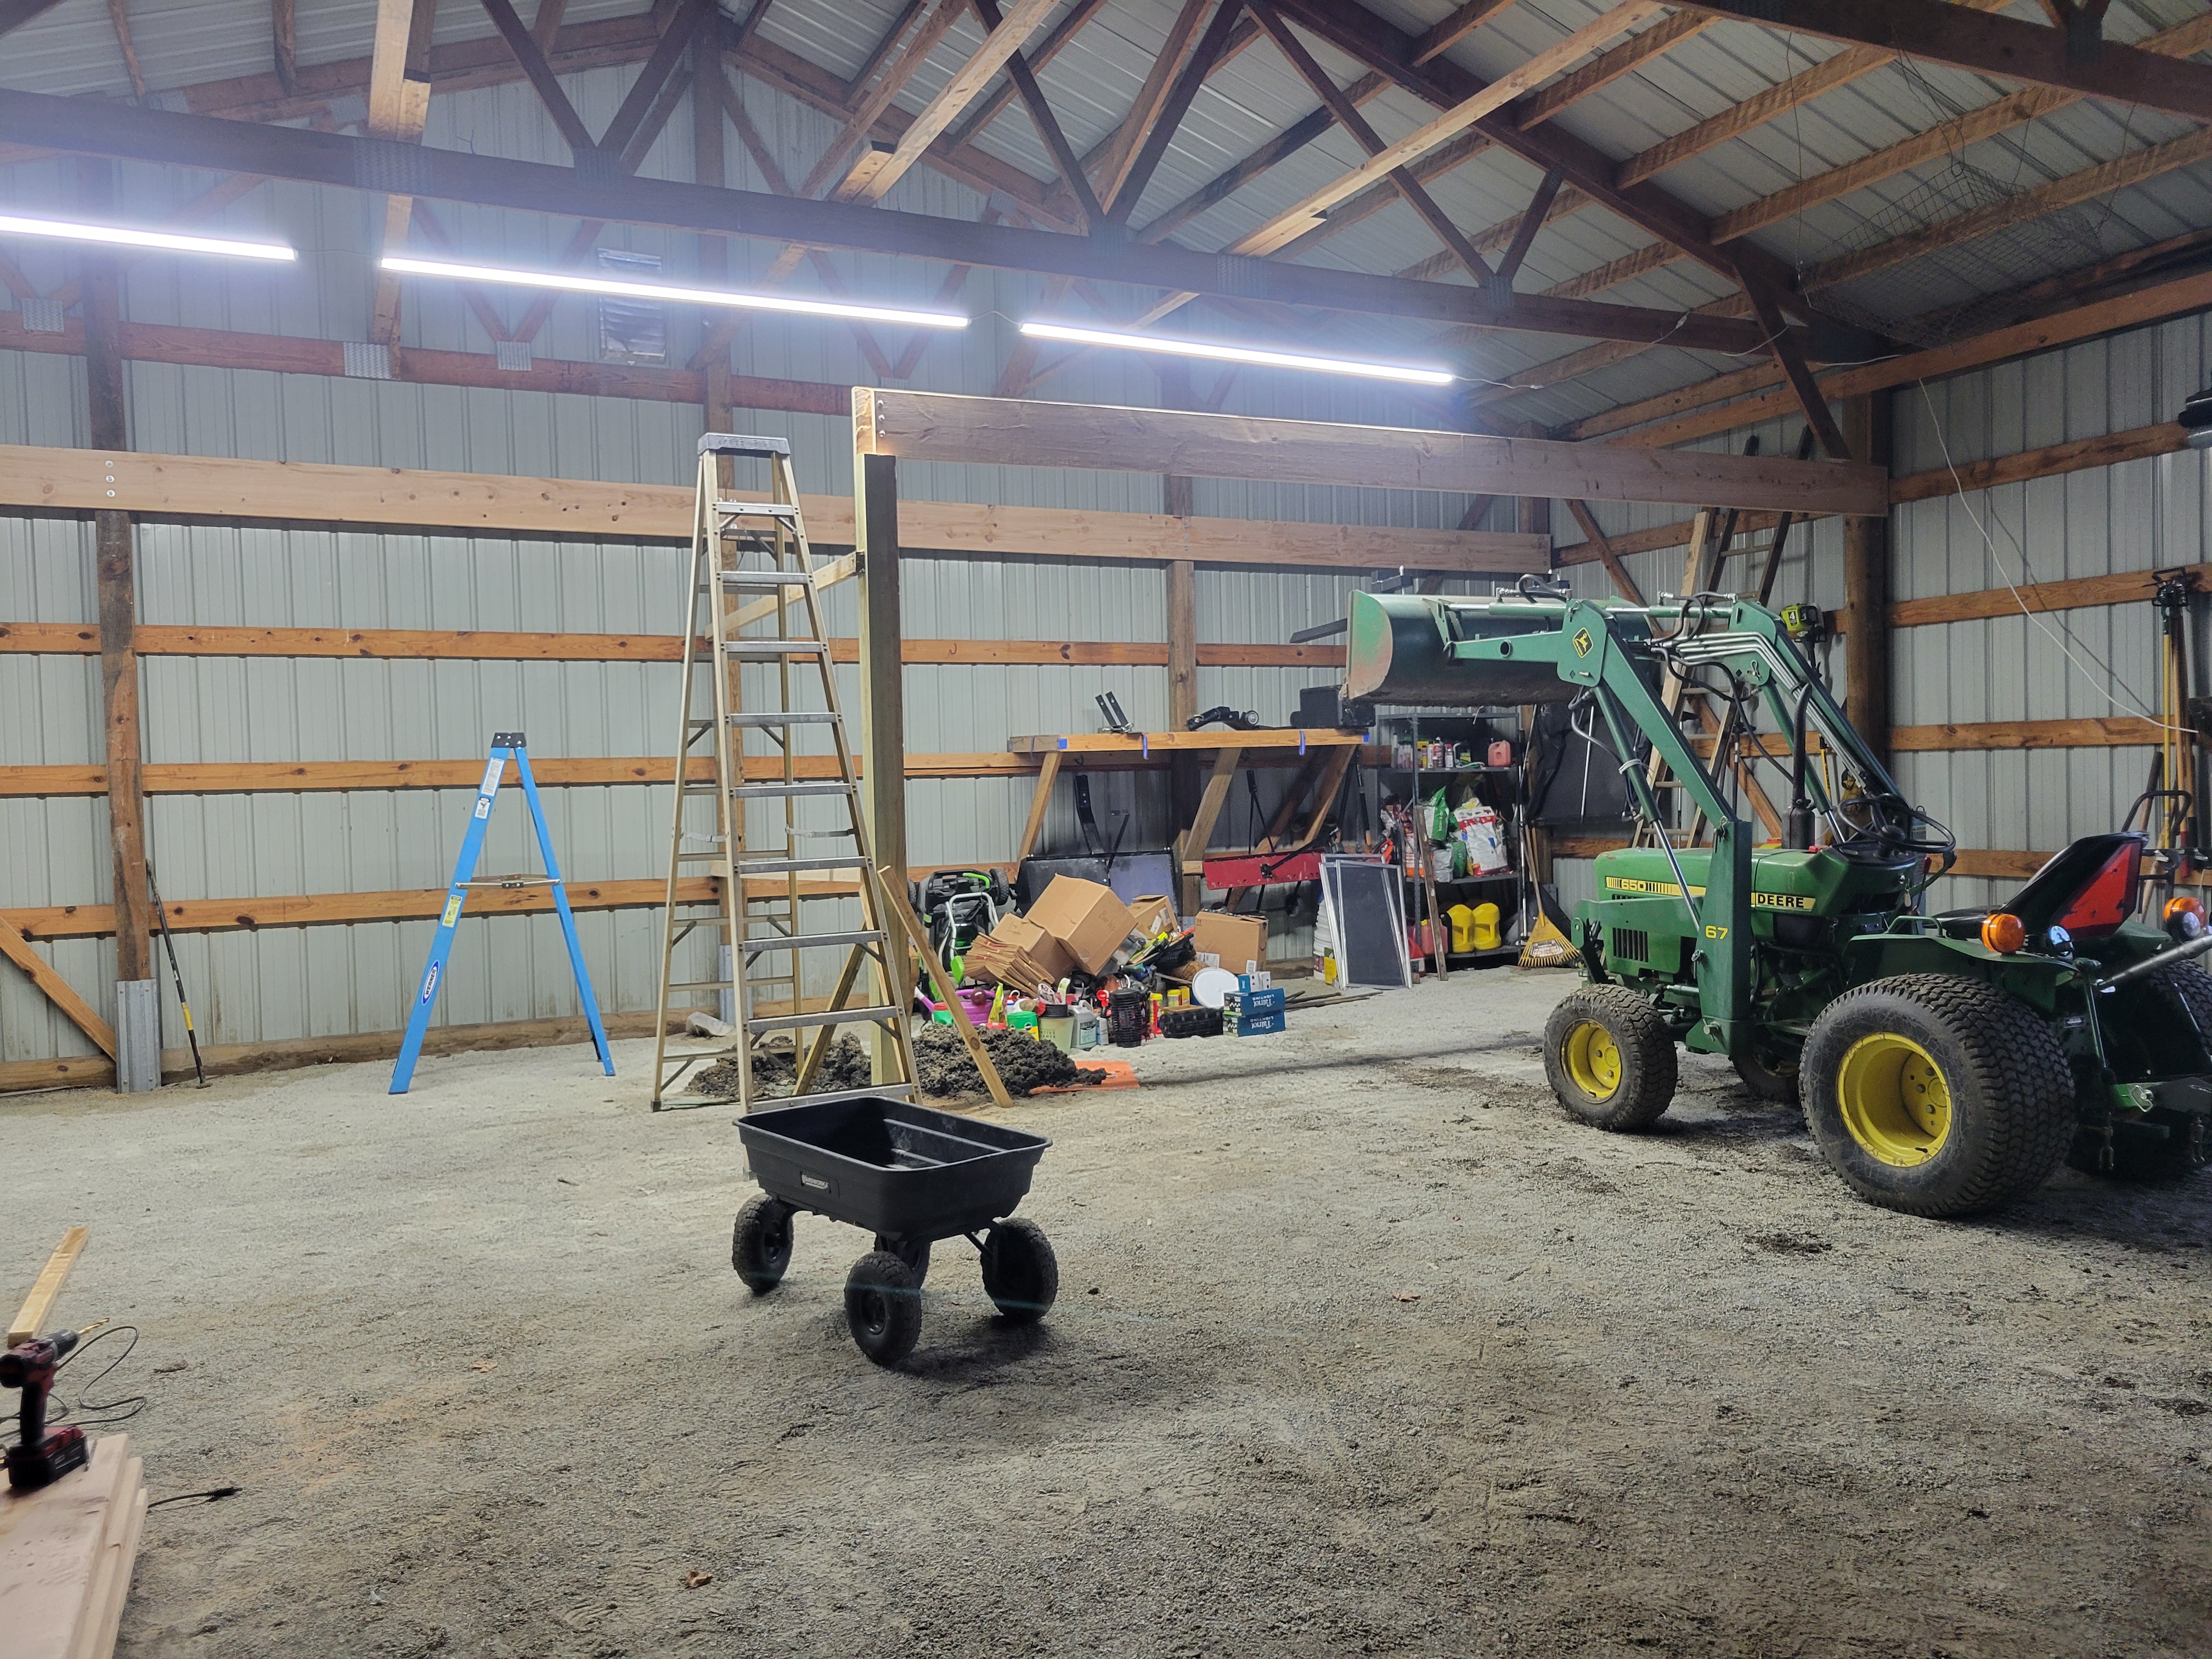
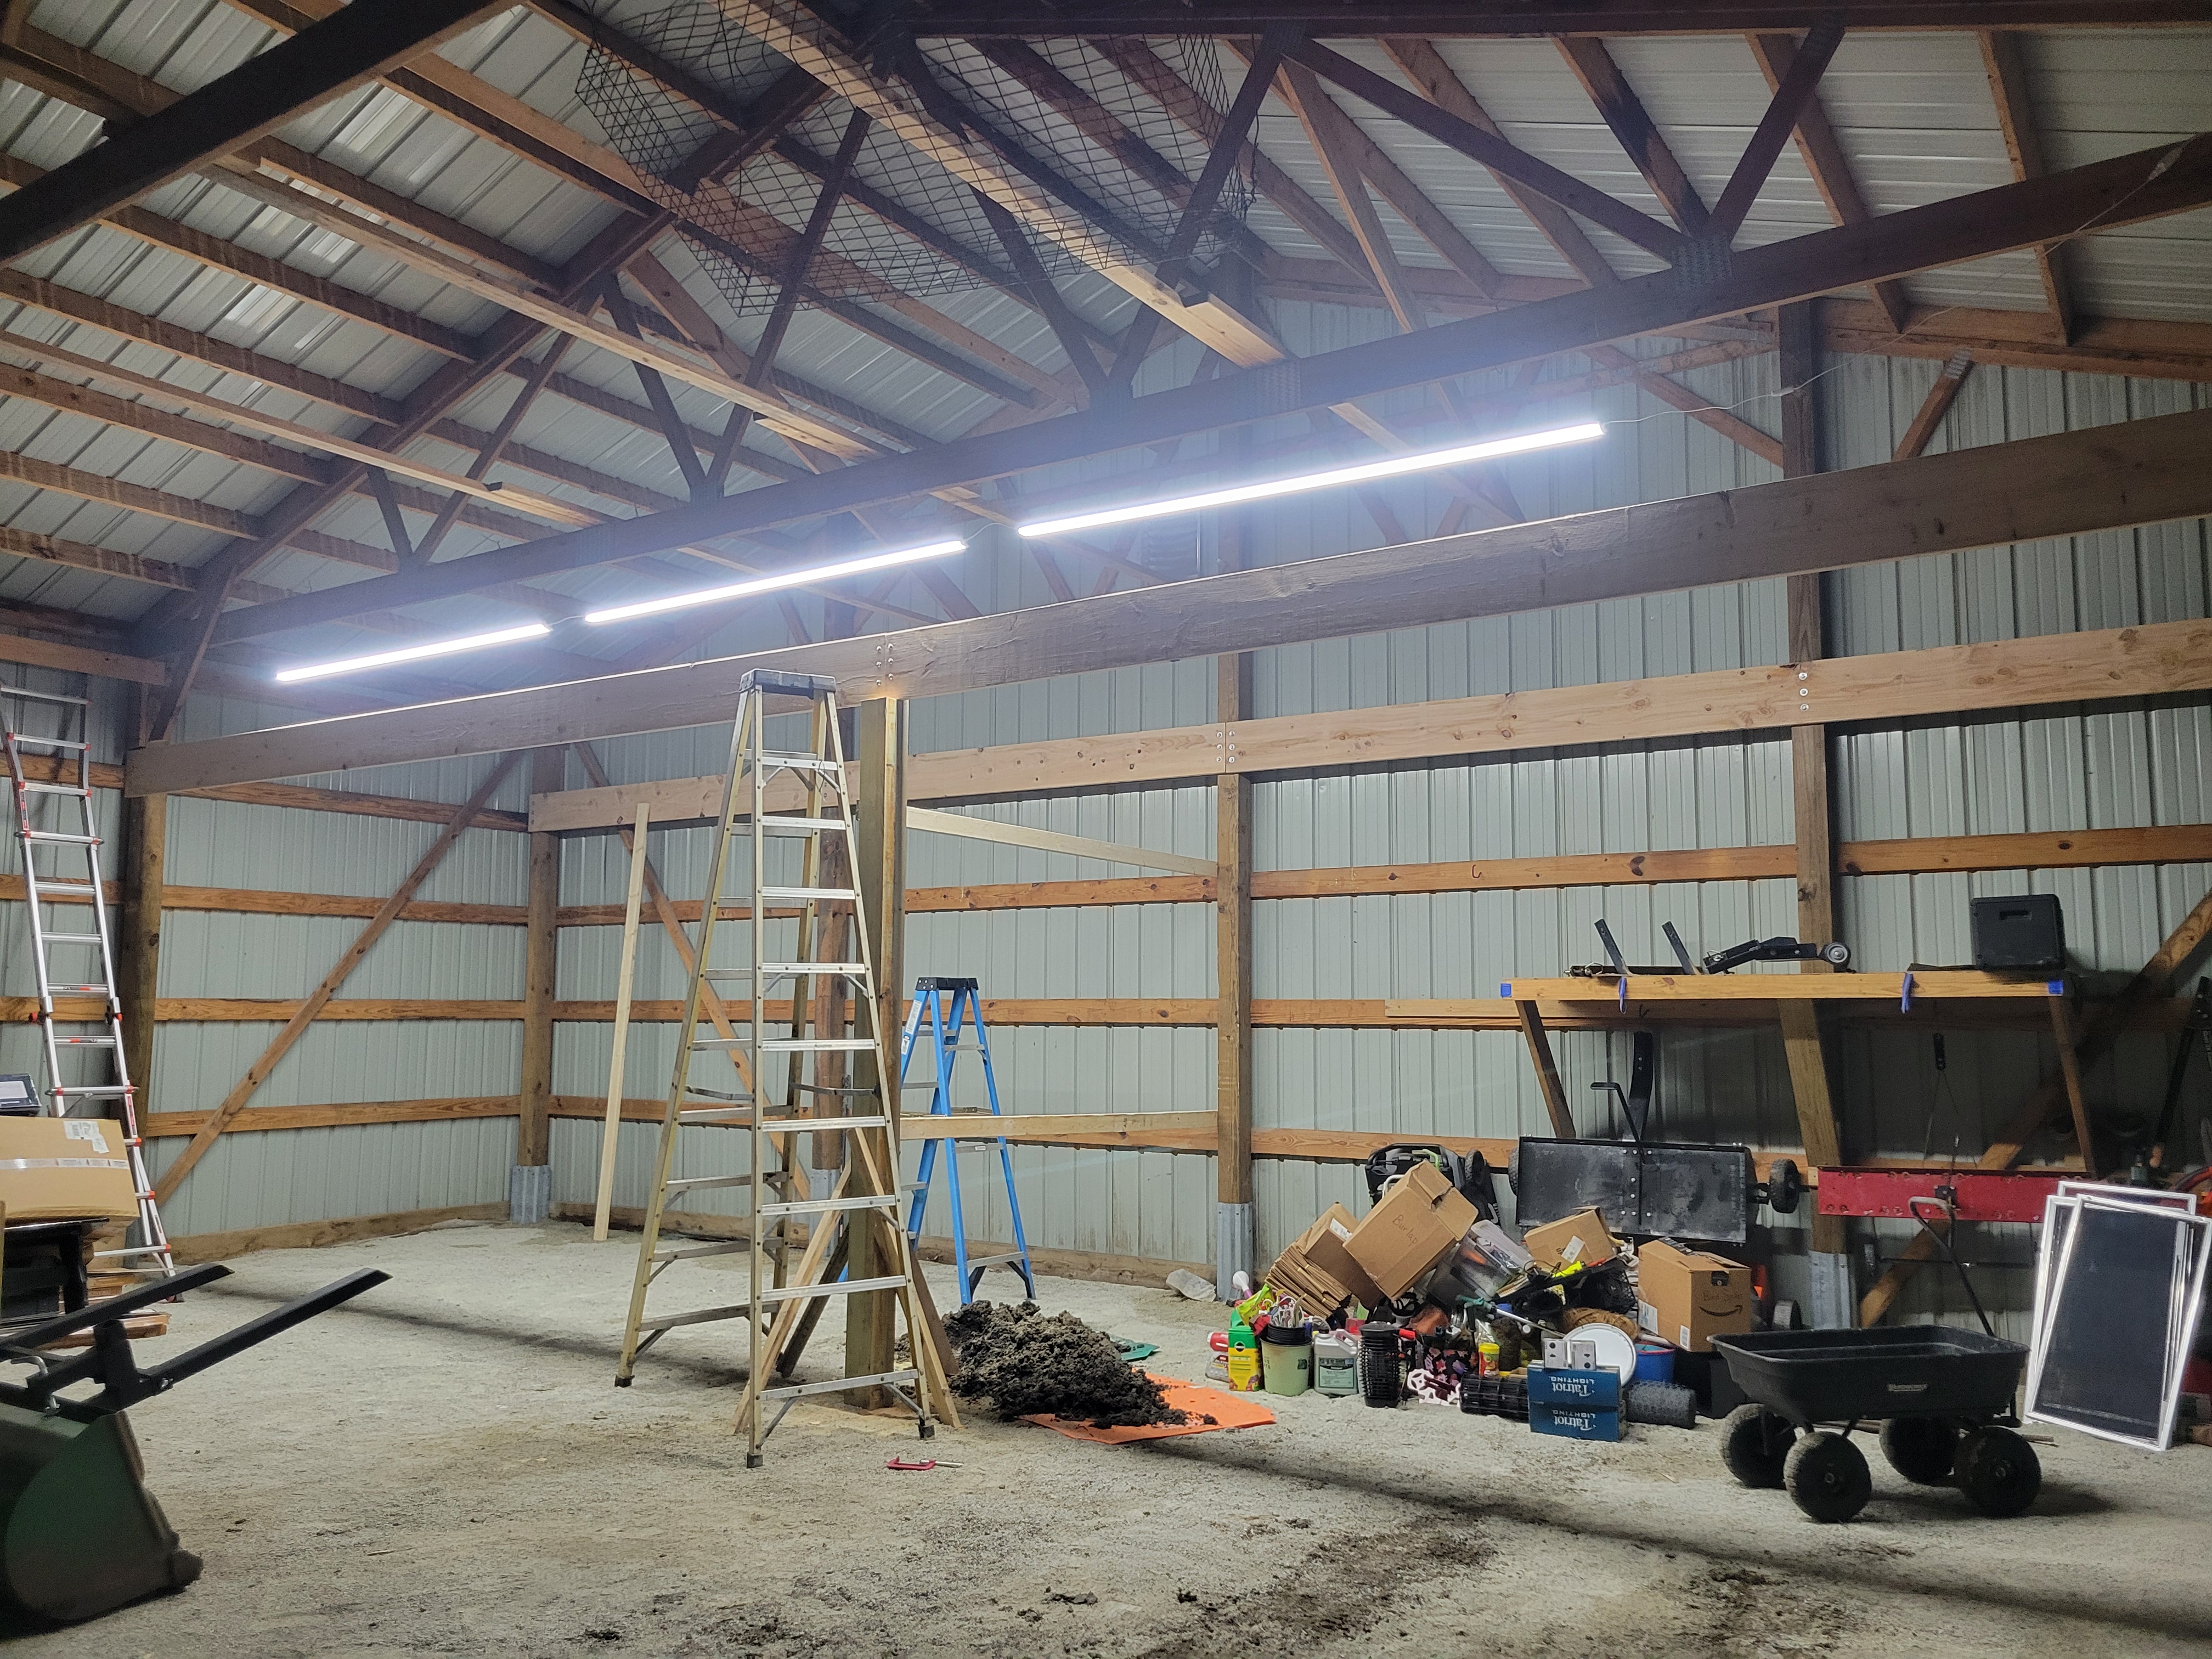
First, temporary lighting. Next, a ledger board on the back wall. 2x12x20, attached with 3/8" lag bolts.

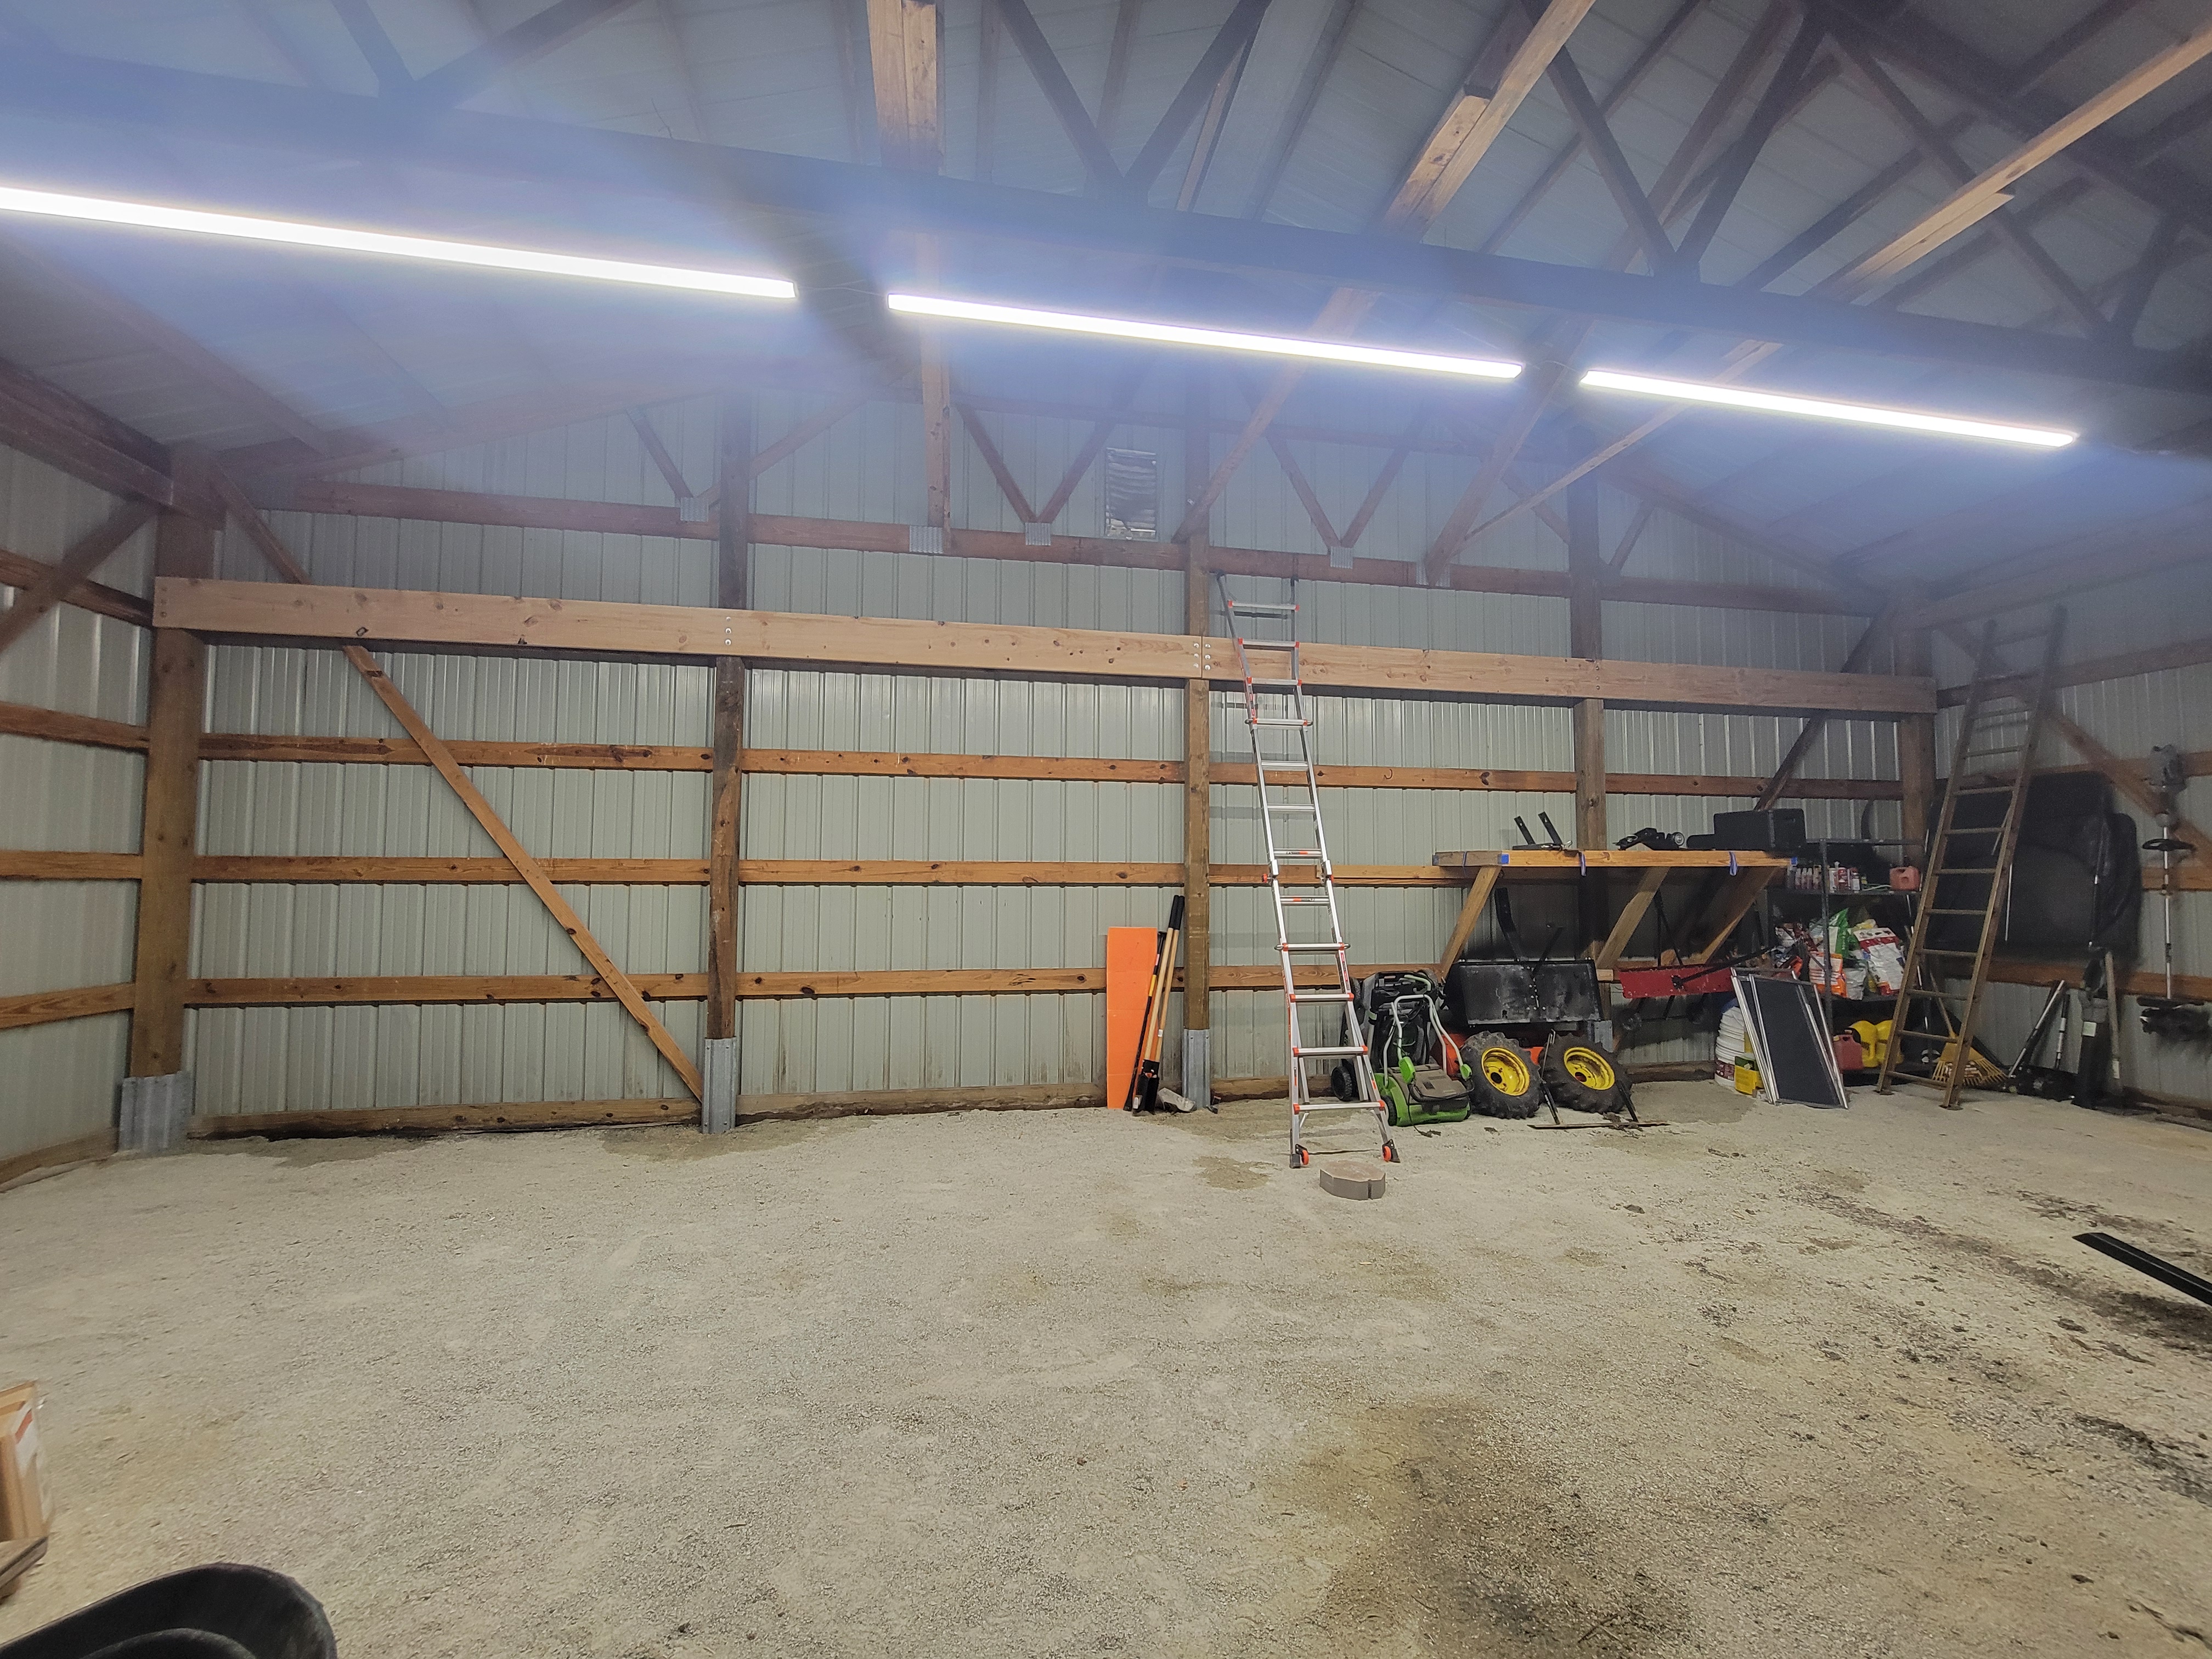
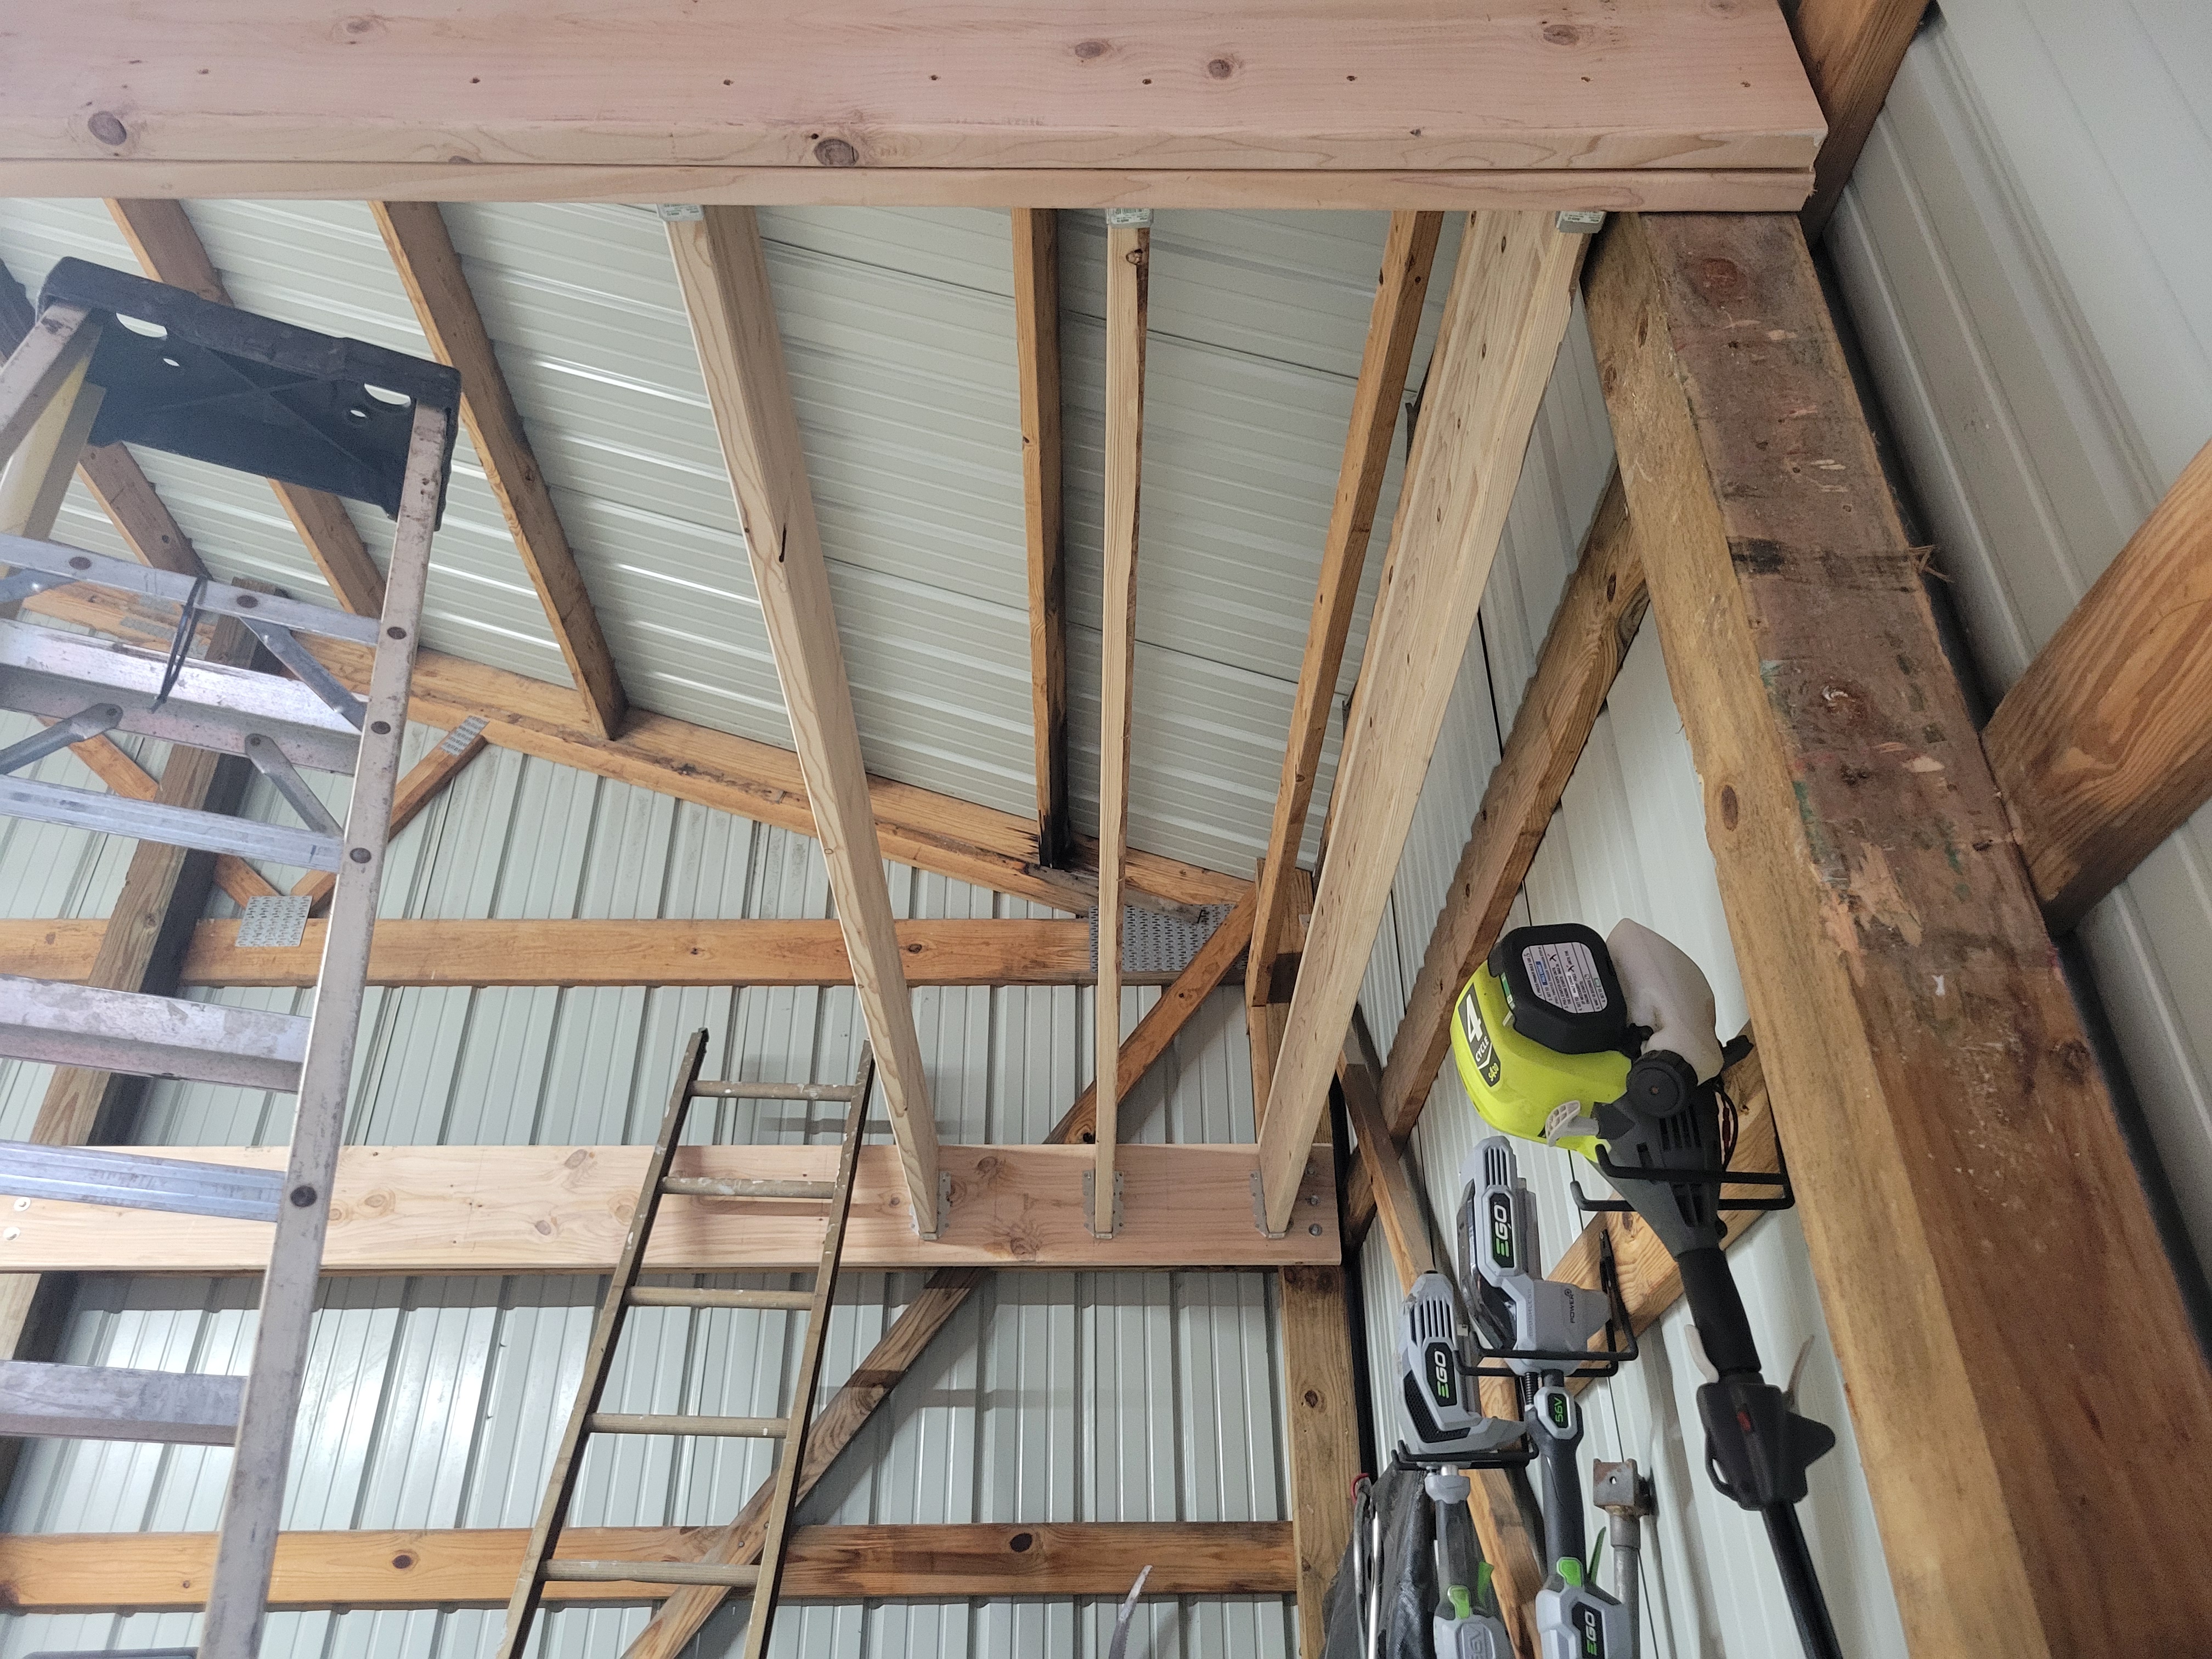
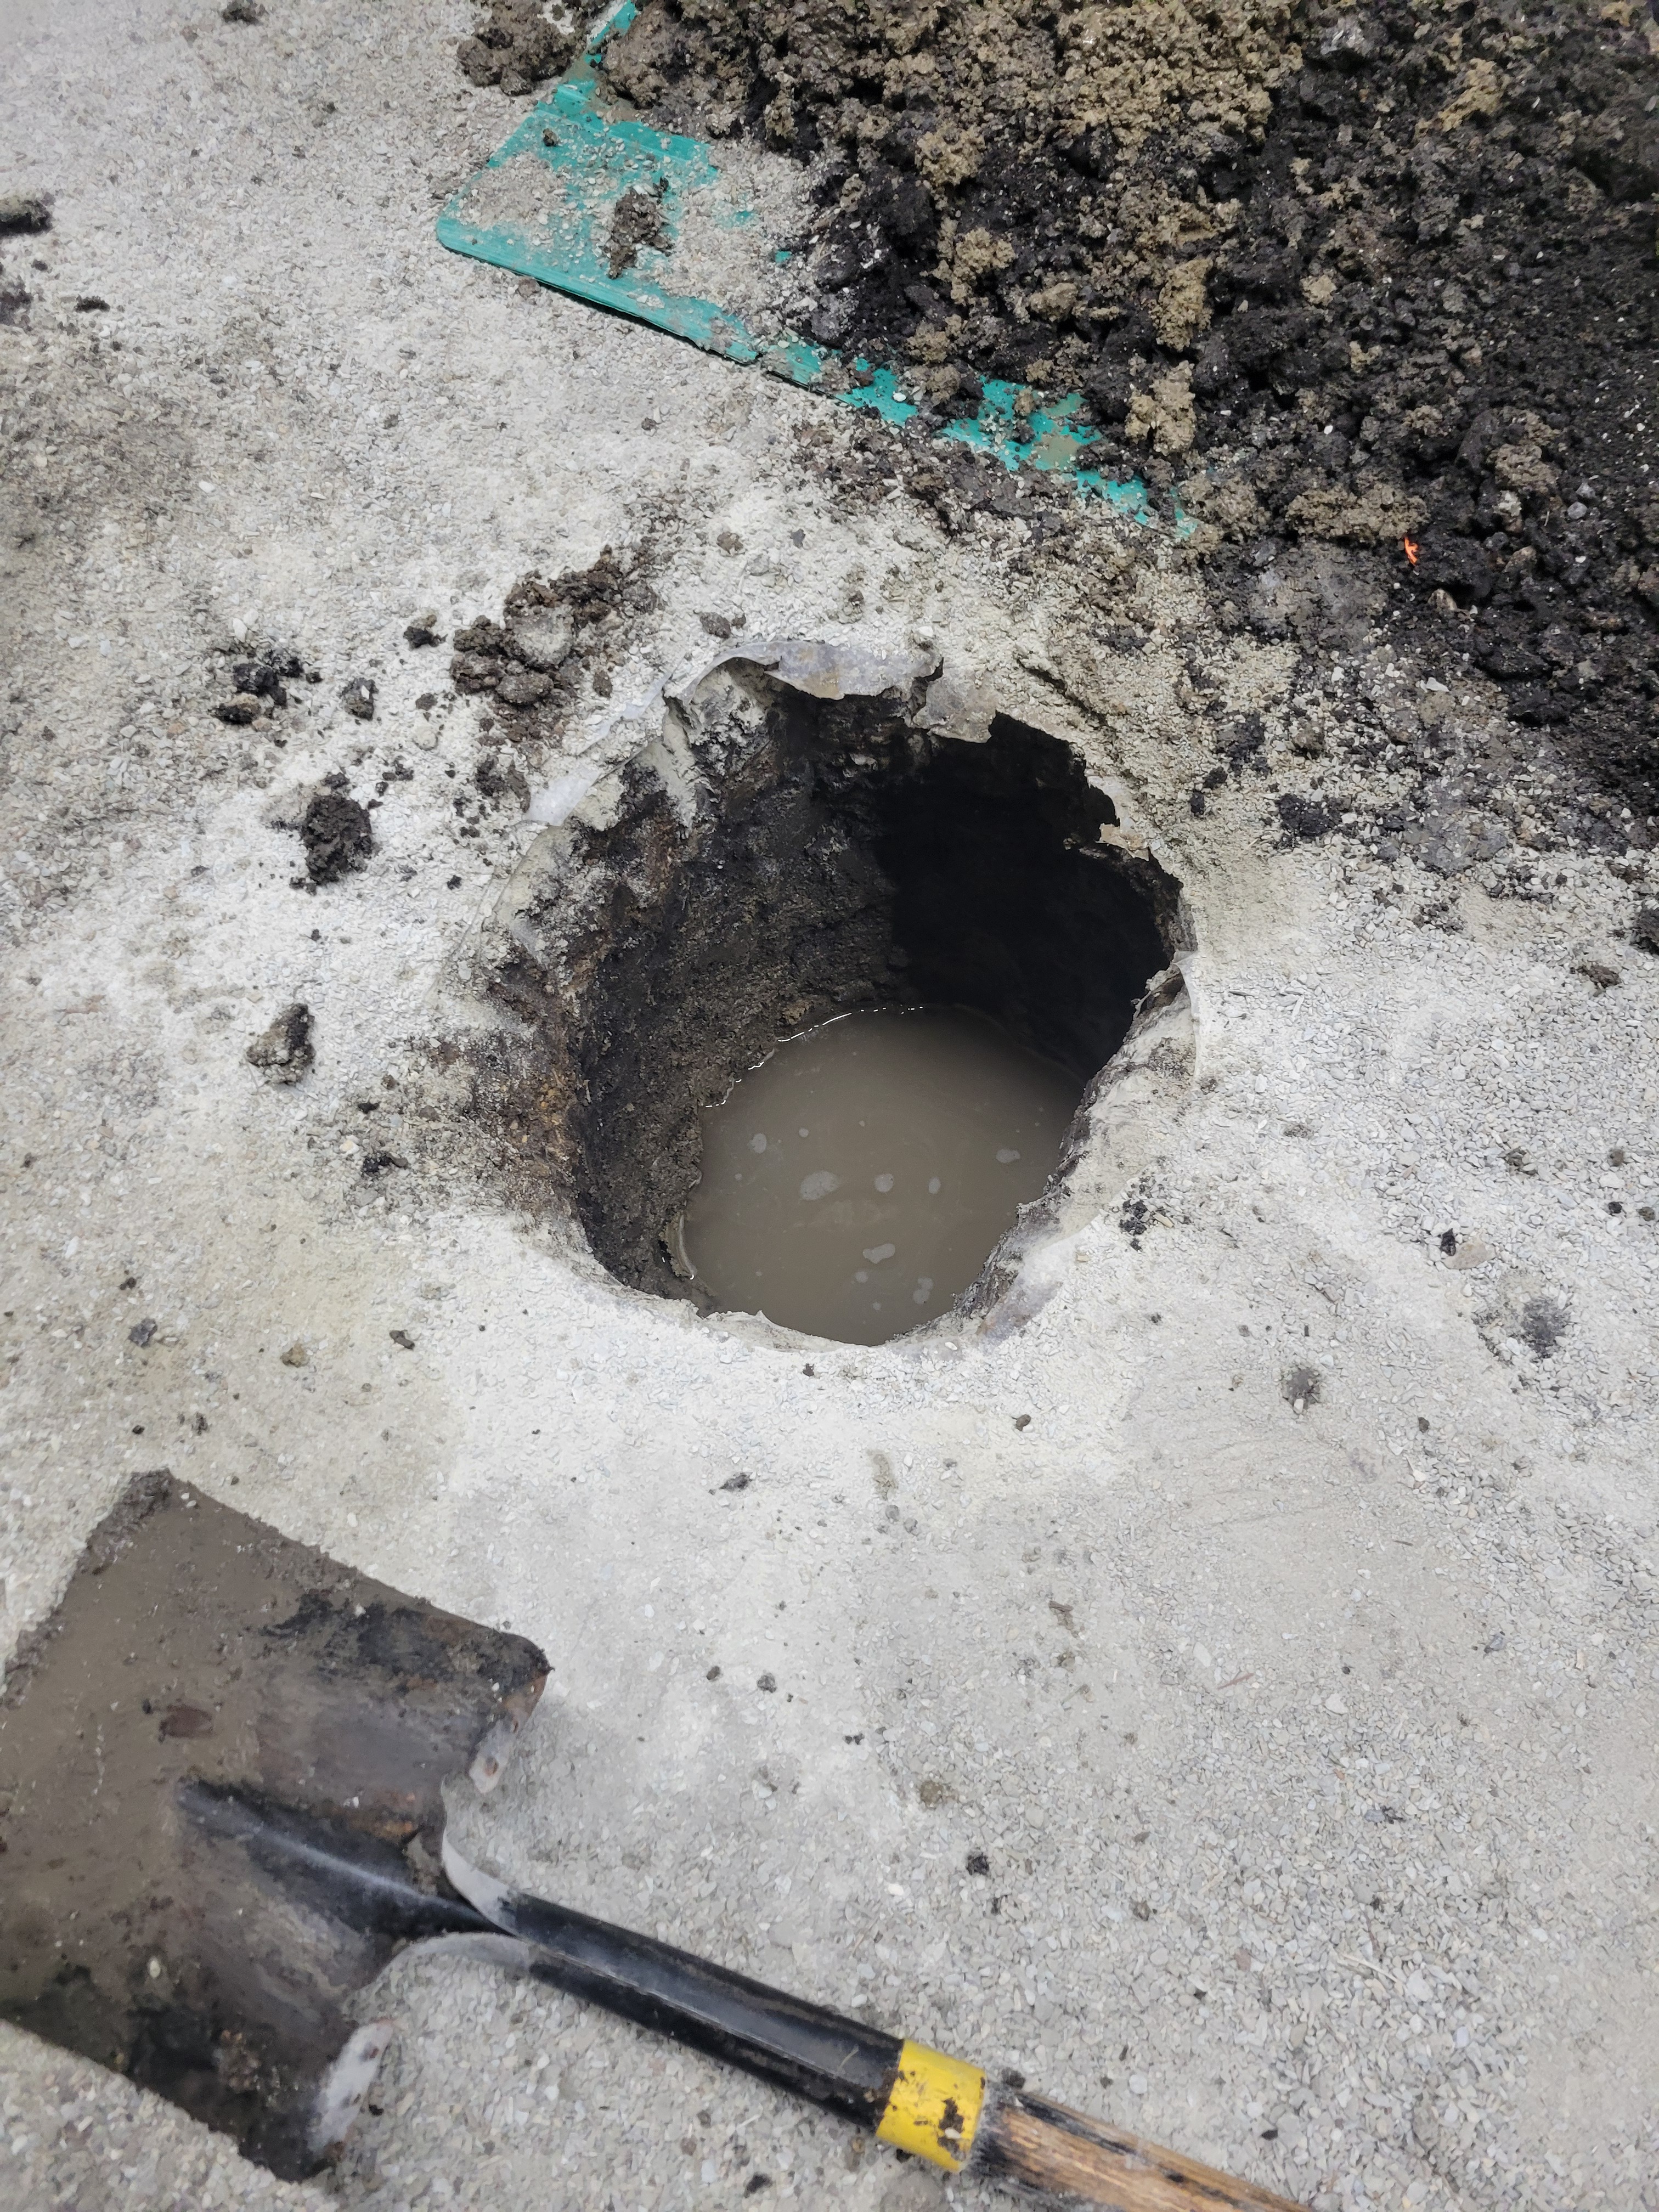
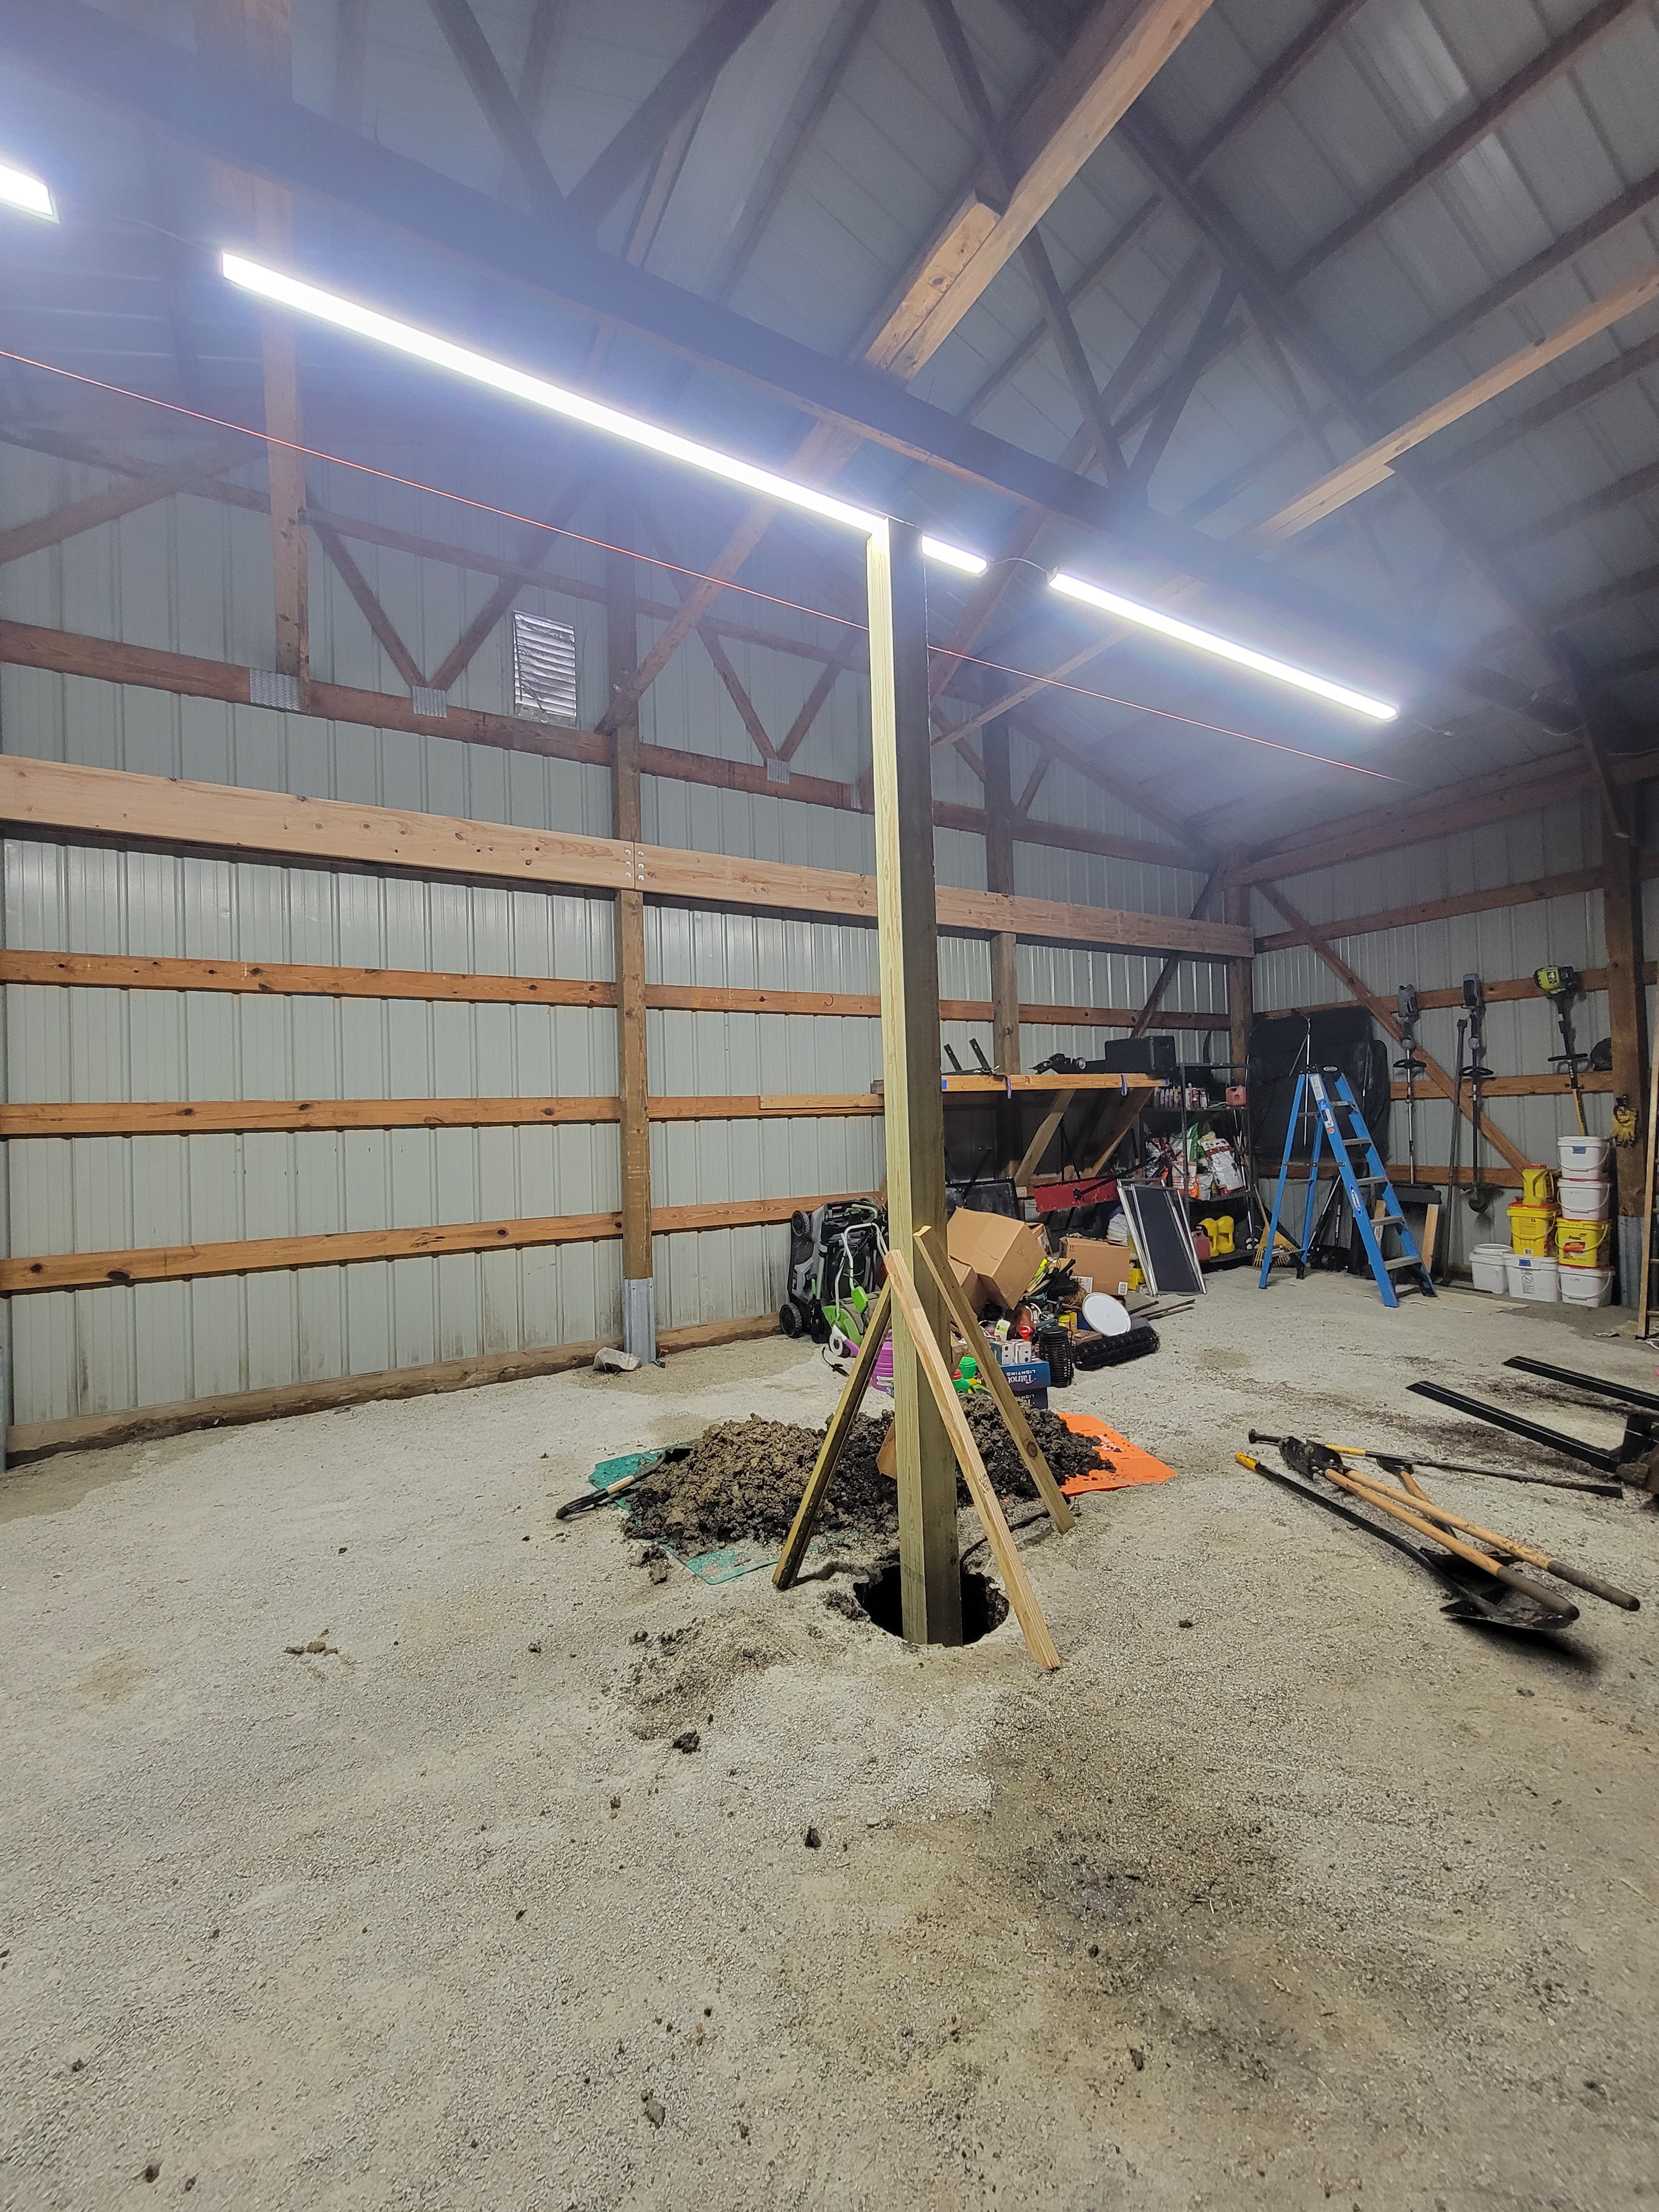
Next, remove a knee and some truss bracing for the header (yes, it will be fine, I’ll reattach the knee and the truss bracing will sit on the header, fret not you structural engineers), and dig a hole for the post. Set the post.

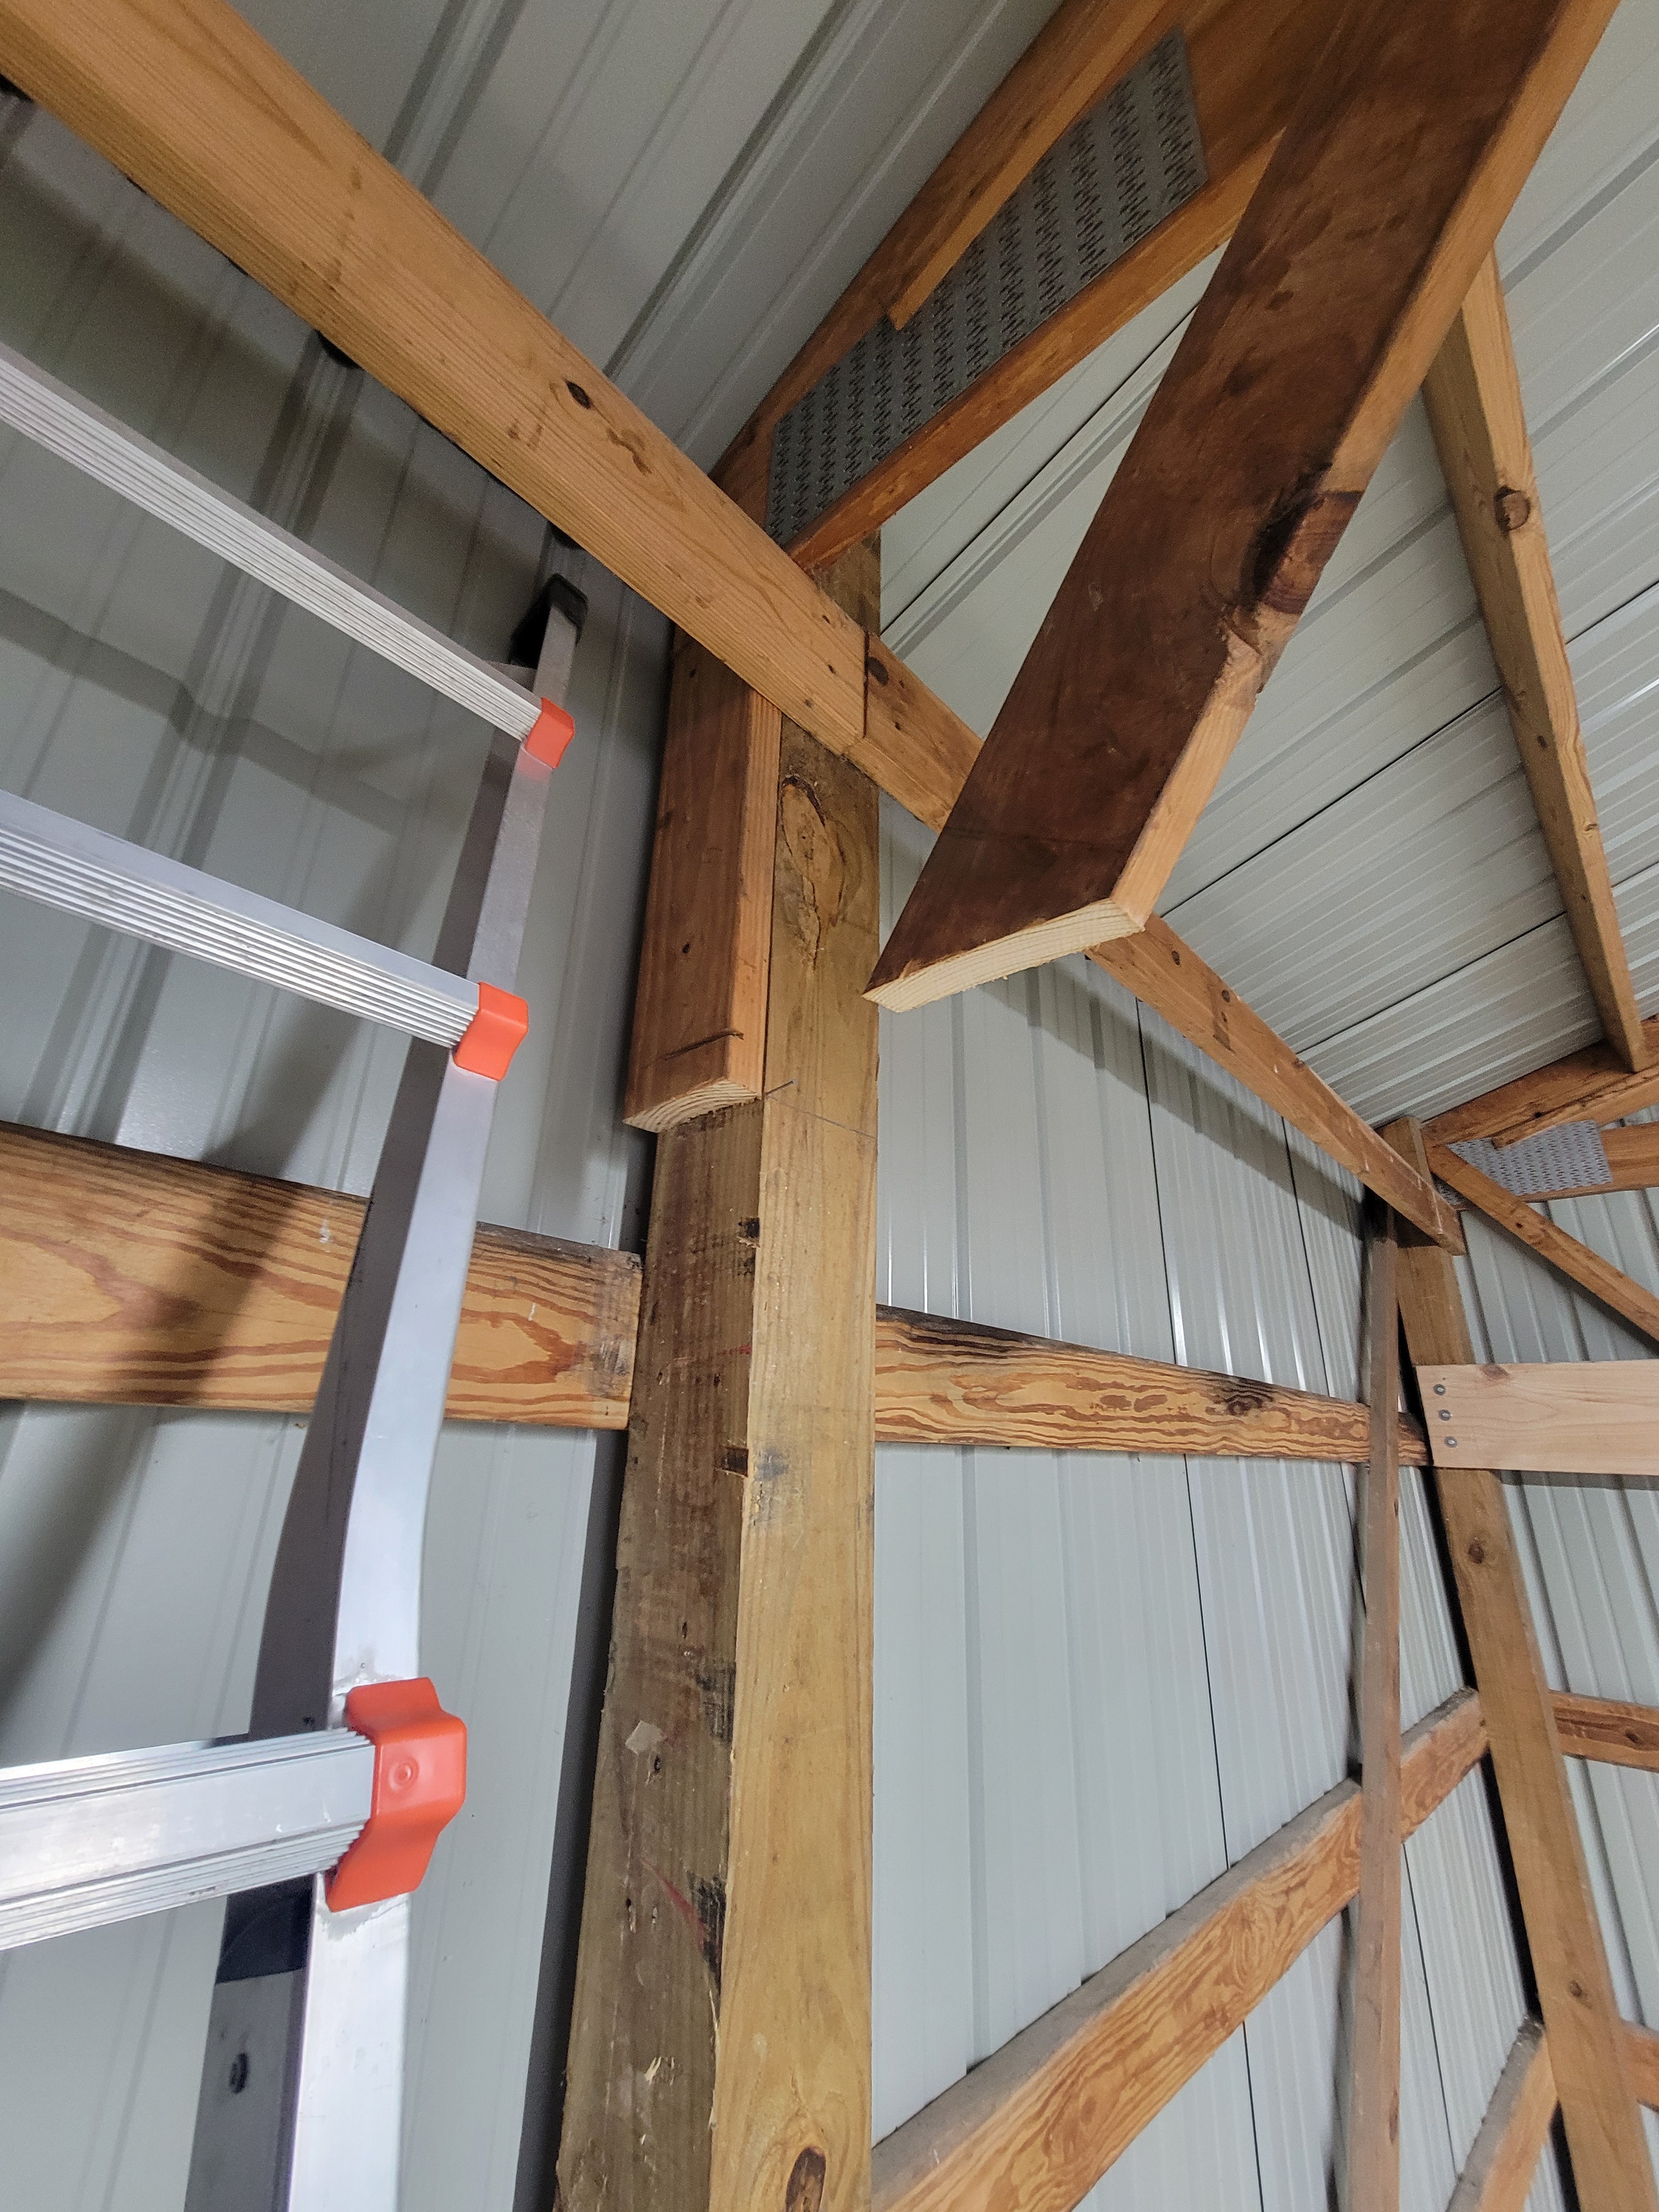
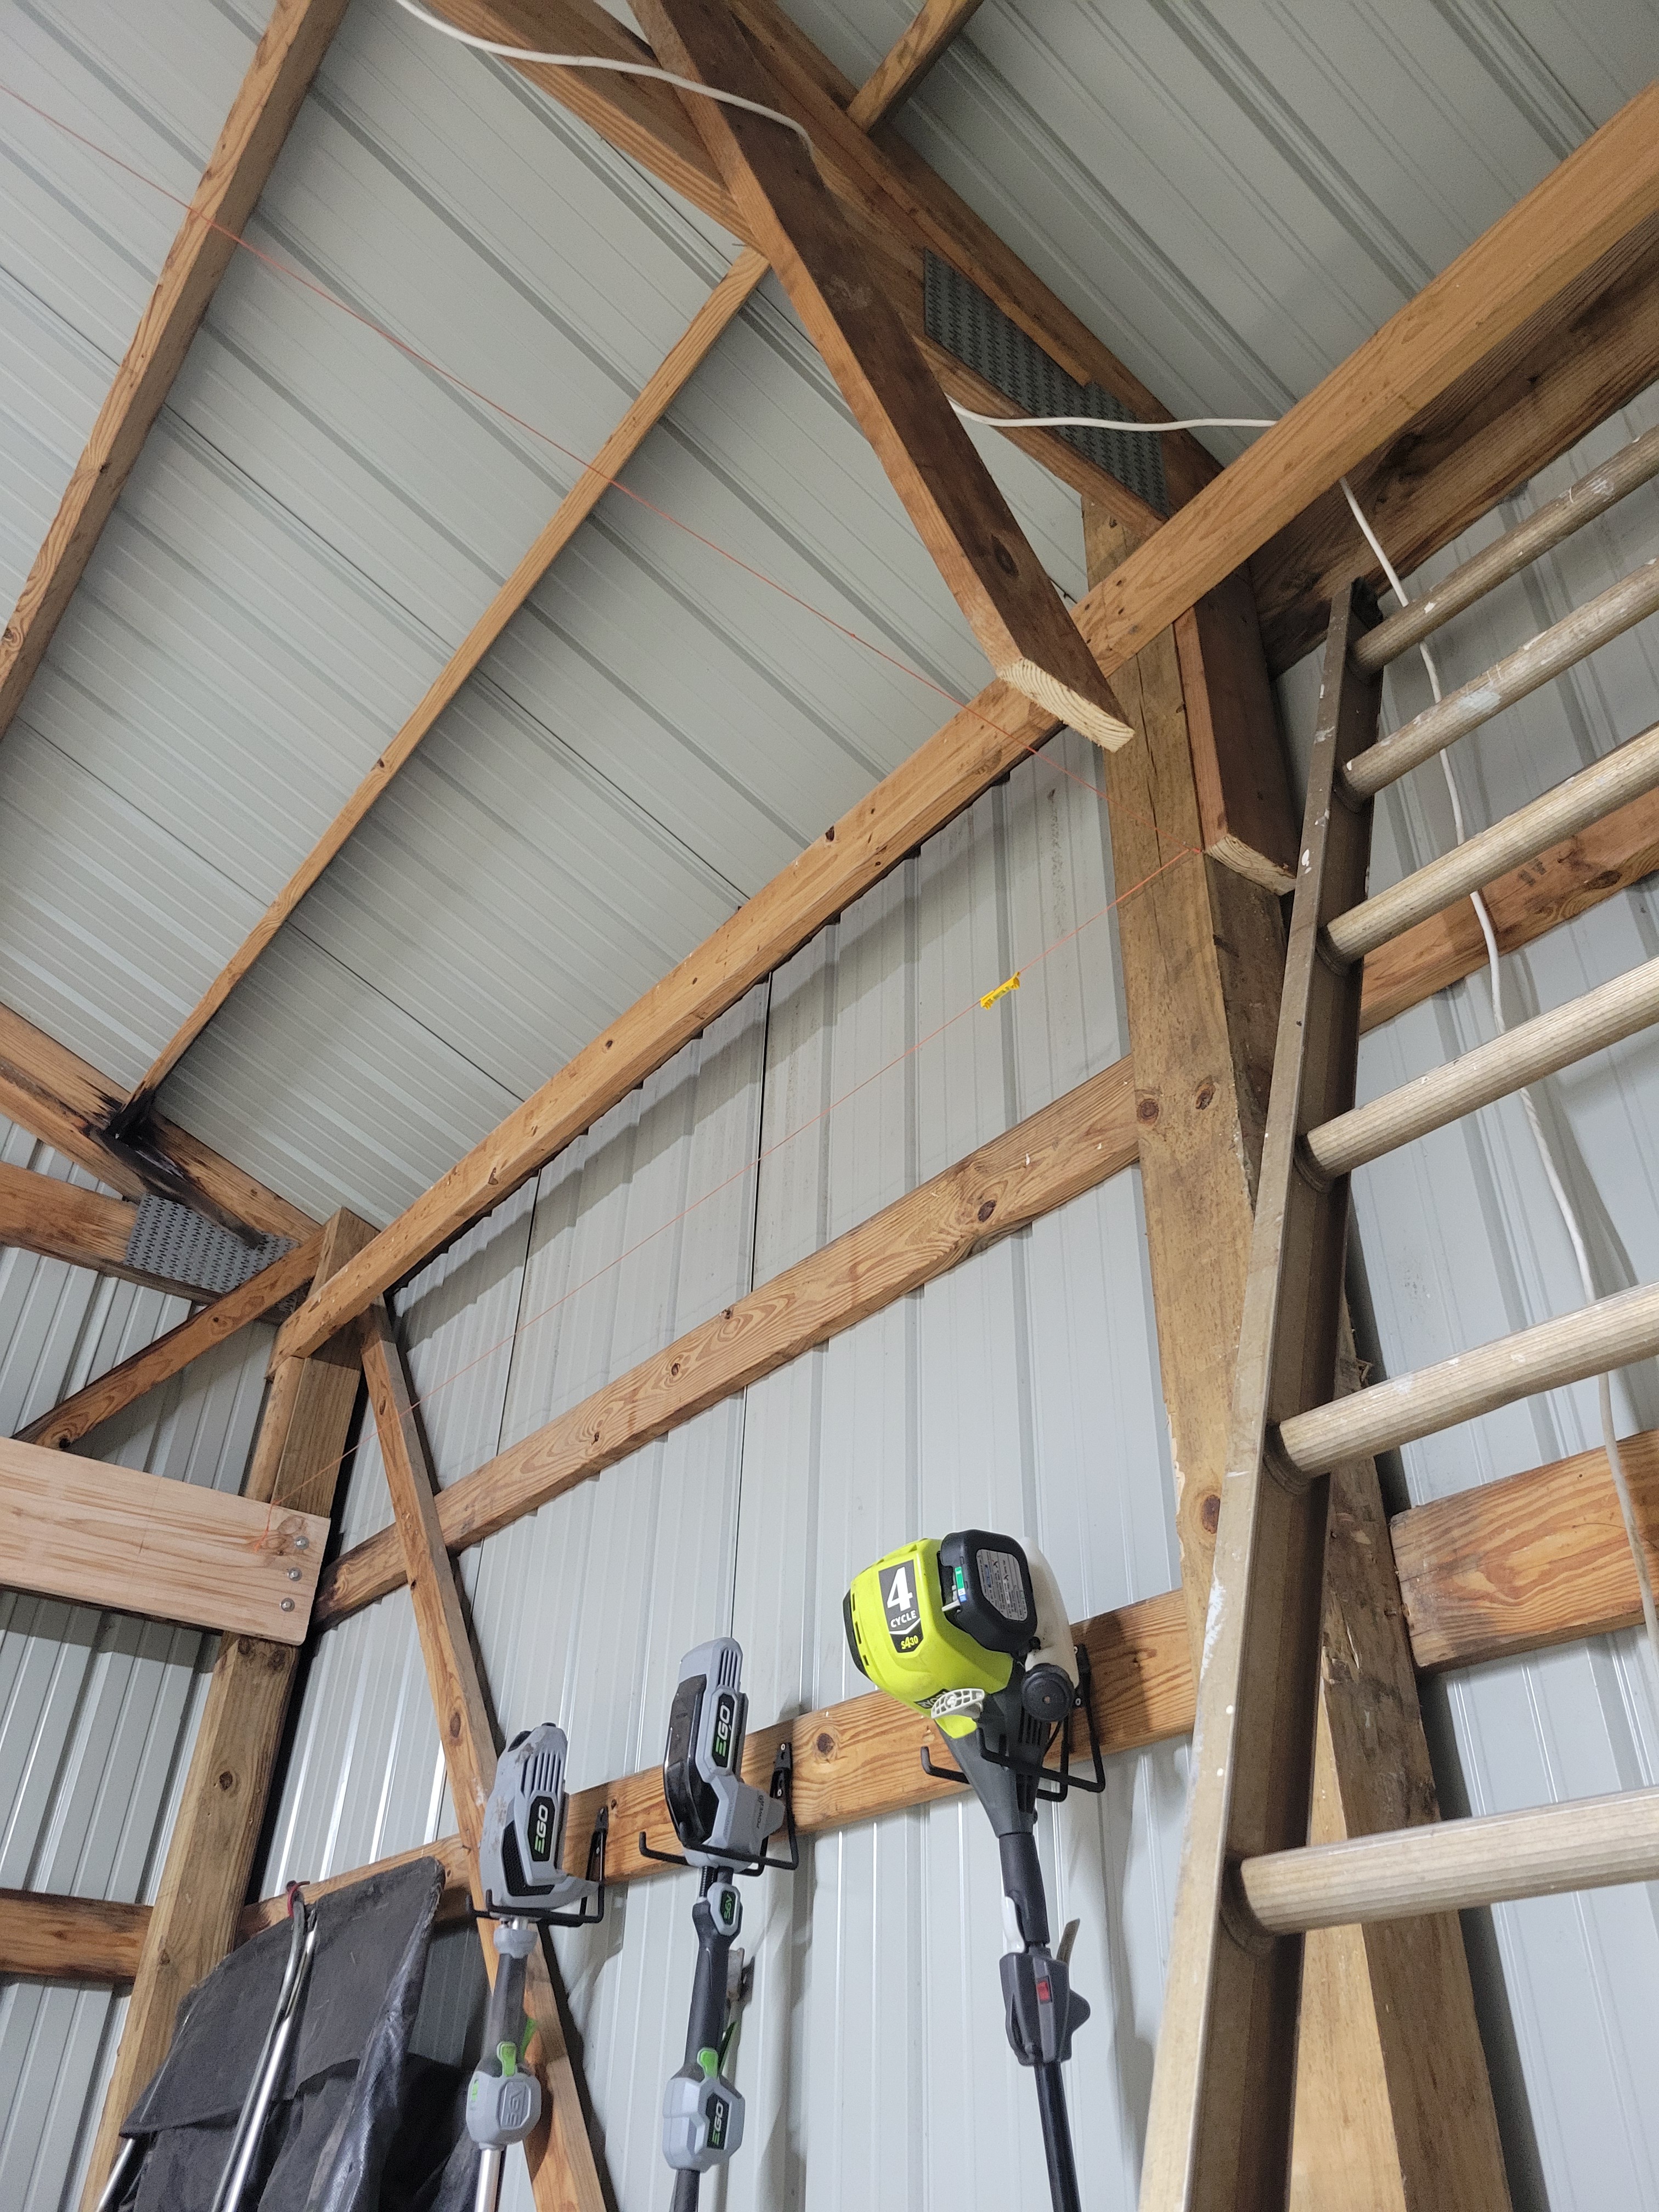
Notch the post. Realize that you set the post .5" off where it should be. Sigh, and remind yourself you’re not a carpenter, grumble grumble, it will be fine structurally but won’t look as nice. Dang.

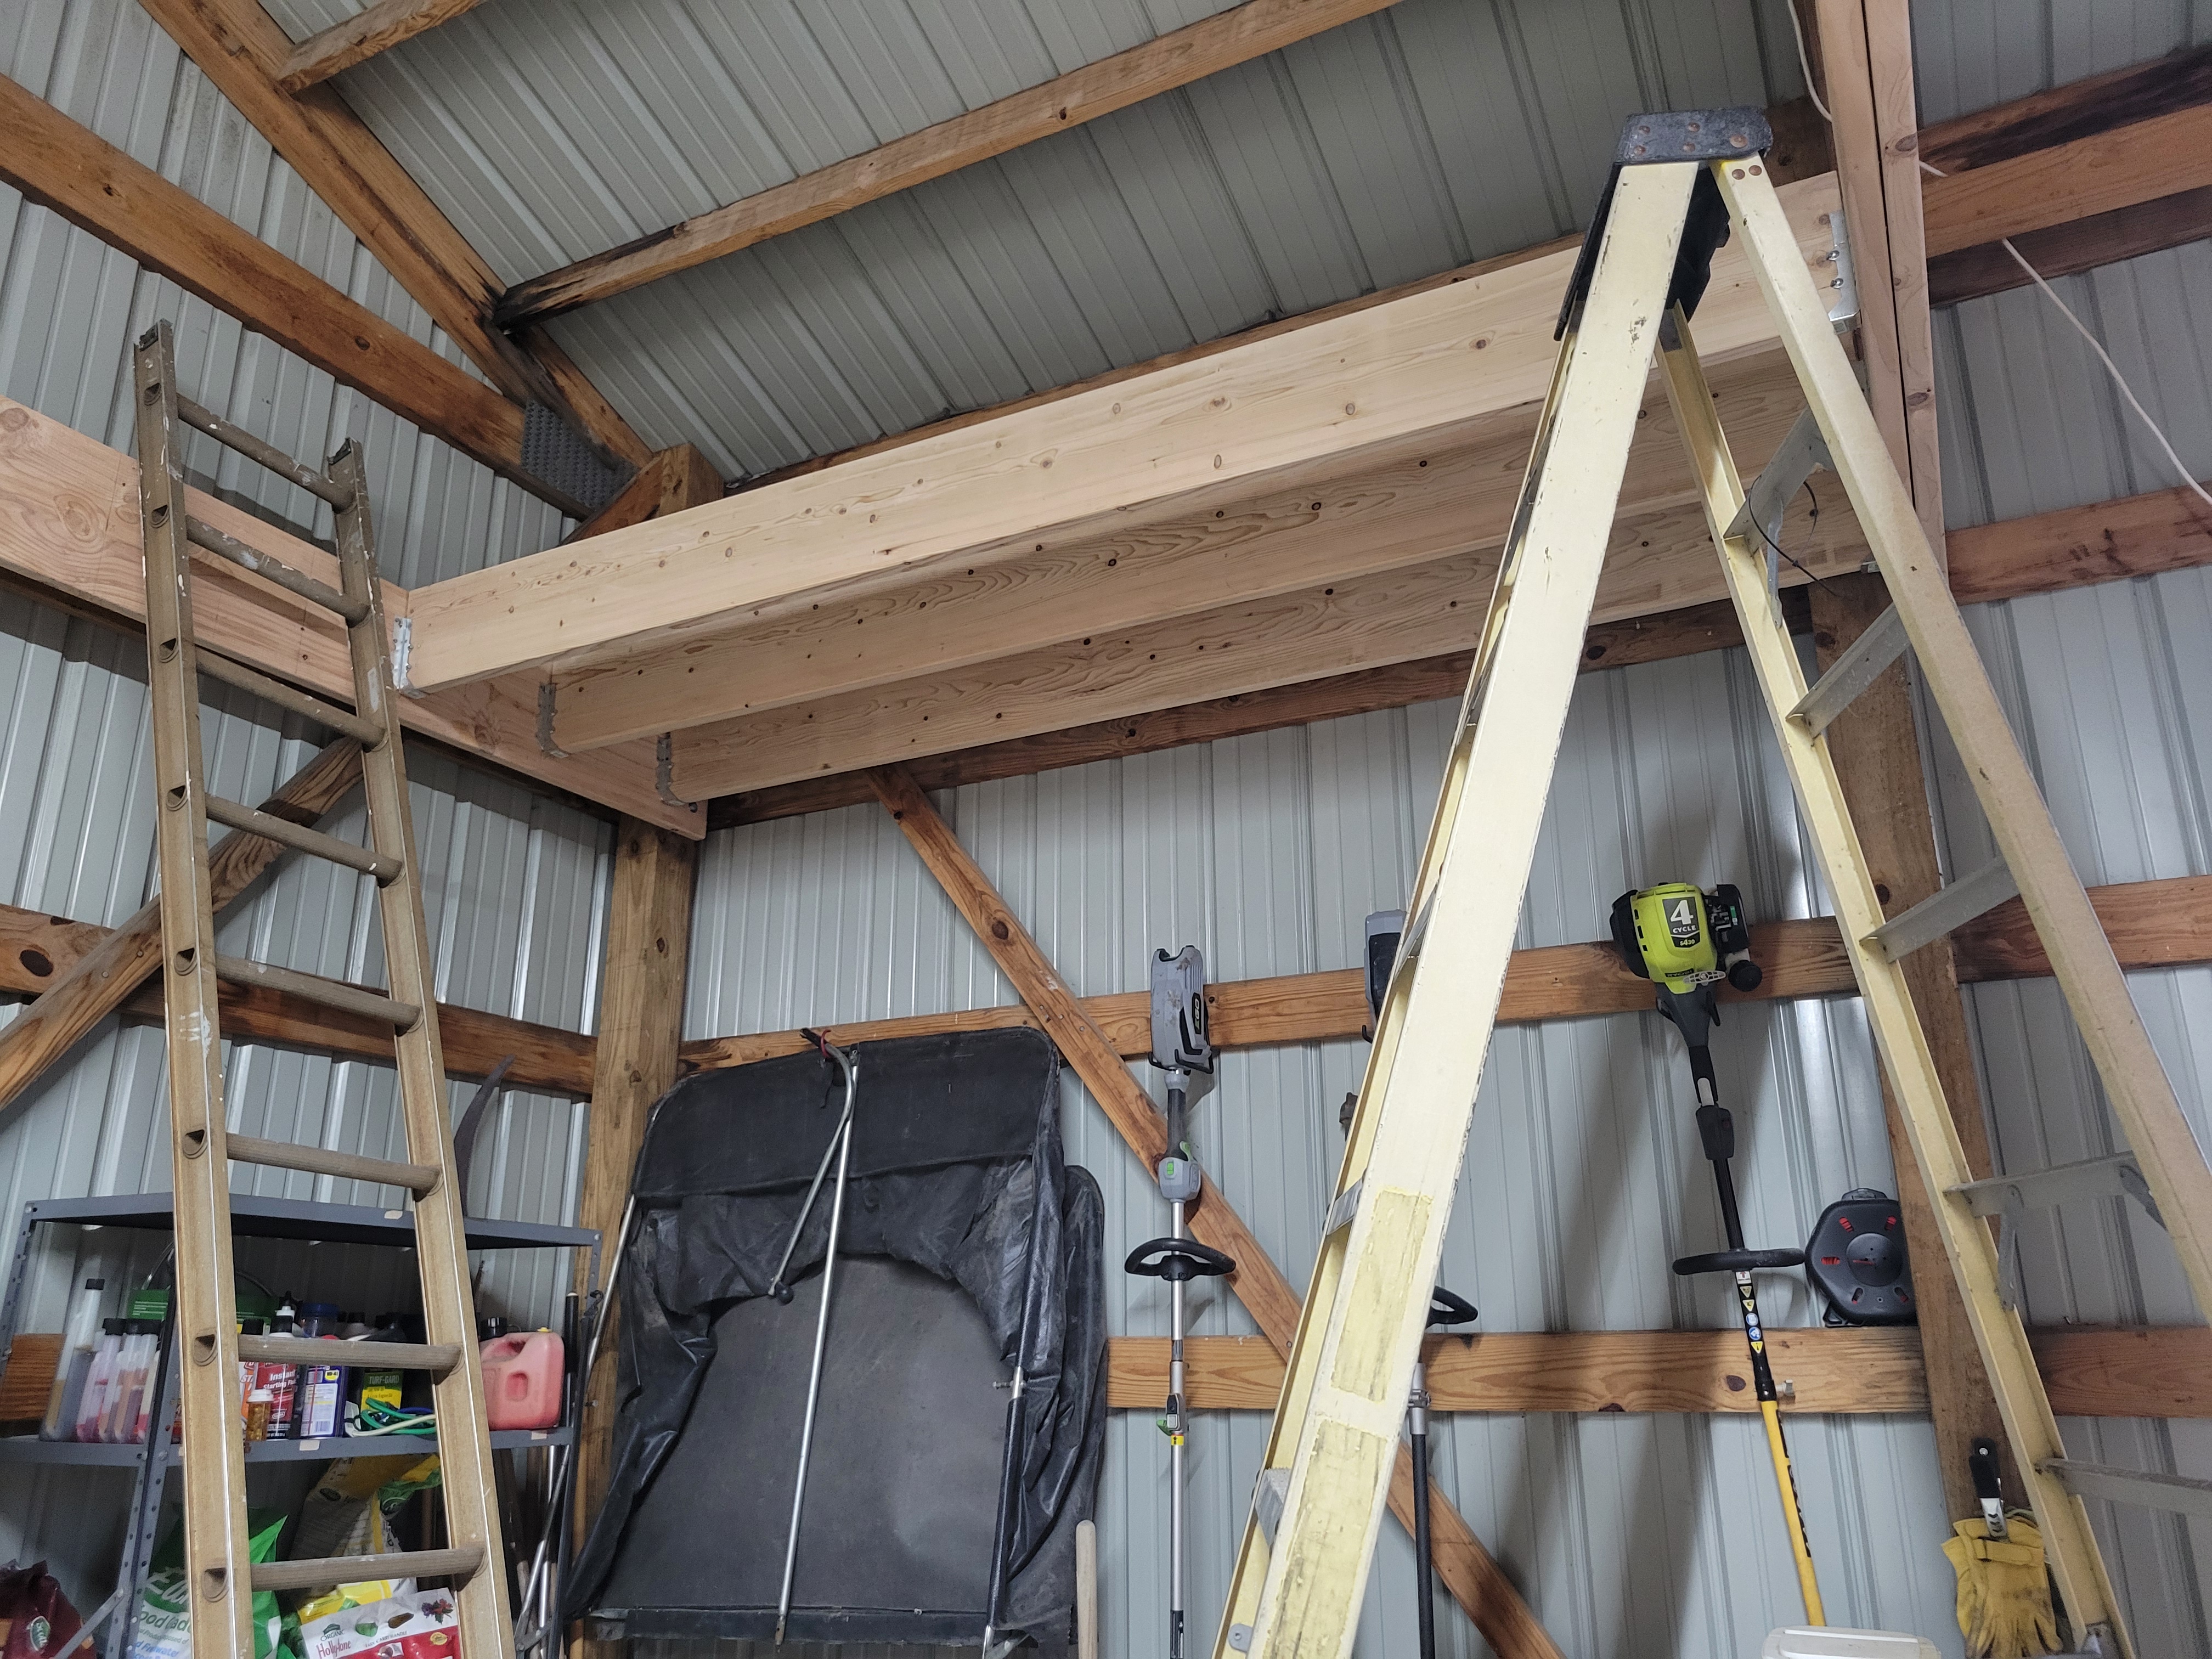
Set the first layer of headers on the posts. Hard to see with where the temporary lighting casts the glow.

Today the second layer of header will get glued and screwed, with it overlapping the center joint to give stability.

The end goal: the right side will be tractor and garden storage underneath hence my wanting the clear span from the center post. The left side will be a tack room and a grooming area.

24 Likes

Note that the barn is a hot MESS right now, but that’s part of the process. Put it away, tear it back out, put it away, tear it back out.

2 Likes

Lots of projects when you have a new farm that isn’t quite a farm yet!

I like your plan to build a loft for extra storage. That will be handy.

I have hot tape set about 6” above some 4’ tall field fence on a few of my fences. Imo, it looks a touch better on the fence that has t posts (capped) than it does on the fence that has wood posts. Regardless, it’s very effective. I’m approaching the 3 yr anniversary of horses coming home to this farm and I’ve had no issues with the shorter fence.

I have 5’ no climb on wood posts for some other fences and I do like it better but that 5’ is a PITA to install.

4 Likes

It was a cost thing for me, it was just a little too much more expensive so I decided to go with the 4’ stuff and hope that the electric provides the extra oomph to say “don’t even think about it”. :slight_smile:

2 Likes

I’m also doing this as a one-man-band. So heavy stuff, unwieldly stuff - some creativity must be had in order to get it at the height it needs to be at.

My husband is busy with other stuff and I’m good working alone. I feel like it progresses at a snails pace, though!

5 Likes

Hot fences are extremely helpful. Very hot.

It’s slow and expensive even if you get your husband, your neighbor and your family to help. I know! Lol

3 Likes

How exciting, can’t wait to see all your progress!

1 Like

I love such projects and will happily read your future updates!

1 Like

is that 1"minus as your floor?

1 Like

This is fabulous to see–and I so appreciate the tip about the use of metal sleeves.
(Now if you can come up with a solution for mud season on a small farm, you can patent it!)

1 Like

It’s stone dust with a vapor barrier under it. Not my favorite, but no way can I afford concrete, so it is what it is!

I threw up a test floor joist and Holy mother of jeebus was my header off from the ledger board. Fixed it, and glued and screwed the second layer of the header. Tomorrow, will begin putting in the floor joists.

6 Likes

3 joists up in about an hour and a half Wow, is that tedious and time consuming.

10 Likes

Looking good!

I bet you’re tired of going up and down ladders!

3 down, how many to go?

1 Like

I don’t even know, haha. Doing the math, 27. There will be stairs in there somewhere so say 25 full length ones.

I need a damn scaffold.

3 Likes

Well you’re 10% done then! Yay?

Concur you need a scaffold. Or a Hector (hired hand).

1 Like

I need more hands period haha.

When I start to get tired, I get a little vertigo. Really fun when you’re near the top of a ladder. Wheee, keep a hand on something! :rofl:

2 Likes

Can you get your tractor inside? And do the lifting with pallet forks? Pallet fork tines can actually be mounted upside down on their frames to be able to lift to the ceiling without interference from the fork frame, and to gain lift height.

7 Likes

I have bucket forks on the top of the bucket. That’s how I got the headers most of the way up, not quite enough reach to get all the way up.

These boards aren’t heavy though really (to me). They’re 2x10x10s. I’ve got enough joists up now that I can put a plywood scrap piece up there to save me some trips up and down the ladders.

3 Likes

Maybe someone with more experience than me can chime in but will you need a vapor barrier on the underside of the metal roof so it doesn’t sweat? Maybe there is some type of spray on product that you use can use while it is still open and you don’t have all your stuff in there yet.

3 Likes