Here are a few jumps I’ve built. Most of these were built with a circular saw, a jig saw, two drills (one for drilling, one for screwing so I can work faster). The jog saw was optional and I always plan out what I want and have the big box store do as many cuts as possible (especially since the first 2 per piece of wood is free). The real challenge to durable jumps is taking the time to screw them together with proper wood screws (instead of nailing), and that means drill a starter hole, then pick up other drill to put the screw in.
The flower boxes are super easy and really make the jumps look like stuff they see at a show. All I need is 2 5 or 6 foot lengths of a pressure treated 2x6 (or wider) and the same length of 2x4. Screw the 2x6 to the 2x4 so the 2x4 is the top of the flower box (this will give it about 5+ inches of depth). Drill large (5/8") holes in the top for flowers and two holes about 5" apart in center to run a rope handle through. The whole thing is screwed together like an upside down U when you are done. I even have a 12" tall “flower box” that is painted like a wall. It doubles as a good baby jump or a nice base filler for a big jump where you need to really lift the gate up and create a solid jump.
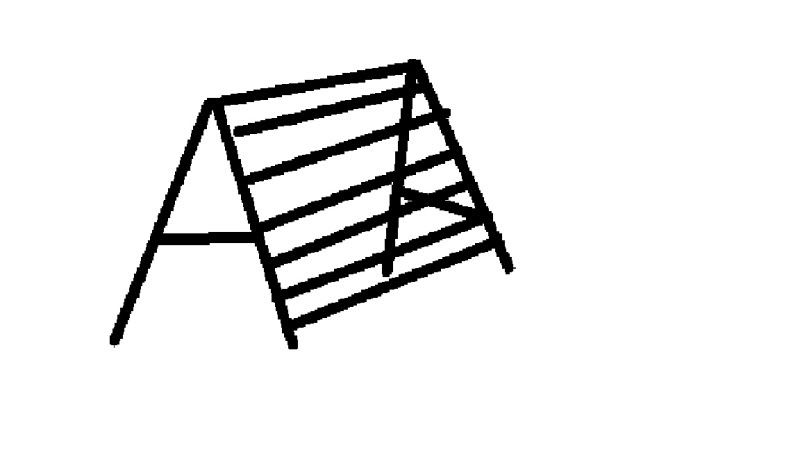
A small (18") gate with a small flower box - this is just 1x2’s screwed to a length of 2x4 top and bottom (top 2x4 is about 10’, bottom is 9’0 to clear standard “feet” This is one where I did the cuts (circular saw) on the rails and the optional diamond cut outs in the center with a jig saw.
http://farm8.staticflickr.com/7241/7206479850_248ca34b7d_h.jpg
a wall - this one was a bit of a project, and I can describe how it was built if I go look at the undersides again, but by the time I was done building and painting it, I wanted to block the memory. But when building heavy jumps, 3 sections is your friend, even if you only have 10" poles.
http://farm7.staticflickr.com/6217/6360544691_249ac7238e_o.jpg
another angle of a wall
http://farm7.staticflickr.com/6054/6360544569_c48a6b3c5a_o.jpg
a brush box (half of one - make two) - SUPER easy to make. The sides and short “inner” foot is a 2x4 and the front slats are just a length of deck siding so it came with pretty pre-rounded edges. The outside foot is a 2x6 with a sloping edge cut off. Then I just stained and polyurathaned it to make it last (and be purty). At some point when I find a bargain artificial xmas tree on sale I will put that in as brush (but I will probably need to staple some wire mesh at the bottom to keep stuff in). This is the easiest, cheapest design and you can make them taller smaller, less spacing between slats with little trouble.
http://farm6.staticflickr.com/5176/5568041247_cfcf7f2600_o.jpg
(it has matching standards/poles out in the ring).
Another important thing to do if you are using schooling standards is to remember the feet go under your jump so if you have any filler that sits on the ground under the pole you need to measure the width between the feet, NOT the width of your poles. I love my wall but it is a hair wider than the feet and doomed to sit in front of the pole which makes it rather hard to jump both ways. On the other hand, when it is set up as an oxer it forces me to not weeny out and jump a proper oxer when it comes to width.


 ) and b) he’s always bringing stuff home to “convert” into jumps. For instance, new tires on loaders…he was super excited about the boxes they came in which turned into